
Finally, take the remaining one-third of your crumb mixture and sprinkle it evenly over the top of the caramel layer. Don’t press it down; you want a loose, crumbly topping. This will bake into a delicious, crisp finish. Return the pan to the oven and bake for another 15-18 minutes. The topping will be golden brown, and you’ll see the caramel bubbling vigorously around the edges. That bubbling is your cue that it’s perfectly gooey inside.
Pro Tips for Best Results
The key to perfect, sliceable-yet-gooey bars is the cooling time. You must let them cool completely in the pan on a wire rack, and then refrigerate them for at least 3-4 hours, or ideally overnight. I tested cutting them warm, cooled, and chilled. The chilled bars cut into clean, beautiful squares, and the caramel had the most amazing, chewy-gooey texture. If you cut them warm, they’ll be a delicious but soupy mess.
When making the caramel, resist the urge to increase the heat. Low and slow is the mantra. If the caramel gets too hot, it can become overly hard when cooled or even burn. I stir constantly with a silicone spatula, scraping the bottom and sides of the pan. A perfectly smooth, pourable caramel is the heart of this dessert.
For an even more robust flavor, I sometimes toast the old-fashioned oats before adding them to the dry mix. I spread them on a baking sheet and toast at 350°F for 8-10 minutes until fragrant and lightly golden. Let them cool before using. This adds a deep, nutty dimension to the crust that pairs wonderfully with the caramel.
Common Mistakes to Avoid
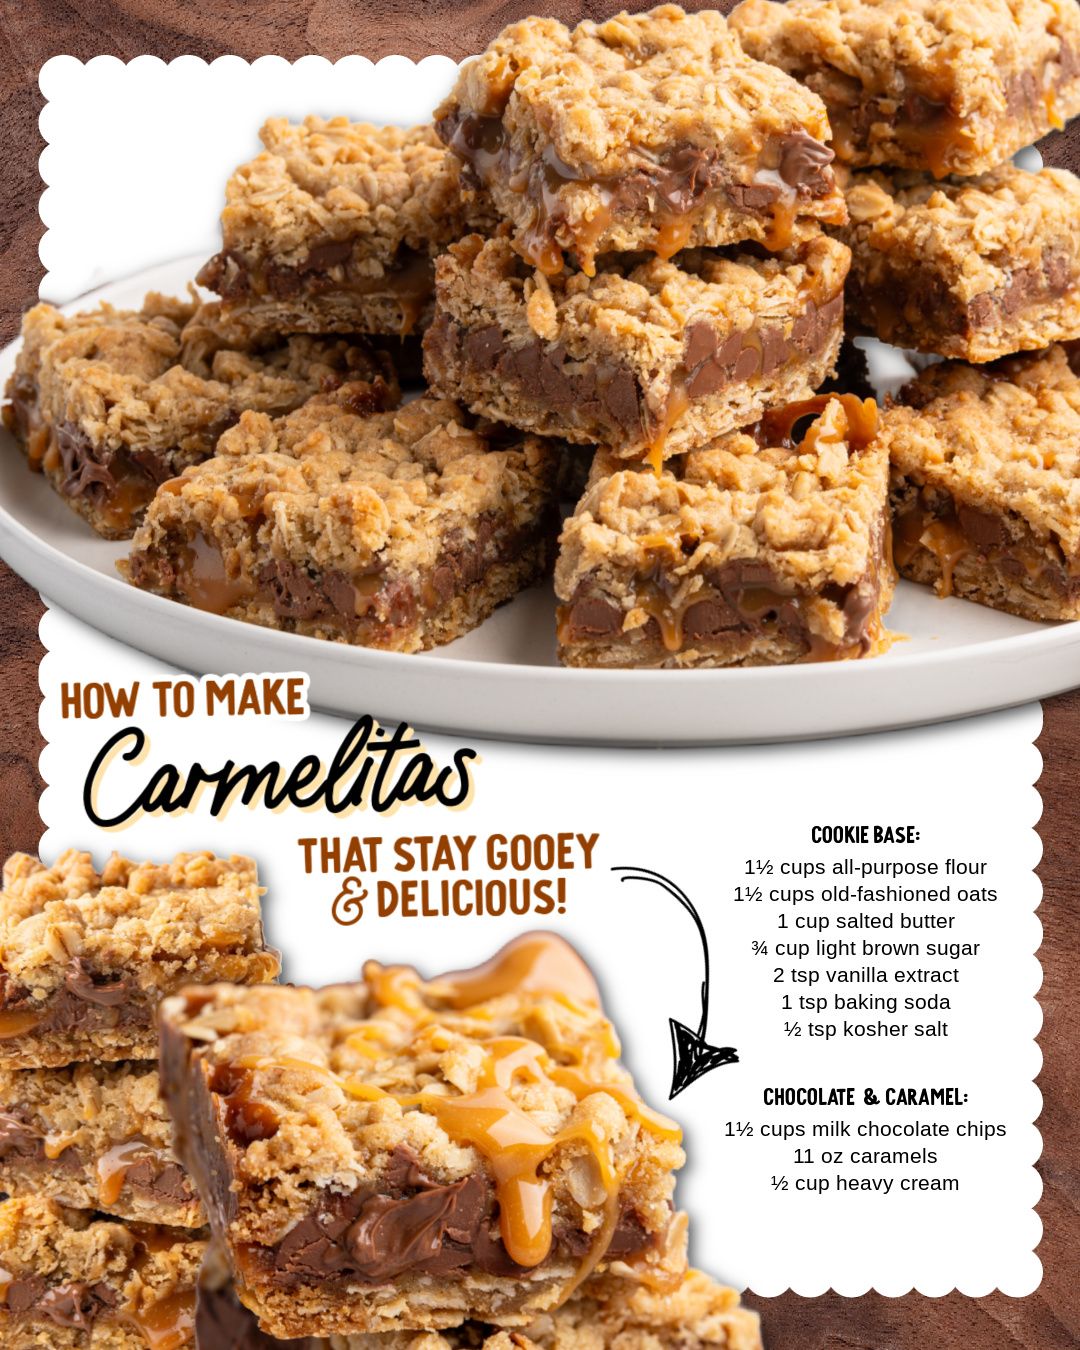
The first mistake I made was using quick oats instead of old-fashioned. The quick oats absorbed too much moisture and turned the crust and topping mushy, losing that essential hearty, chewy texture. The sturdy old-fashioned oats provide necessary structure and a satisfying bite. Don’t make this swap.(See the next page below to continue…)