
Equipment Needed
- An 8×8 inch square baking pan
- Parchment paper (for easy removal)
- Food processor or a large zip-top bag and a rolling pin
- Large mixing bowl
- Rubber spatula
- Small bowl for toasting coconut (optional)
- Measuring cups and spoons
Step-by-Step Instructions
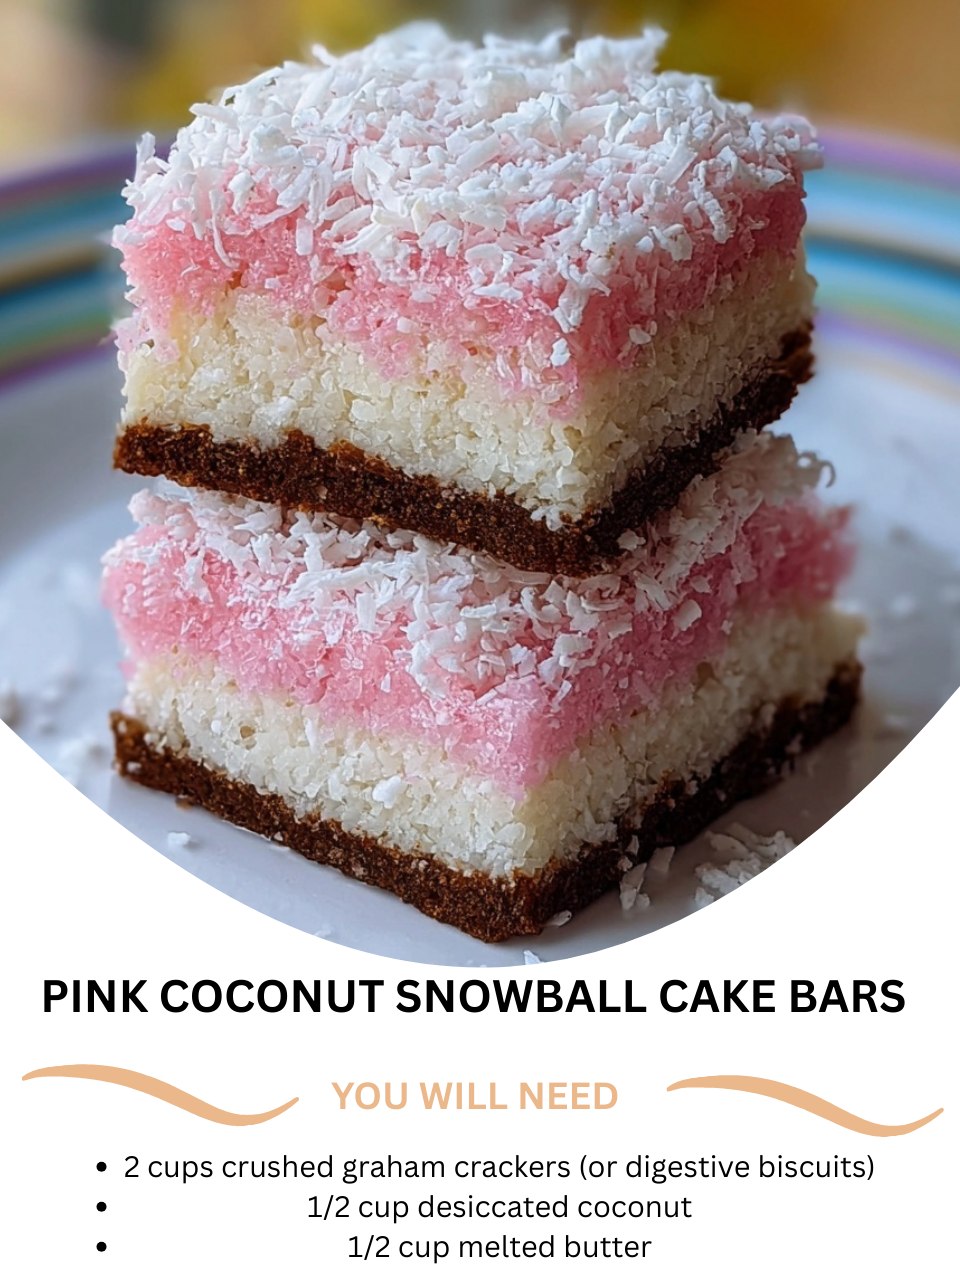
My journey with these bars always starts with the satisfying crunch of turning graham crackers into crumbs. I place the whole sheets in my food processor and pulse until I have fine, even crumbs—you want them to resemble coarse sand. In a large mixing bowl, I combine these fragrant crumbs with the 1/2 cup of desiccated coconut. I pour the melted, still-warm butter over this dry mixture and use my spatula to stir until every last bit is evenly moistened. The smell at this stage is already incredible: toasty, buttery, and sweet. I then firmly press this mixture into the bottom of my parchment-lined 8×8 pan, creating a solid, even crust. I use the flat bottom of a measuring cup to really compact it; this base needs to be sturdy to support the creamy layer.
Now, for the magical pink layer. In the same mixing bowl (no need to wash it!), I pour in the entire can of sweetened condensed milk. To this, I add the vanilla extract and that tiny pinch of salt, which I’ve learned is crucial for balancing the intense sweetness. Here’s where the fun begins: I add my color. If I’m using beet powder, I start with one teaspoon and whisk it in vigorously until fully dissolved and the milk is a uniform pastel pink. I can always add more for a bolder color. If using food gel, I add drops one at a time, stirring well between each.
This is the step where patience is key. I pour this vibrantly pink, creamy mixture over the prepared crust in the pan. Using my spatula, I gently spread it into a perfectly smooth, even layer, making sure it reaches all the way to the corners. This mixture is thick and luxurious, and spreading it smoothly is a strangely therapeutic process. Once it’s level, I pop the entire pan into the refrigerator. I let it chill for at least one hour, but I’ve learned that two hours is the sweet spot. This firming-up time is non-negotiable for clean cutting later.(See the next page below to continue…)