
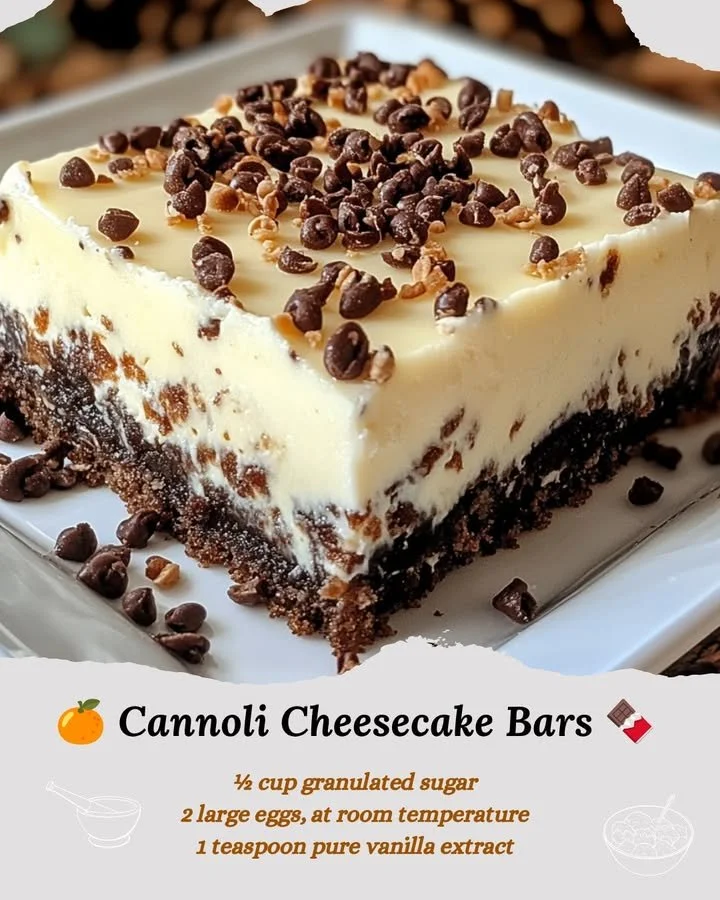
Another pitfall is not giving the bars enough time to chill. I get the excitement of wanting to dive in right away, but letting them sit in the fridge for at least four hours—or even overnight—is key to achieving the perfect texture. I once eagerly cut into a batch that hadn’t chilled long enough, and while they tasted delicious, they didn’t hold their shape at all.
Additionally, be careful with your crust. Pressing it too hard can make it overly dense, while not packing it enough could lead to a crumbly mess. I’ve learned that a gentle but firm touch works best to get just the right balance.
Serving Suggestions
I love serving my Cannoli Cheesecake Bars chilled from the fridge, drizzled with a bit of chocolate or caramel sauce for an extra special touch. They look gorgeous on a platter, and it’s hard to resist tearing into them! I sometimes garnish with fresh raspberries or strawberries for a pop of color and a hint of tartness—it brings the whole dessert to life.
These bars are fabulous for parties, too. If you have friends over or are hosting a family gathering, I often cut them into bite-sized squares for easy sharing. They pair beautifully with a cup of coffee or espresso, making them perfect for an afternoon treat or after dinner dessert.
And let’s not forget about holidays! I love serving these at holiday parties because they’re unique yet familiar, and everyone loves them. Honestly, you can’t go wrong—there’s just something about that sweet, creamy filling and the crunchy crust that gets everyone smiling.
Variations & Customizations
One of the best things about Cannoli Cheesecake Bars is how adaptable they are. If you want to mix things up, consider adding a bit of orange zest into the filling for that classic cannoli flavor without the need for citrus in your typical cheesecake. It’s a small change but one that adds a refreshing note that pairs beautifully with the sweetness.
Alternatively, try swapping out the chocolate chips for diced pistachios or candied fruit to really bring a different twist to your bars. I once made a batch with crushed pistachios and they were a hit—not only did they look gorgeous, but the flavor was just divine!
Lastly, if you’re not into using ricotta, you can also experiment with mascarpone cheese for a richer filling. While the texture will be slightly different, it results in a wonderfully decadent dessert that’s still in the spirit of the classic cannoli. I love experimenting and finding new combinations that bring joy to my bakes!
How to Store, Freeze & Reheat
Storing my Cannoli Cheesecake Bars is pretty straightforward! After they’re fully chilled and cut, I simply place the squares in an airtight container separated by parchment paper. They can easily be stored in the refrigerator for up to a week—if they last that long!
If you happen to have leftovers (which trust me, is uncommon!), these bars also freeze beautifully. I individually wrap each piece in plastic wrap and then place them in a freezer-safe bag. When I need a sweet treat, I just take out a square and let it thaw in the fridge for a few hours before enjoying. It’s like having a little stash of happiness waiting for me!
As for reheating, I recommend letting them come back to room temperature rather than microwaving. Microwaving can mess with the texture, so I typically allow them to sit out for about 15-20 minutes before serving. That way, the flavors come alive again just as they should!
Conclusion
So there you have it—my Cannoli Cheesecake Bars that combine delectable flavors and textures for a delightful dessert experience! I hope you find as much joy in making these as I do. Whether you’re enjoying them at home, sharing them with friends, or bringing them to a party, these bars are sure to impress. Happy baking, and may your kitchen always be filled with delicious aromas!