
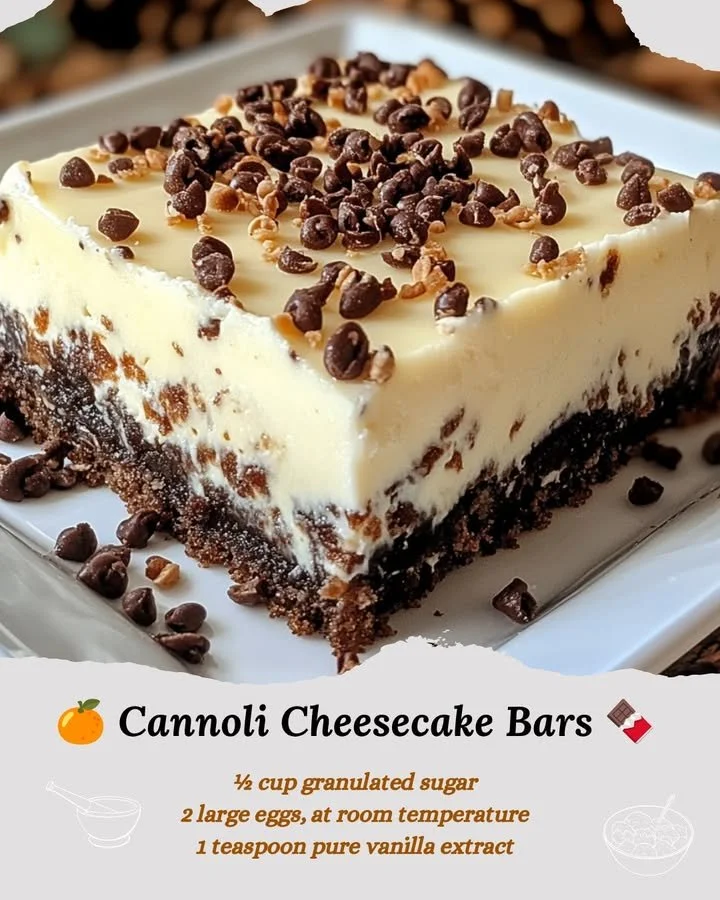
Next, while the crust is cooling, I move on to the creamy filling. In a large mixing bowl, combine the softened cream cheese and ricotta cheese and beat them together using an electric mixer until smooth and creamy. I like to take my time here to really incorporate air into the mixture, aiming for a light and fluffy texture. Once it’s well mixed, add in the powdered sugar, vanilla extract, ground cinnamon, and eggs. Beat until everything is combined and the mixture is silky. Gently fold in the mini chocolate chips, because let’s be honest—the more chocolate, the better!
Now it’s time to pour that delicious filling over the pre-baked crust. Make sure to spread it evenly, then smooth out the top with a rubber spatula. I love to sprinkle a few extra mini chocolate chips on top for a decorative finish. Once that’s ready, bake the entire dish in the oven for about 30-35 minutes or until the filling is set but still slightly jiggly in the center. The aroma wafting through my kitchen is simply divine during this stage!
Once they are done baking, I let my Cannoli Cheesecake Bars cool at room temperature for a bit, and then I transfer them to the fridge to chill for at least 4 hours (or ideally overnight!) so they can set beautifully. Trust me, you want to give them that time to chill for best results! When you’re ready to serve, just slice them into squares, and enjoy the delightful textures and flavors.
Pro Tips for Best Results
One thing I found helpful is to ensure all your ingredients are at room temperature before you start mixing. This truly helps create a smoother filling and avoids lumps—I once tried to rush the process and ended up with a not-so-pretty texture. Also, make sure you use full-fat cream cheese and ricotta; it makes a world of difference in the creaminess of your bars!
Another tip I absolutely swear by is letting the bars cool completely before slicing. I usually make mine the night before to serve at gatherings, and it makes such a difference having them chilled overnight. The flavors meld beautifully, and the texture firms up perfectly for cutting.
Lastly, don’t skip the extra chocolate chips on top! They not only make the bars prettier but give a nice little crunch that complements the creamy filling perfectly. I experimented with different toppings, but honestly, these mini chocolate chips really do the trick!
Common Mistakes to Avoid
One common mistake I made when I first started making these bars was overbaking. Trust your oven! You want the center to be slightly jiggly when you take it out. If it’s too firm, you’re likely going to end up with a dry texture. Keep an eye on them during the last few minutes of baking; it’s better to underestimate than overestimate. (See the next page below to continue…)