
Equipment Needed
- Stand mixer or handheld electric mixer
- Large and medium mixing bowls
- Whisk
- Rubber spatula
- Baking sheets
- Parchment paper or silicone baking mats
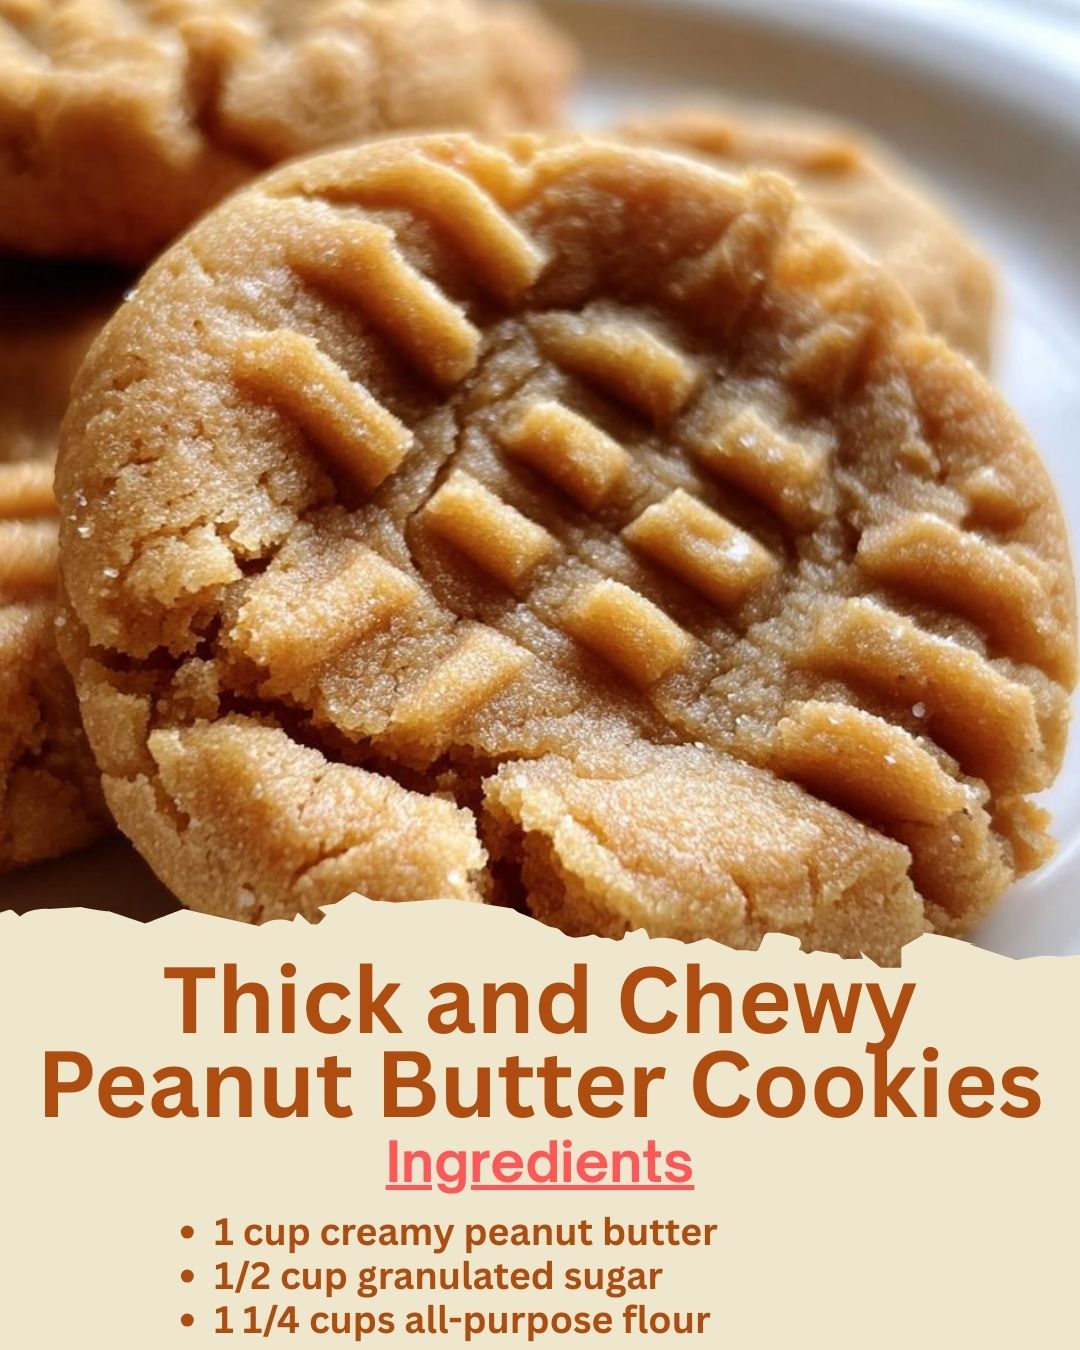
- Fork for criss-cross pattern
- Wire cooling rack
Step-by-Step Instructions
Let’s begin with the most important step: creaming the fats and sugars. In the bowl of my stand mixer, I combine the softened butter, creamy peanut butter, granulated sugar, and brown sugar. I beat them together on medium speed for a full two to three minutes. I’ve learned you cannot rush this. The mixture should become very light, fluffy, and almost look like a creamy peanut butter frosting. This step incorporates air and is the secret to that perfect, tender chew. Once it’s beautifully whipped, I beat in the whole egg, the extra yolk, and the vanilla extract until everything is smooth and emulsified.
While that’s mixing, I whisk together my dry ingredients in a separate bowl. I combine the flour, baking soda, and salt. That extra egg yolk I mentioned is crucial—it adds richness and extra fat, which promotes chewiness without making the cookie cakey. Now, with the mixer on low speed, I gradually add the dry ingredients to the peanut butter mixture. I add the flour in two or three parts, mixing only until the last streak of flour disappears. The moment it’s combined, I stop the mixer. Overmixing is the enemy of a soft cookie!
The dough will be soft and slightly sticky, but it should hold together when pressed. This is where I do something that seems counterintuitive but works perfectly: I chill the dough. I cover the bowl and pop it in the refrigerator for at least 30 minutes. I know, the wait is hard! But I’ve tried baking them immediately, and they spread too much, becoming thinner and crisper. Chilling solidifies the fat, which controls spread and ensures our cookies bake up thick and puffy. Trust me, this step is non-negotiable for the perfect texture. (See the next page below to continue…)