
Next, preheat your non-stick skillet or griddle over medium heat. I like to use a non-stick spray or a little additional butter to ensure the pancakes come out golden brown and fluffy. Pour about 1/4 cup of the batter onto the heated surface and let it cook until you see bubbles forming on the top, about 2-3 minutes. Then, flip the pancake and cook for another minute or until golden brown. While the pancakes are cooking, I like to toast marshmallows on a baking sheet in the oven set to broil for 1-2 minutes until they’re light golden and puffy.
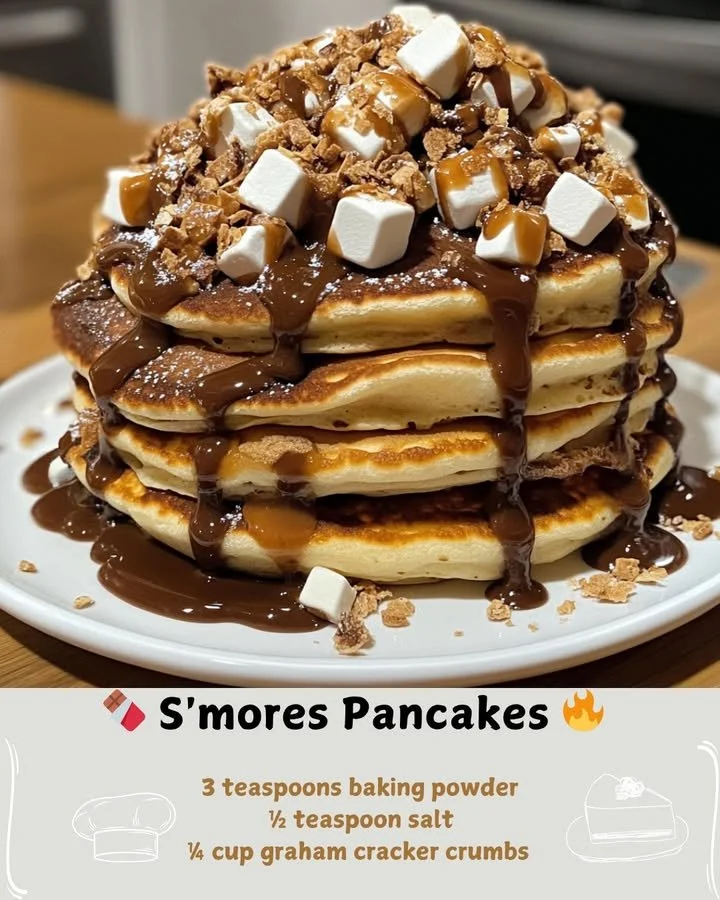
Once all the pancakes are stacked and the marshmallows are toasted to perfection, it’s time to assemble your masterpiece! Layer your pancakes with the toasted marshmallows, drizzle with chocolate syrup, and sprinkle some additional crushed graham crackers for a fun crunch. The sight of this towering deliciousness is absolutely irresistible, and trust me, your kitchen is going to smell amazing!
Pro Tips for Best Results
I tested this recipe three ways: using different types of chocolate chips, with and without adding cocoa powder to the batter, and letting the batter rest versus using it immediately. My favorite was adding dark chocolate chips for a rich flavor that perfectly balanced the sweetness of the marshmallows. Also, allowing the batter to rest for about 10 minutes made the pancakes fluffier and lighter.
Another great tip is to keep your pancakes warm while you’re making the rest of the batch. I pop them into a warm oven (around 200°F) on a baking sheet. This way, everyone can enjoy a stack of warm pancakes without having to wait!
Lastly, don’t skimp on the graham crackers. When you crush them, make sure to leave some larger chunks for delightful little bites of crunch throughout your pancakes. Trust me; it makes a difference!
Common Mistakes to Avoid
A common mistake I encountered was overmixing the batter. It was so tempting to keep stirring, but that led to tough pancakes instead of fluffy ones. I learned that it’s okay to have a few lumps in the batter; they help keep the texture just right. (See the next page below to continue…)