
Equipment Needed
- Stand mixer or handheld electric mixer
- Large mixing bowls
- Measuring cups and spoons
- Baking sheets
- Parchment paper or silicone baking mats
- Small spoon or piping bag for jam
- Wire cooling rack
Step-by-Step Instructions
Getting the butter to the right consistency is your first crucial step. I’ve learned the hard way that “softened” doesn’t mean melted or even shiny. You want it cool to the touch but able to hold a deep indent when you press it with your finger. I usually leave mine on the counter for about 45 minutes before starting. Cream it with the sugar on medium speed for a full two to three minutes. Don’t rush this! I once tried to shortcut it, and my cookies spread too much. You’re looking for the mixture to become noticeably paler and fluffy, which creates that lovely, light texture.
Next, I add the vanilla and salt directly to the creamed mixture before gently folding in the flour. I switch to a sturdy spatula for this part to avoid overworking the dough, which can make the cookies tough. The dough will be soft and slightly crumbly, but it should hold together when you squeeze a handful. If it seems too dry, a single teaspoon of cold water can help, but add it sparingly. Then, I roll tablespoon-sized portions into smooth balls. A little tip: I keep a small bowl of water nearby to dampen my palms, which prevents sticking without adding extra flour.
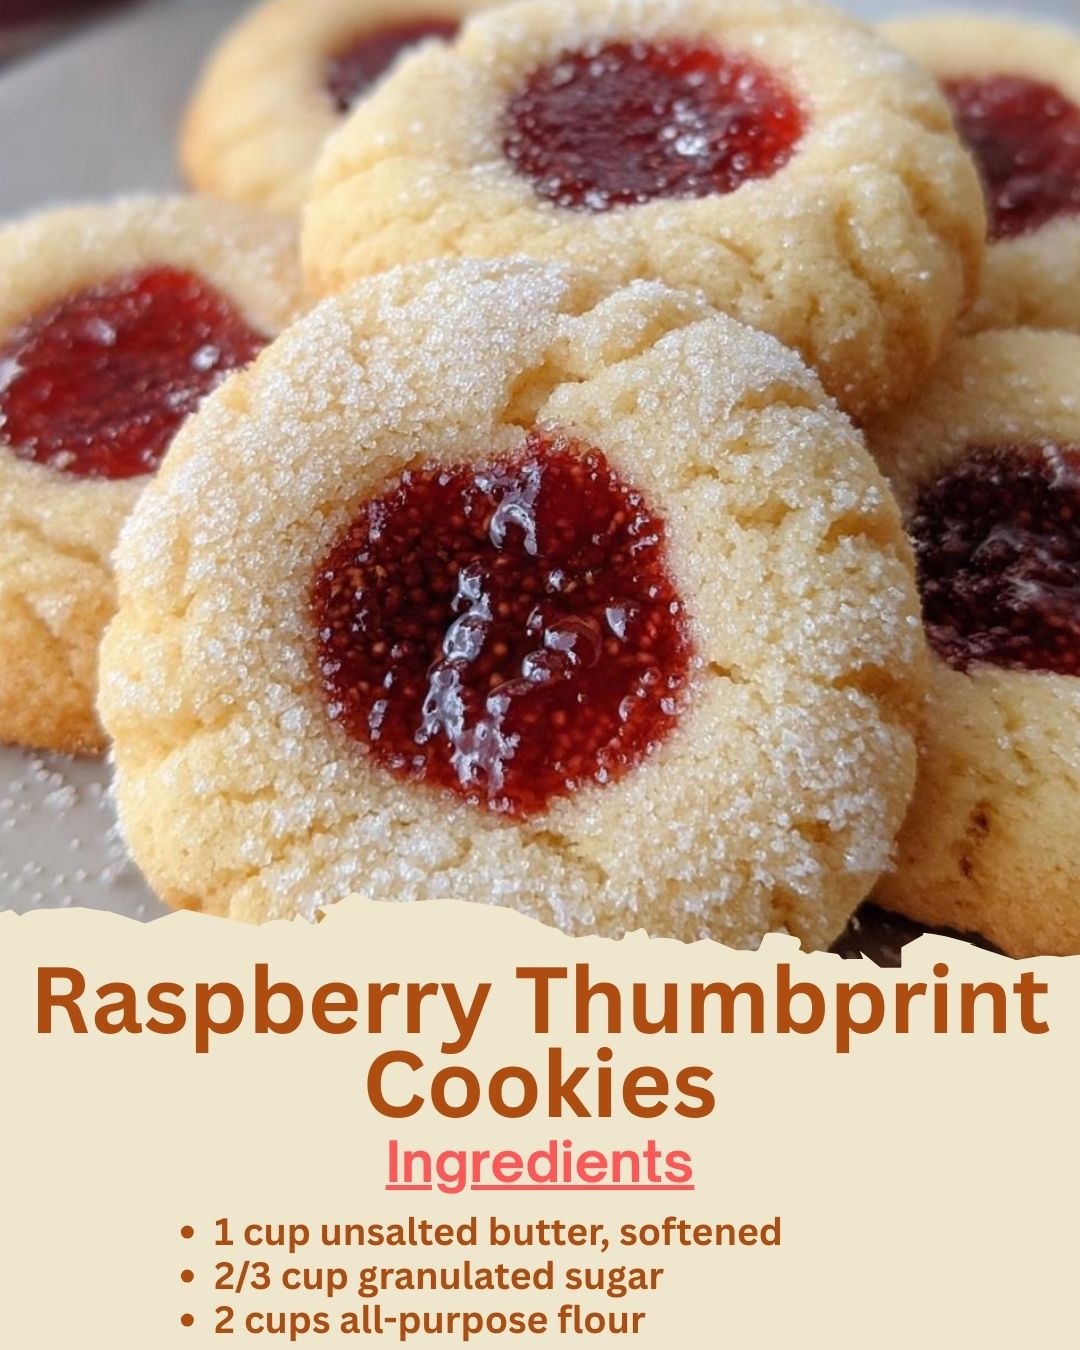
Now for the fun part—making the thumbprints! I line my baking sheets with parchment paper; it’s my non-negotiable for perfect, non-stick bakes. Place the dough balls about two inches apart. Using your thumb (or the rounded end of a wooden spoon handle), firmly press an indentation into the center of each ball. Don’t be shy here! I press almost to the baking sheet because the wells close up a bit during baking. If the edges crack, just gently pinch them back together—it’s very forgiving. (See the next page below to continue…)