
Next, I sift together the flour, baking powder, and salt in another bowl. Slowly, I add this dry mixture to my wet ingredients, alternating with the coconut milk. This step is crucial; it helps keep my cake moist and fluffy. Once combined, I fold in the crushed pineapple (make sure it’s well-drained) and shredded coconut. I love how the colors blend together, and the smell is already heavenly! Now, I pour the batter into my prepared loaf pan, giving it a little shake to ensure it’s evenly distributed.
While the cake bakes for about 60-70 minutes, I can already imagine the sweet aroma filling my home. I check for doneness by inserting a toothpick into the center—if it comes out clean, my cake is ready! Once baked, I let it cool in the pan for 10 minutes before transferring it to a cooling rack to ensure it doesn’t become soggy on the bottom. Patience is key here; the anticipation makes it all the more rewarding!
Pro Tips for Best Results
I found that letting the butter come to room temperature is vital for that perfect creamy texture. I usually take it out about an hour before I start baking, and it makes a world of difference! When creaming the sugar and butter, make sure you really give it enough time until it turns light and fluffy; it ensures the cake has that desired rise.
Also, consider using fresh pineapple when you can. The flavor really pops compared to canned, although I know that’s not always practical. I’ve tried both ways, and fresh adds a delightful brightness that elevates the cake. Just be sure to drain it well, or the extra moisture can affect the overall texture.
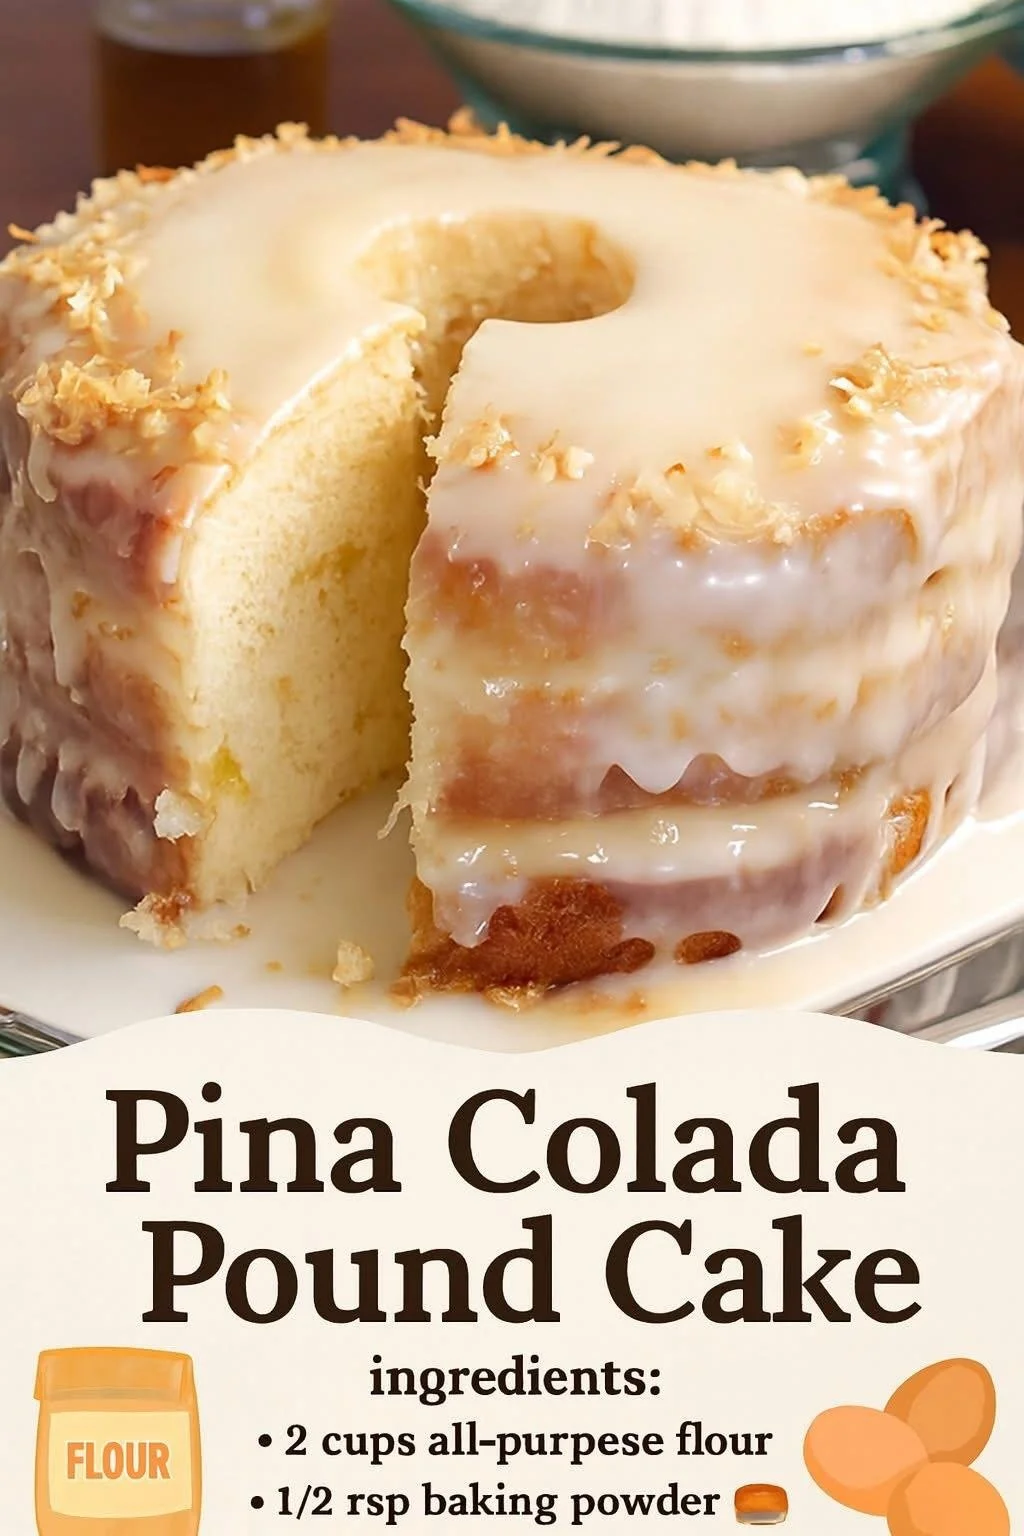
Lastly, I love to sprinkle a bit of extra shredded coconut on top before baking; it turns golden brown and adds a lovely crunchy texture once baked. It makes for a beautiful presentation when you take it out to share with friends!
Common Mistakes to Avoid
One common mistake I encountered was overmixing the batter. This results in a dense cake instead of the light, fluffy texture we all crave. Make sure that when you add the dry ingredients, you mix until just combined. I’ve learned the hard way that a few lumps don’t hurt; they’ll bake out beautifully.
I also found that not properly greasing the loaf pan can lead to a sticky situation. I always use a generous amount of butter, and for extra insurance, I dust it with a bit of flour afterward. It’s such a bummer when a perfectly baked cake gets stuck!
Another pitfall to watch out for is relying solely on baking time. Every oven behaves differently, and I recommend always doing the toothpick test for perfect results. Depending on your oven, you might need to adjust the baking time, so keep a close eye on it towards the end.
Finally, don’t skip the cooling process. It’s so tempting to slice into it immediately, but letting your cake cool in the pan for a bit before transferring it to a rack helps preserve its shape and texture. (See the next page below to continue…)