
Equipment Needed
- 8×8 inch square baking pan
- Parchment paper
- Medium saucepan
- Heatproof spatula or wooden spoon
- Measuring cups and spoons
Step-by-Step Instructions
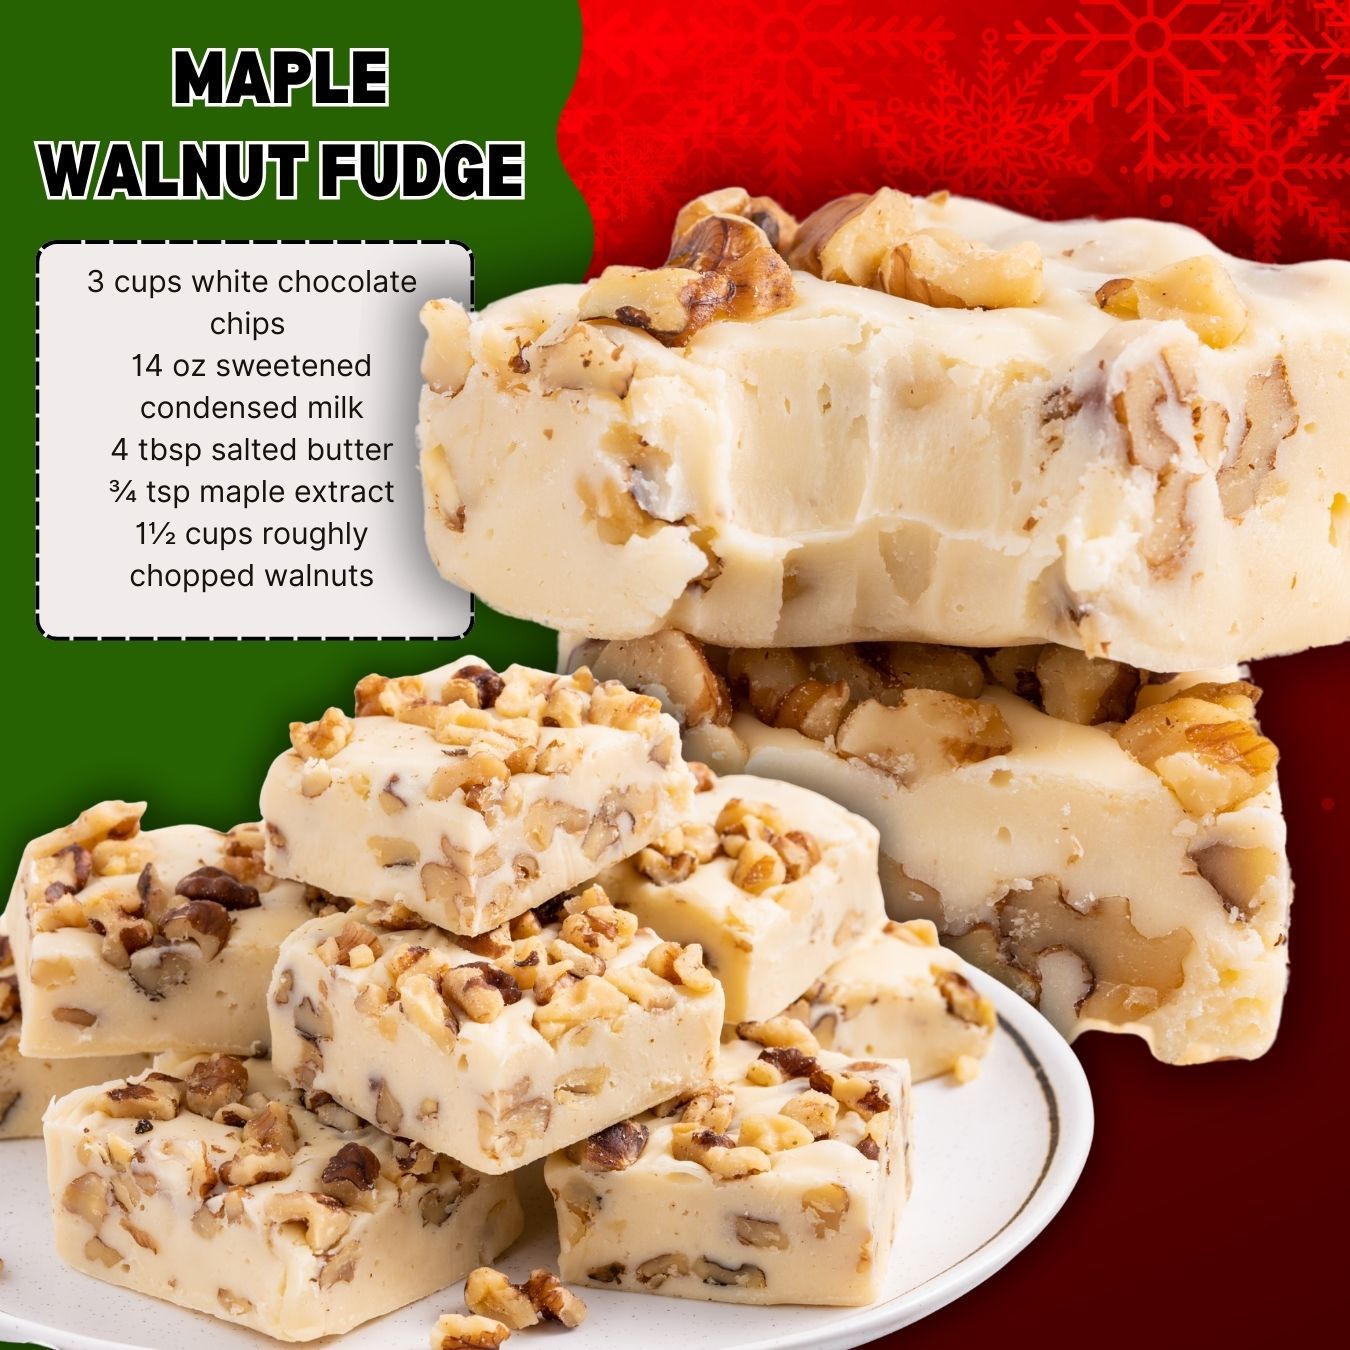
The entire process begins with a little prep that makes all the difference. First, I line my 8×8 pan with parchment paper, leaving some overhang on two sides. This “sling” is a lifesaver—it lets you lift the entire slab of fudge out in one piece for perfect, clean cutting. I learned this the hard way after trying to pry my first batch out with a knife, resulting in cracked and crumbly edges. Once the pan is ready, I spread about a cup of the chopped walnuts evenly across the bottom. This creates a delicious walnut layer that ends up on top when you flip it out later.
Now, for the cooking—which is more like gentle coaxing. In your medium saucepan, combine the white chocolate chips, sweetened condensed milk, and salted butter. Place it over the lowest heat setting on your stove. This is crucial: we are melting, not cooking. White chocolate is notoriously finicky and can scorch or seize in an instant if the heat is too high. I stir almost constantly with my spatula, watching as the chips slowly lose their shape and everything melds into a smooth, thick, creamy lava. This usually takes about 5-7 minutes. Patience here is your best ingredient.
Once the mixture is completely smooth with no visible lumps, I immediately remove the pan from the heat. This is when I stir in the maple extract. And here’s my biggest flavor tip: use pure maple extract, not imitation. I’ve tried both, and the pure extract gives a deep, authentic maple flavor that imitation just can’t match. It smells absolutely heavenly. Give it a vigorous stir to make sure the flavor is fully incorporated throughout the entire pot of creamy fudge. (See the next page below to continue…)