
Now that the filling is ready, pour it into the cooled pie crust. Make sure to spread it out evenly. At this stage, if you’d like to add a decorative touch, feel free to use another pie crust to create a lattice top. (That’s my favorite!) Just make sure to adjust the baking time, as it might take a little longer. After you arrange the top crust, brush it lightly with the egg wash to give it that beautiful golden finish. Bake in the preheated oven for 25-30 minutes, or until the crust is golden brown and bubbly. Once it’s out of the oven, let it cool for at least an hour. I know it’s hard to wait, but this step is crucial for the filling to set properly.
Pro Tips for Best Results
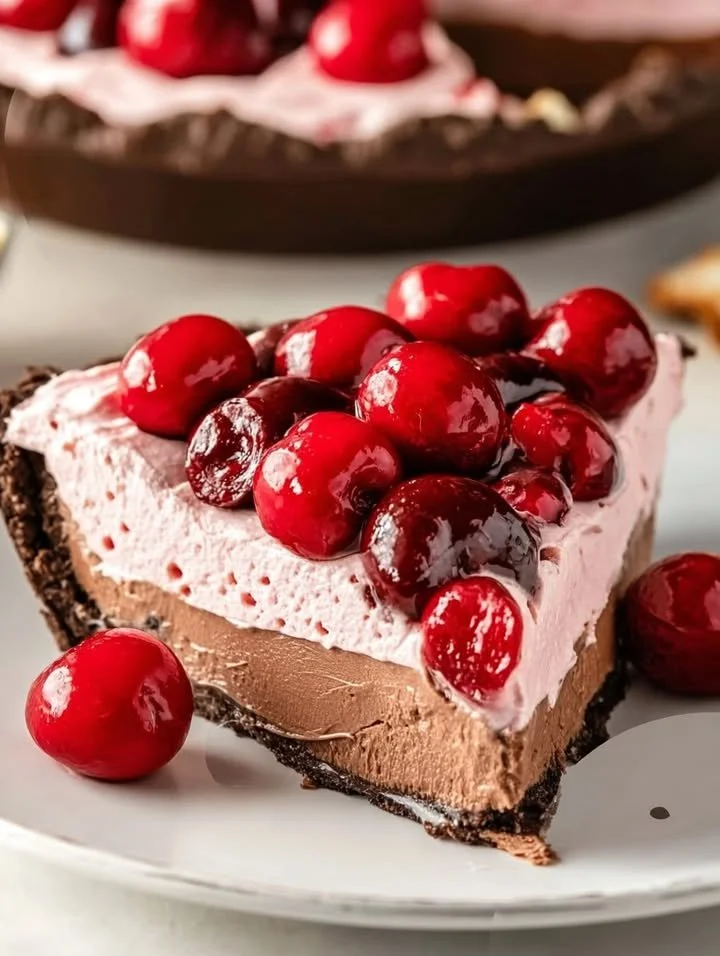
I’ve tested this Chocolate Cherry Pie a few different ways, and I’ve found that using fresh cherries really enhances the flavor—if you can find them in season, grab a bunch! Alternatively, frozen cherries can still do the trick; just be sure to thaw and drain them first to avoid excess moisture. I also like to add a pinch of cinnamon to the chocolate filling for an extra layer of warmth, which surprisingly complements the cherries beautifully.
If you’re worried about the crust becoming too tough, don’t overwork the dough. I always mix it just until the ingredients come together, which helps keep it flaky and tender. And remember, a little chill time in the fridge for the pie crust before baking can make all the difference!
Finally, I always serve my pie with a scope of vanilla ice cream on the side. The ice cream melts slightly and creates a delicious sauce with the warm pie, elevating the experience to pure bliss.
Common Mistakes to Avoid
One mistake I’ve made in the past is using too much filling. While the idea of a mound of filling sounds tempting, it can make the pie overflow while it’s baking. I recommend keeping the filling level just below the edge of the crust for best results. This way, you won’t have a mess in your oven! (See the next page below to continue…)