
Equipment Needed
- Medium, heavy-bottomed saucepan
- 8×8 inch baking pan
- Parchment paper
- Wooden spoon or silicone spatula
- Measuring cups and spoons
Step-by-Step Instructions
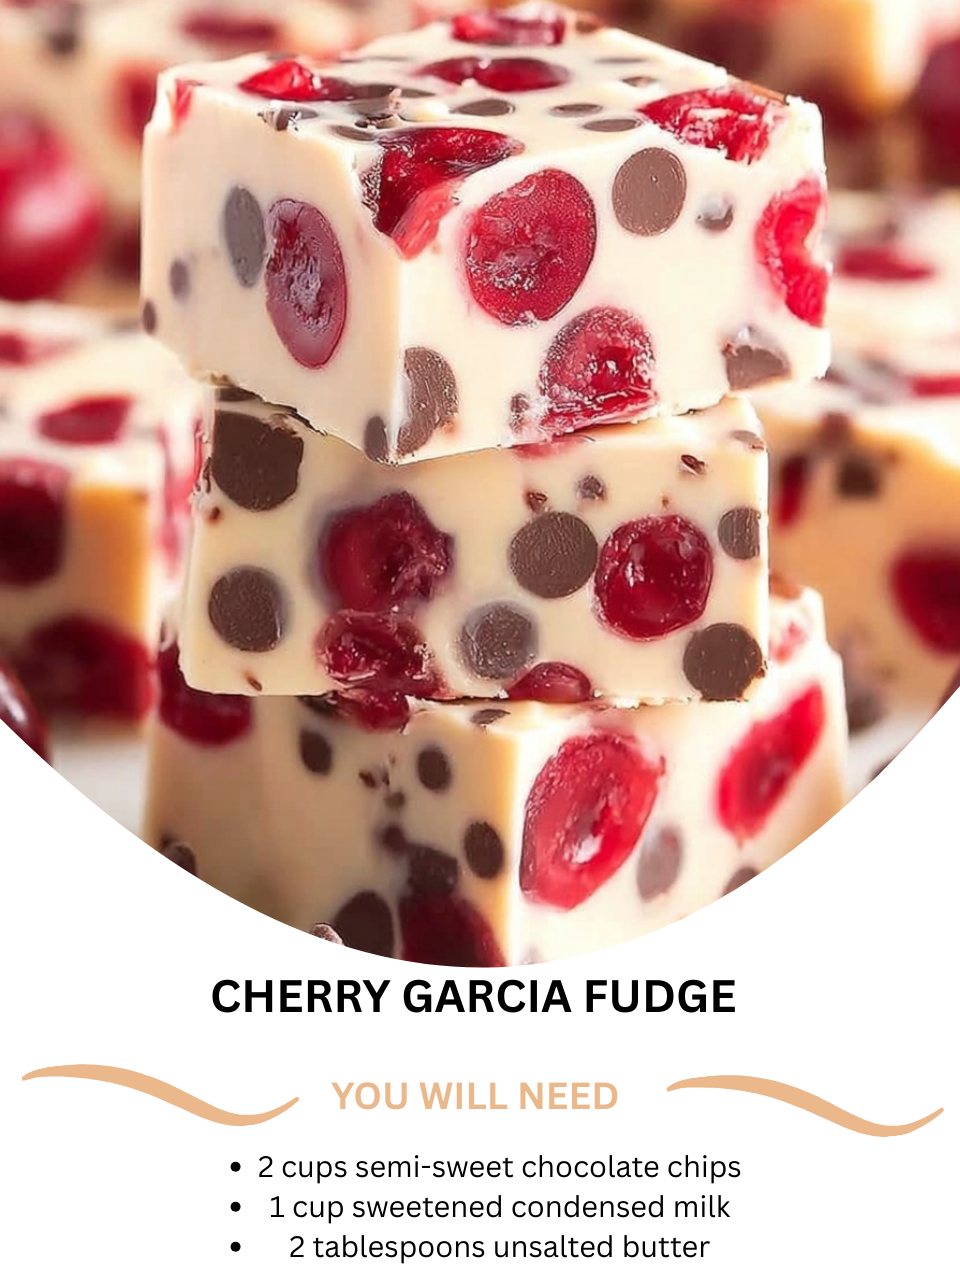
My first step is always to prep my pan and my mix-ins. I line my 8×8 inch pan with parchment paper, leaving an overhang on two sides—this is my lifeline for easy fudge removal later. Then, I chop my dried cherries into smaller, bite-sized pieces. I also chop my dark chocolate bar into rough chunks if I’m not using pre-made chunks. Having these ready is crucial because once the fudge base is melted, you need to work quickly before it starts to set. I’ve learned that scrambling for ingredients mid-process can lead to a grainy, overworked fudge.
Now, for the magic melt. In my medium saucepan, I combine the semi-sweet chocolate chips, sweetened condensed milk, and butter. I place it over the lowest possible heat on my stove. Patience is absolutely key here. I stir slowly and constantly with my wooden spoon, watching the chips gradually lose their shape and blend with the milk into a thick, glossy, dark lava. I once tried to hurry this along with higher heat, and the chocolate scorched on the bottom, giving the whole batch a bitter taste. Low and slow is the only way to achieve that perfectly smooth, velvety base.
As soon as the mixture is completely smooth and unified, I immediately remove the saucepan from the heat. This is when I stir in the secret flavor booster: the quarter teaspoon of almond extract. It might seem like a tiny amount, but it’s a game-changer. It doesn’t make the fudge taste like almonds; instead, it enhances the cherry flavor, making it taste more complex and authentic, just like the ice cream. I stir it in vigorously. Then, I quickly fold in about three-quarters of my chopped dried cherries and dark chocolate chunks, reserving the rest for the top.(See the next page below to continue…)