
Finally, I fold in the flour-coated apple pieces with a rubber spatula. The batter will be very thick, which is exactly what you want to support those apples. I scrape the batter into my prepared loaf pan and smooth the top. For a beautiful, sparkling crunch, I sprinkle the cinnamon-sugar topping over the batter. Then, it goes into a preheated 350°F oven. I bake it for 55-65 minutes. The true test is a toothpick inserted into the center of the bread (not just an apple pocket) coming out clean. The smell while it bakes is absolutely intoxicating.
Pro Tips for Best Results
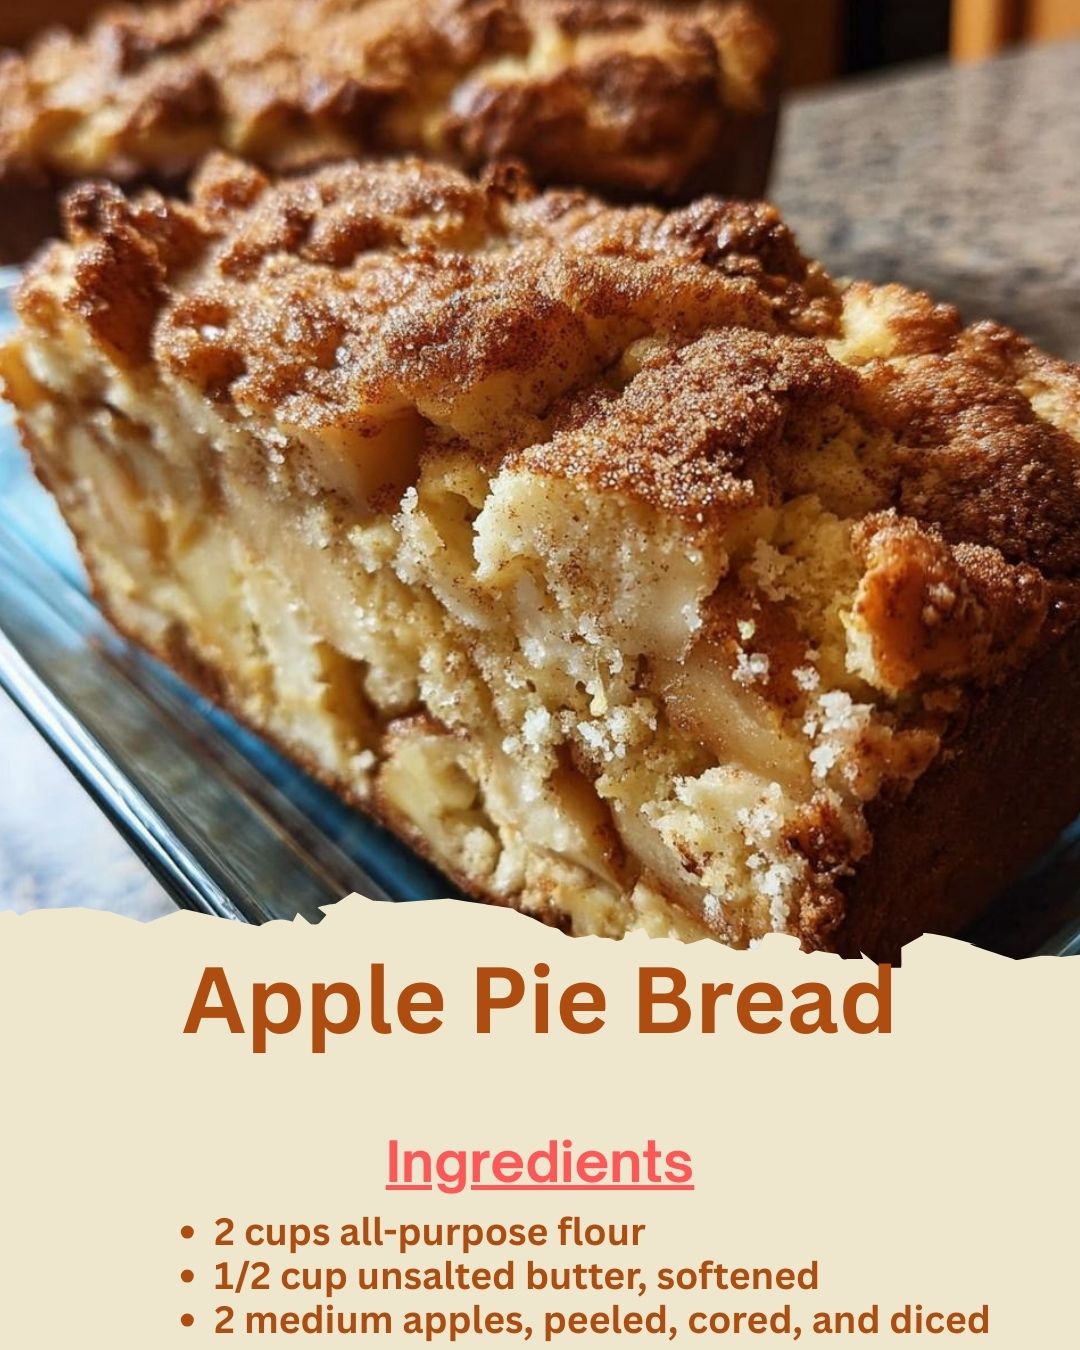
My top tip is about the apples. I’ve tested this with different varieties, and a firm, tart apple like Granny Smith is the absolute best. It holds its shape during baking and provides a bright flavor contrast to the sweet, spiced bread. Softer apples, like Red Delicious, turn to mush. Don’t skip peeling them, either—the peels can separate and create tough, chewy bits in the finished loaf. Trust me, take the extra few minutes to peel.
Properly softening your butter is non-negotiable. I’ve tried this with melted butter and with butter that was too cold. Melted butter made the bread dense and greasy, while cold butter wouldn’t cream properly. The ideal softened butter should be cool to the touch but leave a deep indent when you press it. I usually set mine out on the counter for about 45 minutes before I start baking. This one detail makes a huge difference in texture.
The flour-coating trick for the apples is a game-changer I learned after my first loaf had all the fruit at the bottom. Simply tossing the diced apples with a spoonful of the measured flour from your dry ingredients creates a light barrier that helps suspend them throughout the batter. It’s a tiny, 10-second step that ensures you get apple in every single bite, from the top of the loaf to the bottom.
Common Mistakes to Avoid
The first mistake I made was underbaking the loaf. Because it’s so moist from the apples, the top can look beautifully golden and set while the very center is still raw batter. I was so excited to eat it that I pulled it out at 50 minutes, only to find a gummy stripe in the middle. Now, I always use a toothpick or a thin knife and test in a few spots, making sure I’m hitting cake, not just apple. It often needs the full 65 minutes. (See the next page below to continue…)