Equipment Needed
Step-by-Step Instructions
- The first thing I always do is preheat my oven to 180°C (350°F) and line my baking pan with parchment paper. Trust me, this simple step makes removing the cheesecake much easier later. While the oven heats, I chop the dark chocolate into small pieces so it melts evenly and smoothly.
- Next, I melt the chocolate until it becomes glossy and completely smooth. I usually use a heatproof bowl over simmering water, although a microwave works too if done carefully. I let the chocolate cool slightly because adding very hot chocolate directly to the yogurt can affect the texture.
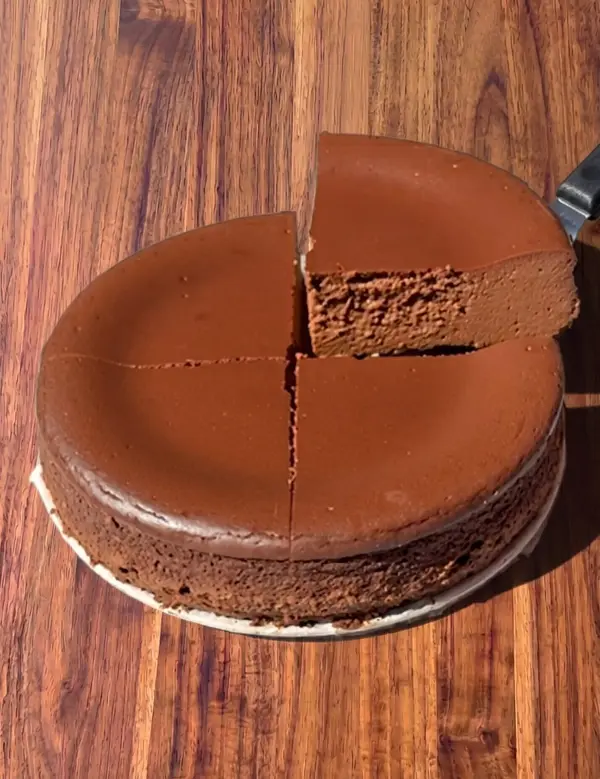
- Once the chocolate has cooled a bit, I mix it with the Greek yogurt until the mixture becomes thick, creamy, and fully combined. The rich chocolate color at this stage always looks amazing. Then I add the eggs one at a time, whisking continuously after each addition. I’ve found that adding them gradually creates the smoothest batter.
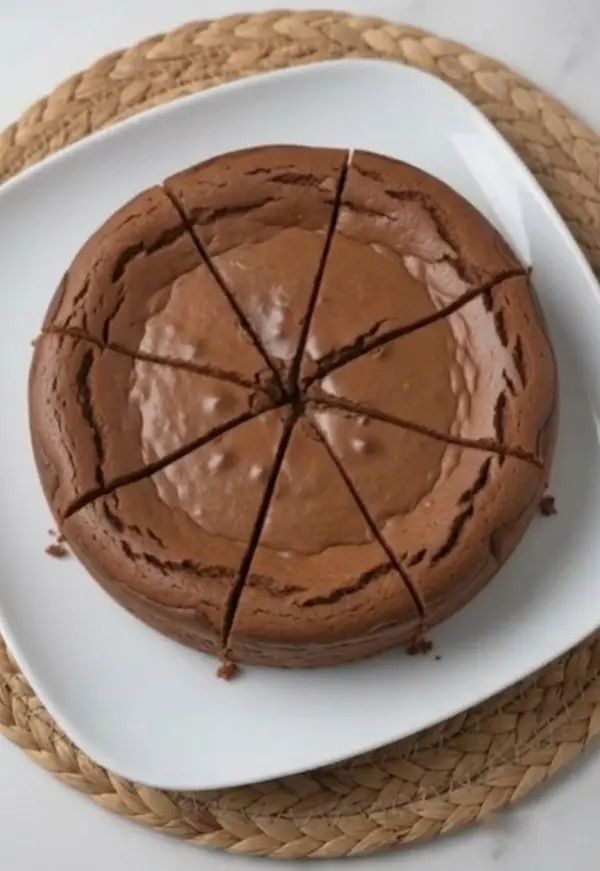
- Finally, I pour the batter into the prepared pan and spread it evenly. I bake it for about 25–30 minutes until the edges are set while the center remains slightly soft. The first time I made this recipe, I worried the middle looked underbaked, but trust me, it firms up beautifully as it cools. I let it cool completely before slicing, which gives it the perfect cheesecake texture.
Pro Tips for Best Results
I tested this recipe with different types of chocolate, and high-quality dark chocolate consistently gives the best flavor. Trust me, since chocolate is one of the main ingredients, using a good one makes a huge difference.
Another thing I learned is that room-temperature eggs mix more easily into the batter. Cold eggs can make the mixture harder to combine smoothly and may affect the final texture.
Don’t rush the cooling process. I know it’s tempting to slice into the cheesecake immediately, but allowing it to cool completely creates a much firmer and creamier texture.
Common Mistakes to Avoid
The biggest mistake I made the first time was adding the eggs too quickly. The batter became less smooth, and the texture wasn’t quite as silky. Adding them one at a time works much better.
Another mistake is overheating the chocolate. I once melted it too aggressively, and it became thick and grainy. Gentle melting creates a much smoother cheesecake batter.
I also recommend not overbaking the cheesecake. The center should still look slightly soft when you remove it from the oven. Overbaking can make the texture dry instead of creamy.
One more mistake is skipping the parchment paper. I did this once and had a much harder time removing the cheesecake from the pan without damaging the edges.
Serving Suggestions
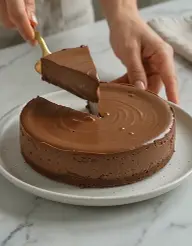
I personally love serving this cheesecake chilled because the chocolate flavor becomes even richer after refrigeration. The texture also becomes denser and more luxurious.
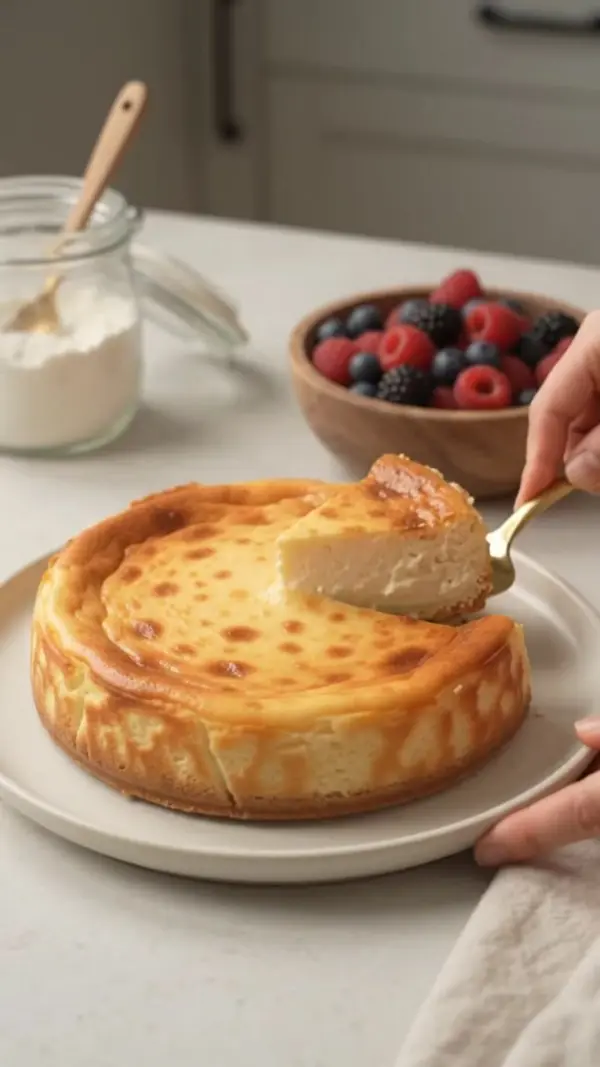
Sometimes I garnish each slice with fresh berries. The slight tartness of raspberries or strawberries pairs beautifully with the rich chocolate flavor.
When I want to make it feel extra special, I dust the top with a little cocoa powder or add a few chocolate shavings before serving.
Variations & Customizations
I’ve experimented with adding a teaspoon of vanilla extract to the batter, and it creates a deeper, more balanced flavor profile.
Another version I enjoy includes a pinch of espresso powder. It doesn’t make the cheesecake taste like coffee, but it intensifies the chocolate flavor beautifully.
Sometimes I fold in a handful of chocolate chips before baking. This creates little pockets of melted chocolate throughout the cheesecake and makes it even more indulgent.
How to Store, Freeze & Reheat
From my experience, this cheesecake keeps very well in the refrigerator for up to five days when stored in an airtight container. In fact, I think the flavor improves after the first day.
I’ve frozen individual slices several times. I wrap each slice tightly and place them in a freezer-safe container. They thaw beautifully and retain their creamy texture.
Since this cheesecake is best served chilled, reheating isn’t necessary. I simply allow frozen slices to thaw in the refrigerator before serving.
Conclusion
This 3 Ingredient Chocolate Cheesecake is proof that incredible desserts don’t need complicated ingredients or difficult techniques. The combination of rich dark chocolate, creamy Greek yogurt, and eggs creates a decadent cheesecake that tastes far more elaborate than it actually is. Whether you’re making it for a special occasion or simply satisfying a chocolate craving, this recipe delivers impressive results every time. Once you taste that smooth, fudgy, chocolate-packed bite, trust me, you’ll want to make it again and again.