
Do not substitute low-fat or whipped cream cheese. I tested it, hoping for a lighter option, and the results were a disaster. The dough was wet, impossible to roll, and the candies never properly set, remaining sticky and soft. The fat in full-fat, brick-style cream cheese is essential for the right texture and stability. It provides the rich, creamy mouthfeel and acts as a binder for the sugar.
Avoid using too much food coloring, especially liquid. More than a drop or two can make the dough tacky and throw off the moisture balance, requiring you to add more sugar and potentially making that batch drier than the white one. For a deep, vibrant red without the moisture, use a highly concentrated gel food coloring. You’ll use less and get a much more professional-looking color.
Finally, don’t skip the resting time for the dough after mixing. If you try to roll it out immediately, it will be elastic and fight you, shrinking back constantly. That 30-minute rest wrapped in plastic allows the gluten in the flour (from the powdered sugar) to relax and the moisture to distribute evenly. It makes the rolling process peaceful and smooth instead of a frustrating battle.
Serving Suggestions
I love presenting these mints in a beautiful crystal bowl or a festive holiday dish as part of a dessert spread. They look stunning nestled amongst chocolate truffles and spritz cookies. Their bright white and red colors pop, and they offer a lovely, palate-cleansing bite after richer desserts. I always make sure to separate layers in a bowl with small parchment squares so they don’t touch and stick.
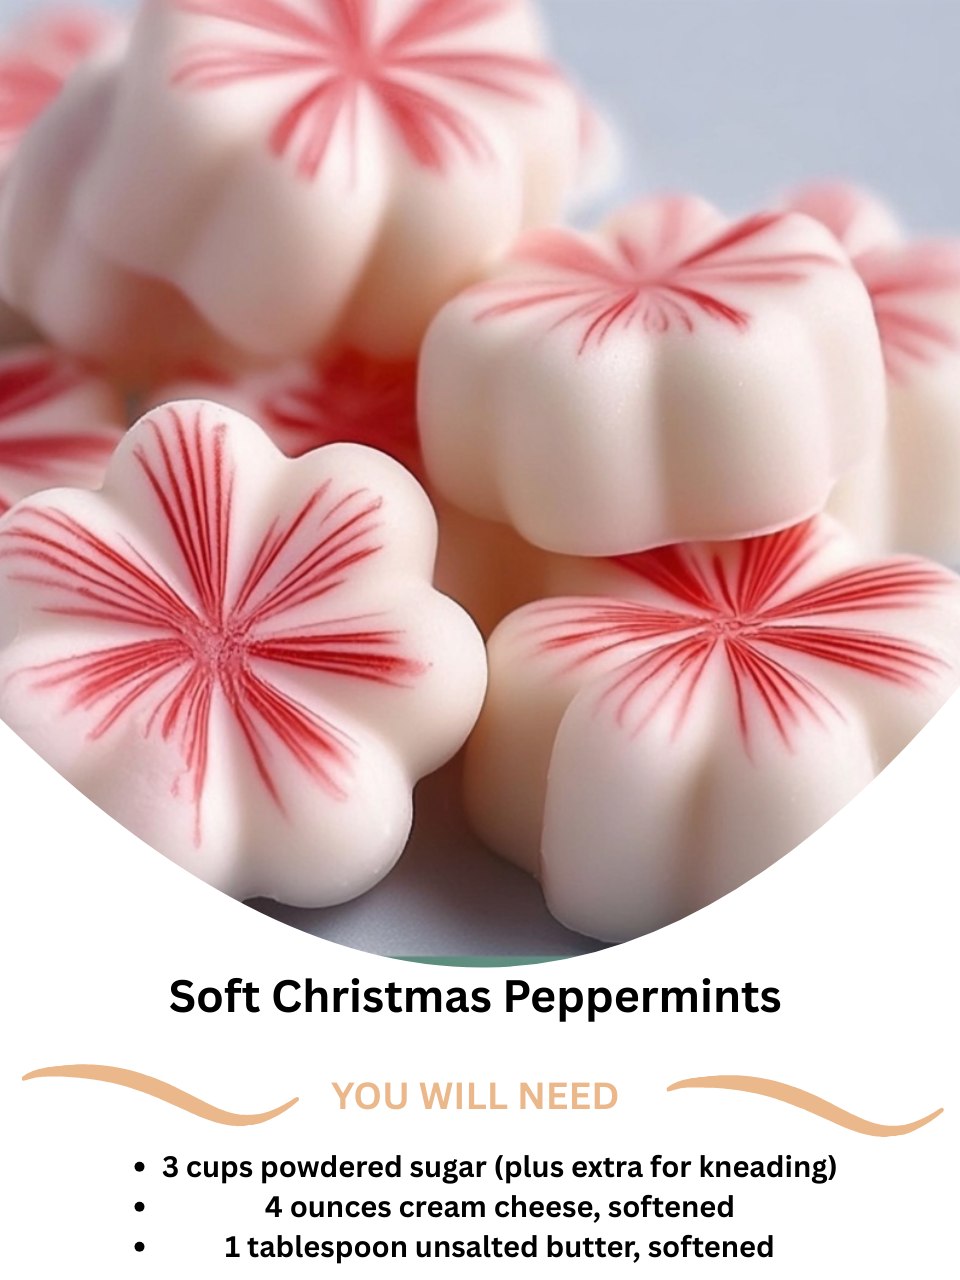
These are my absolute favorite homemade gift. I stack them in clear cellophane bags tied with a sparkly ribbon, or layer them in a decorative tin with parchment paper between layers. A small tag with the name “Soft Christmas Peppermints” makes it extra special. They are non-perishable for gifting purposes and always receive exclamations of delight—people are genuinely impressed that you made candies!
For a fun and interactive treat at a holiday party, I sometimes serve them alongside a rich hot chocolate or a strong cup of coffee. Placing a small peppermint on the saucer lets guests drop it into their drink for a DIY peppermint mocha or simply enjoy it as a sweet accompaniment. It’s a simple touch that feels thoughtfully festive.
Variations & Customizations
For a chocolate-peppermint version, I replace 1/4 cup of the powdered sugar with unsweetened cocoa powder (sifted!). It creates a beautiful chocolate dough with a minty kick, like a soft After Eight mint. You can make half the batch chocolate and half peppermint for a variety. Rolling the chocolate mints in crushed candy canes looks especially striking.
If you want to play with flavors, the possibilities are endless. Replace the peppermint with 1/2 teaspoon of pure orange extract and use orange food coloring for a “Creamsicle” candy. Use a few drops of lemon extract and yellow coloring for a bright, sunny treat. Just remember to keep the extract amounts small, as they can be potent.
For a decorative touch, instead of food coloring in the dough, I’ll sometimes keep the entire batch white. After cutting out the rounds, I brush the tops with a tiny bit of corn syrup (thinned with water) and dip them in or sprinkle them with colored sanding sugar, nonpareils, or very finely crushed candy canes. It gives them a sparkling, crunchy top that’s absolutely beautiful.
How to Store, Freeze & Reheat
To store these mints, I place them in a single layer in an airtight container, separating layers with parchment or wax paper. They will keep perfectly at cool room temperature for up to 2 weeks. Do not store them in the refrigerator, as the humidity can make them sticky and cause them to weep moisture. A cool, dry pantry or cupboard is ideal.
Yes, you can freeze them for long-term storage. Once completely dry, arrange them in a single layer on a parchment-lined baking sheet to flash-freeze for an hour. Then, transfer the frozen mints to a freezer-safe bag or container. They will keep for up to 3 months. This is a fantastic way to get a head start on your holiday baking in November.
There is no need to reheat these candies. To serve frozen mints, simply remove them from the freezer and let them thaw, still in their container, at room temperature for about an hour. This prevents condensation from forming on the candies themselves. They will taste exactly as fresh as the day you made them.
Conclusion
Making these Soft Christmas Peppermints has become one of my most cherished holiday rituals. The process is calming, the result is delightful, and the joy they bring to others is immeasurable. I hope this recipe encourages you to create a little edible magic in your own kitchen, filling it with the scent of peppermint and the spirit of the season. They’re more than just a candy; they’re a tiny, sweet token of holiday warmth.