
Do not skip the salt. It might seem odd in a sweet bar, but it’s the secret weapon that keeps the treat from tasting one-dimensionally sugary. It enhances the butter and vanilla flavors and balances the sweetness of the powdered sugar and chocolate. Just a quarter teaspoon makes all the other flavors pop.
Avoid adding extra butter to make the mixture stick together. If your mix seems too dry after adding the melted butter, just keep mixing and kneading with your hands. The heat from your hands will help distribute the butter. Adding more will make the bars greasy and prevent them from setting properly. If it truly won’t hold a shape when pinched, add more butter one teaspoon at a time, not tablespoons.
Finally, don’t try to slice the bars before they are fully chilled. Impatience leads to crumbling. The two-hour chill in the fridge is essential for the butter to set. For the cleanest cuts, I sometimes even freeze the whole pan for 30 minutes before slicing, especially if my kitchen is warm. A sharp knife wiped clean between cuts gives you those beautiful, sharp edges.
Serving Suggestions
I love presenting these bars on a festive platter lined with parchment or a doily. Arranging them in a simple grid or stacking them slightly offset looks beautiful. They’re perfect for cookie exchanges, holiday parties, or as a sweet little gift tucked into a cellophane bag tied with a ribbon.
For a cozy night in, I’ll serve them with mugs of rich hot chocolate or strong coffee. The sweetness of the bar pairs wonderfully with the slight bitterness of the drinks. They also make a lovely, light dessert after a heavy holiday meal when everyone is too full for pie but still wants a little something sweet.
These are my favorite treat to leave out on Christmas Eve with a glass of milk. They’re less crumbly than cookies, so they’re neater for Santa, and their simple, sweet flavor is a universal pleaser. Packaging a few with a note for neighbors or teachers is also a heartfelt, homemade touch.
Variations & Customizations
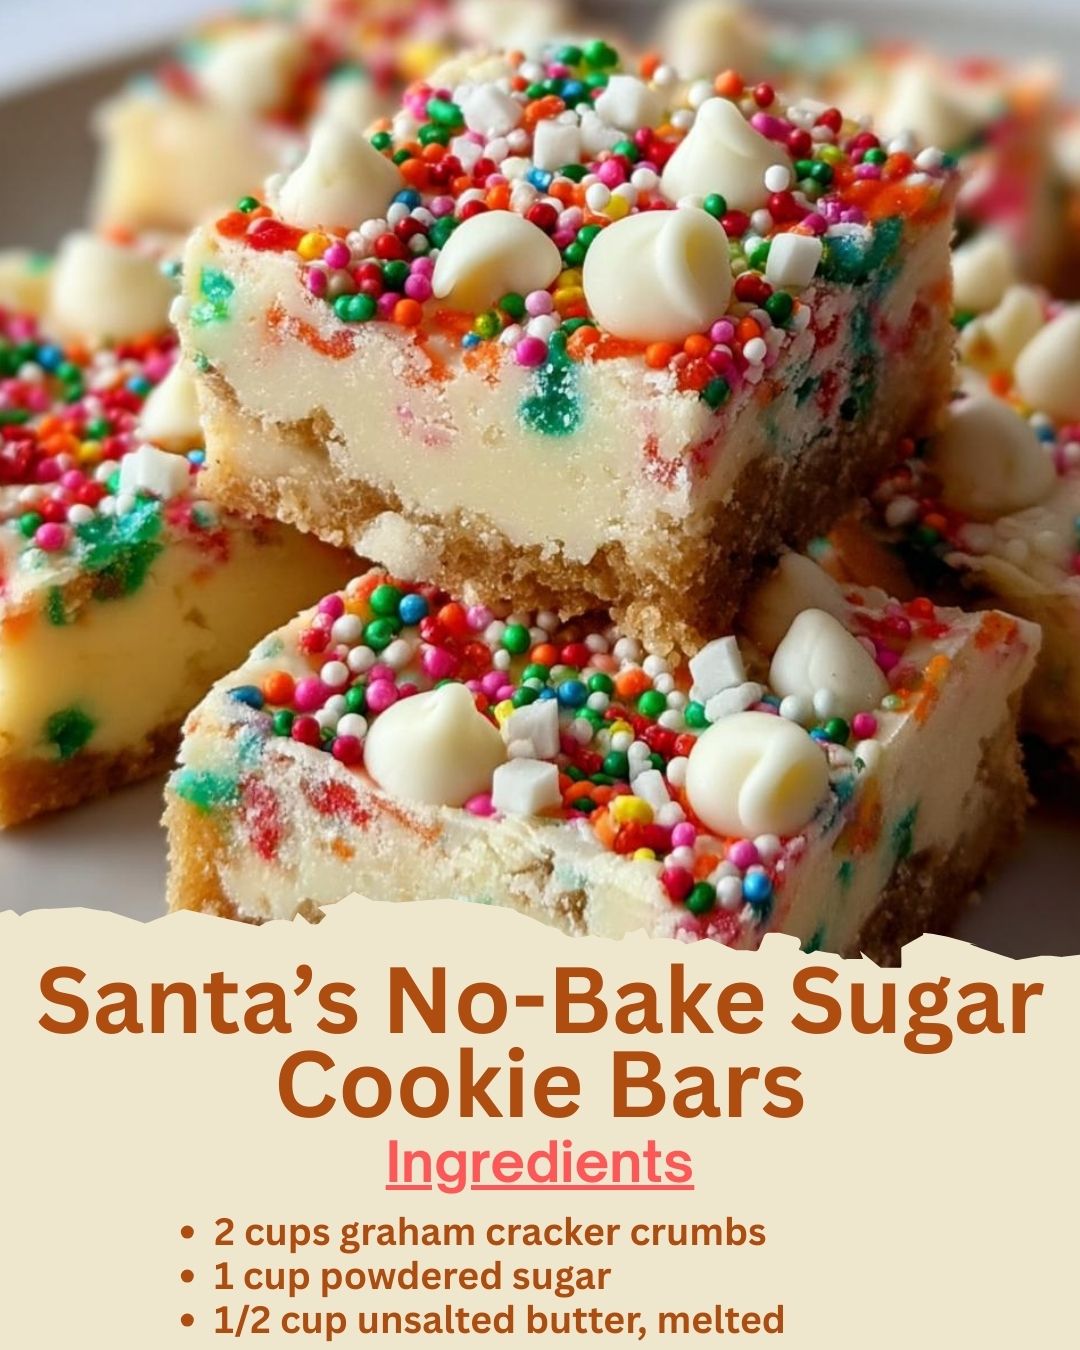
For a “Christmas Magic” version, I’ll divide the base mixture and tint one portion with a few drops of green food coloring and another with red before pressing them in alternating sections into the pan. When sliced, you get beautiful red and green layered bars. You can also use holiday-themed sprinkles mixed right into the crumb base.
If you love texture, stir 1/2 cup of mini chocolate chips, chopped toasted pecans, or even crushed pretzels into the crumb mixture before pressing it into the pan. This adds little bursts of flavor and crunch. A layer of dulce de leche or caramel sauce spread over the chilled base before dipping in chocolate is also decadently delicious.
For different dipping options, use white chocolate and sprinkle with crushed candy canes for a peppermint bark effect. Or, use dark chocolate and a light dusting of flaky sea salt for a sophisticated sweet-and-salty combination. The base is so versatile, it can match any holiday color scheme or flavor preference.
How to Store, Freeze & Reheat
To store these bars, I keep them in a single layer in an airtight container in the refrigerator. They will stay fresh and hold their perfect texture for up to 7 days. The cool environment keeps the chocolate firm and the base intact. They can sit out at room temperature for a few hours for serving.
Yes, you can freeze them! Once the chocolate topping is fully set, I place the bars in a single layer on a parchment-lined baking sheet to flash-freeze for an hour. Then, I transfer them to a freezer-safe bag or container. They will keep for up to 2 months. Thaw in the refrigerator for a few hours before serving.
There is no need to reheat these bars. They are meant to be enjoyed cool or at room temperature. If you try to warm them, the chocolate will melt and the buttery base will soften too much. They are the perfect make-ahead, grab-and-go holiday treat.
Conclusion
Santa’s No-Bake Sugar Cookie Bars are proof that the most magical holiday treats don’t have to be complicated. They’ve brought so much joy and simplicity to my Christmas kitchen, and I love that they’re a recipe I can share with bakers of any age or skill level. I hope they bring a little extra sweetness and a lot less stress to your holiday season. Now, go make some magic—no oven mitts required.