
I cover the dish tightly with aluminum foil and bake for 20 minutes. This steams the enchiladas and heats them through perfectly. Then, I carefully remove the foil—watch out for the steam!—and bake for another 10-15 minutes, just until the cheese on top is molten, speckled with golden brown spots, and irresistibly bubbly. I let them sit for a solid 5-10 minutes before serving. This resting time, which requires all my willpower, is non-negotiable; it lets everything set so you get a perfect slice instead of a cheesy landslide.
Pro Tips for Best Results
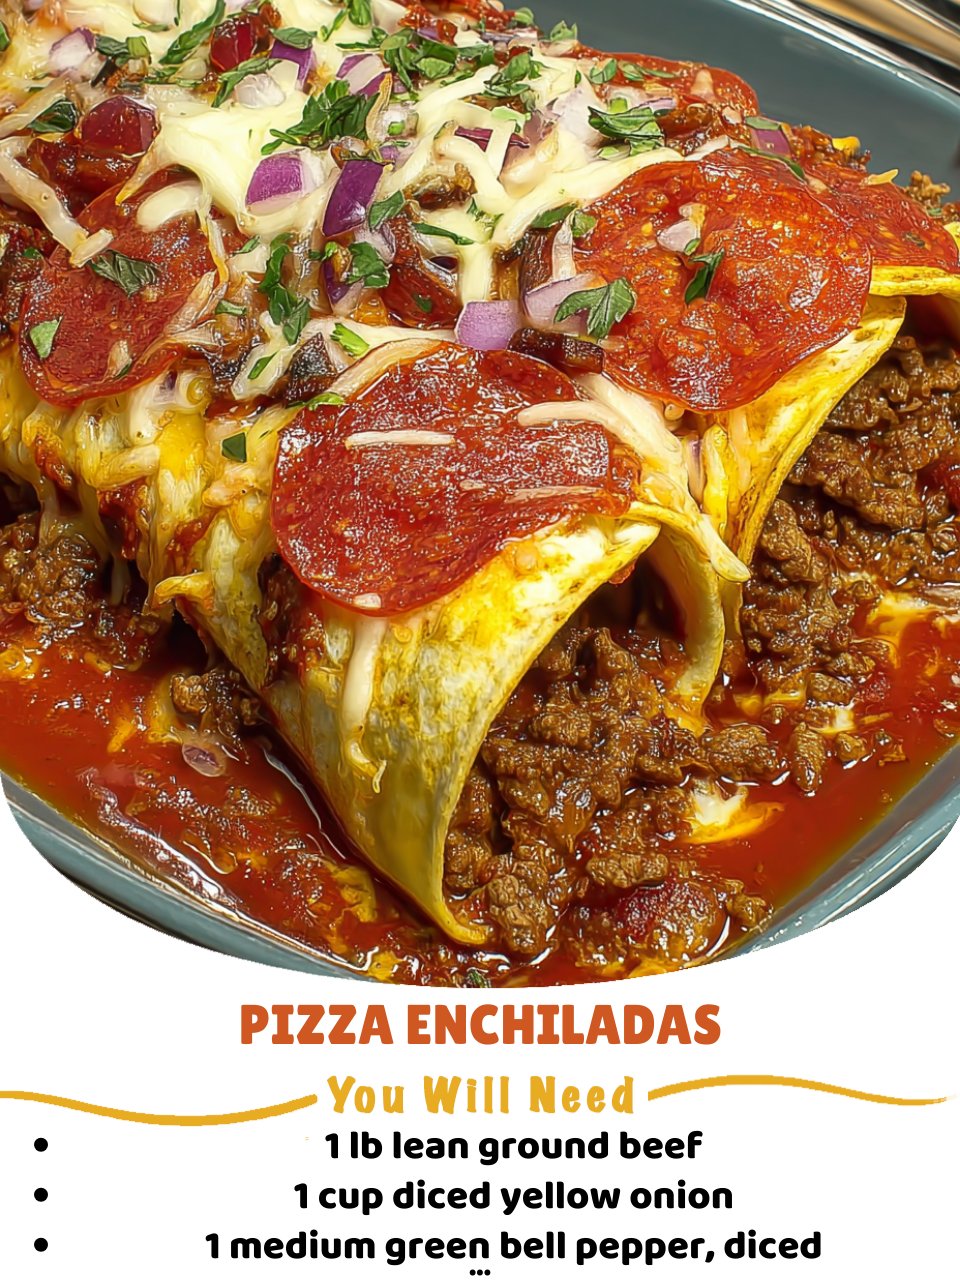
I tested the tortilla type three different ways, and trust me, burrito-sized flour tortillas work best. They are pliable enough to roll without cracking and sturdy enough to hold all that hearty filling. Corn tortillas, while delicious for traditional enchiladas, tend to fall apart with this heavier pizza-style filling. If you only have smaller tortillas, just use more of them and a bit less filling in each.
Grating your own cheese from a block makes a monumental difference in texture and melt. Pre-shredded bags contain anti-caking agents that can leave your sauce a bit grainy and prevent that smooth, stretchy cheese pull we all love. I know it’s an extra step, but for the optimal gooey experience, it’s worth the two minutes with a box grater.
For an extra flavor boost, try this: after you drain the beef, add a tablespoon of tomato paste to the skillet and let it cook for a minute with the meat and veggies before adding the pizza sauce. I tried this on my third batch, and it added a wonderful depth of savory, concentrated tomato flavor that took the whole dish up a notch. It’s a small step with a big payoff.
Common Mistakes to Avoid
The first time I made these, I was in a rush and overfilled the tortillas. I thought more filling was always better, but it led to torn tortillas and a messy, leaky baking dish. Don’t do what I did! A generous but moderate ⅓ to ½ cup of filling per tortilla is the sweet spot. You want to be able to roll it tightly without the ends bursting open. (See the next page below to continue…)