
The cake goes into the preheated oven for 40-45 minutes. The true test is a toothpick inserted into the center coming out clean. I also look for the top to be golden brown and for the edges to pull away slightly from the sides of the skillet. Here comes the most crucial step: the flip! I remove the hot skillet from the oven and place it on a cooling rack. I do not wait. Within 2 minutes, I run a thin knife around the edge of the cake to loosen it. Then, I place my large serving plate upside down over the top of the skillet. With oven mitts on, I firmly hold the plate and skillet together and, in one confident motion, flip them over. I hold my breath, give the bottom of the skillet a few firm taps, and then slowly lift it away. The reveal is always a breathtaking moment of culinary magic.
Pro Tips for Best Results
My top tip is to use a cast-iron skillet if you have one. I’ve tested this in a regular cake pan, and while it works, the cast iron creates a more even, deeper caramel on the stovetop and provides superior heat distribution for baking. If you use a cake pan, melt the butter and brown sugar in a saucepan first, then pour it into the greased pan before arranging the fruit.
Do not let the caramelized skillet sit for too long before adding the batter. If it cools completely, the caramel can harden and stick. You want it to be just cool enough that it won’t cook the batter on contact, but still warm and pliable. About 10-15 minutes is the perfect window.
The flip must be done while the cake is still very warm. If you let it cool completely in the pan, the caramel will solidify and glue the cake to the skillet, making a clean release nearly impossible. Be brave and flip it within 2-5 minutes of pulling it from the oven. Trust me, this works better than waiting.
Common Mistakes to Avoid
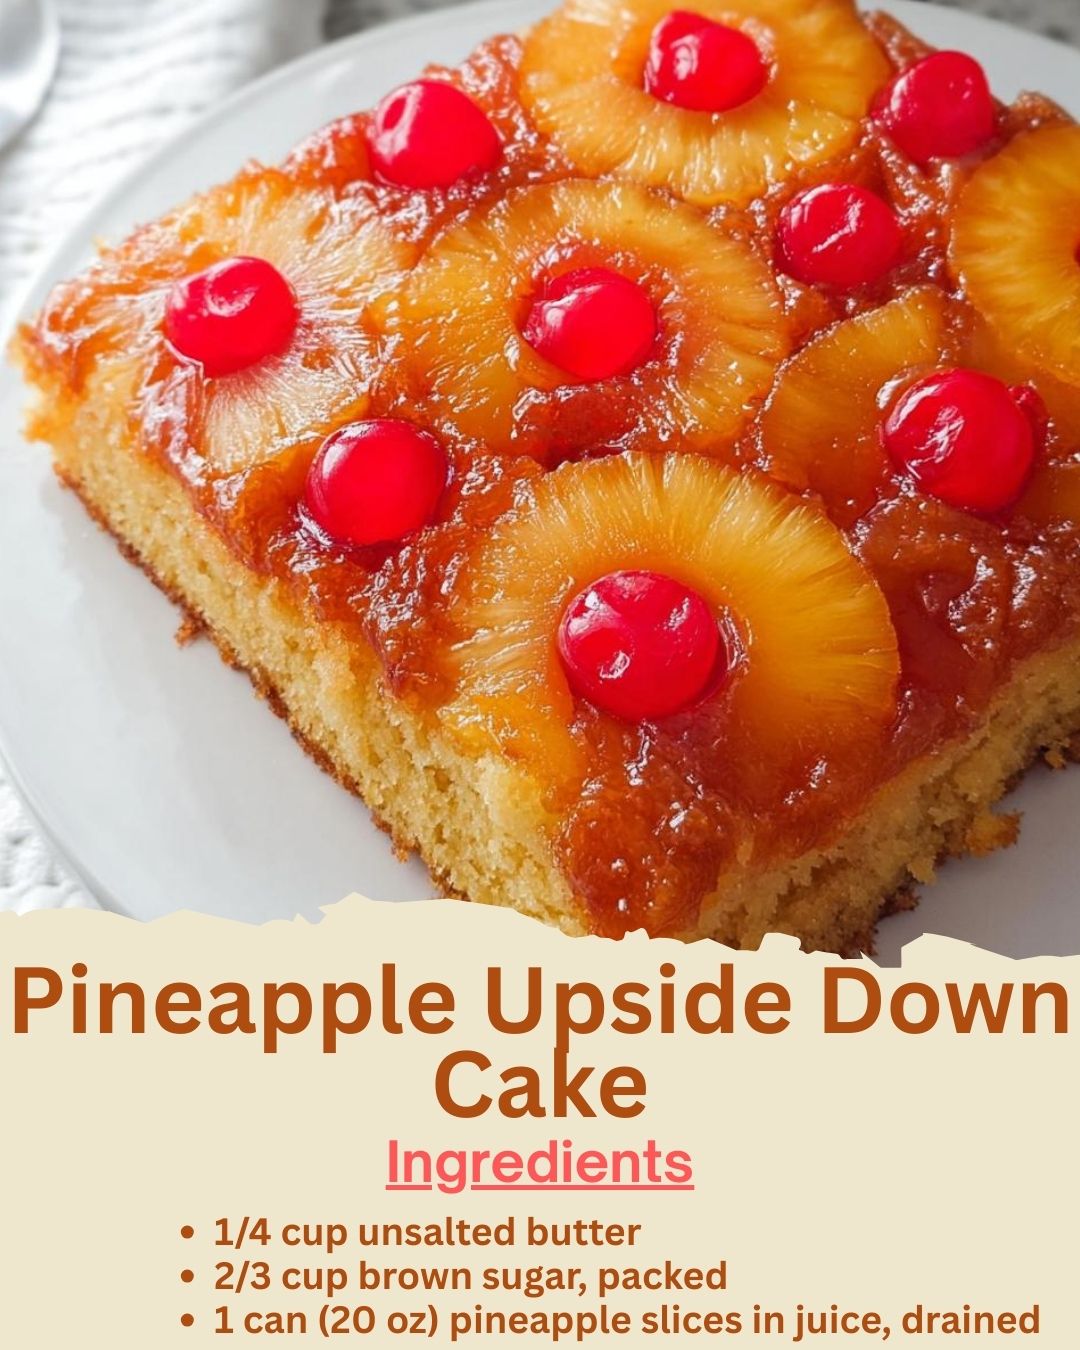
The first mistake I made was not draining the pineapple well enough. Excess juice will water down your beautiful caramel, making it thin and runny instead of thick and sticky. I drain the slices in a colander and then press them gently between layers of paper towels. I also pat the cherries dry. This ensures a rich, gooey topping.(See the next page below to continue…)