
After that short rest, I pour in the entire bag of miniature marshmallows and, if using, the pinch of salt. I fold everything together quickly but gently until every marshmallow is coated in that glossy, peanut-buttery sauce. Then, I immediately scrape the mixture into my prepared pan. Using my spatula, I press it into an even layer. I work fast here because as it cools, it sets. I let the pan sit at room temperature for at least two hours, or until it’s completely firm to the touch, before even thinking about cutting.
Pro Tips for Best Results
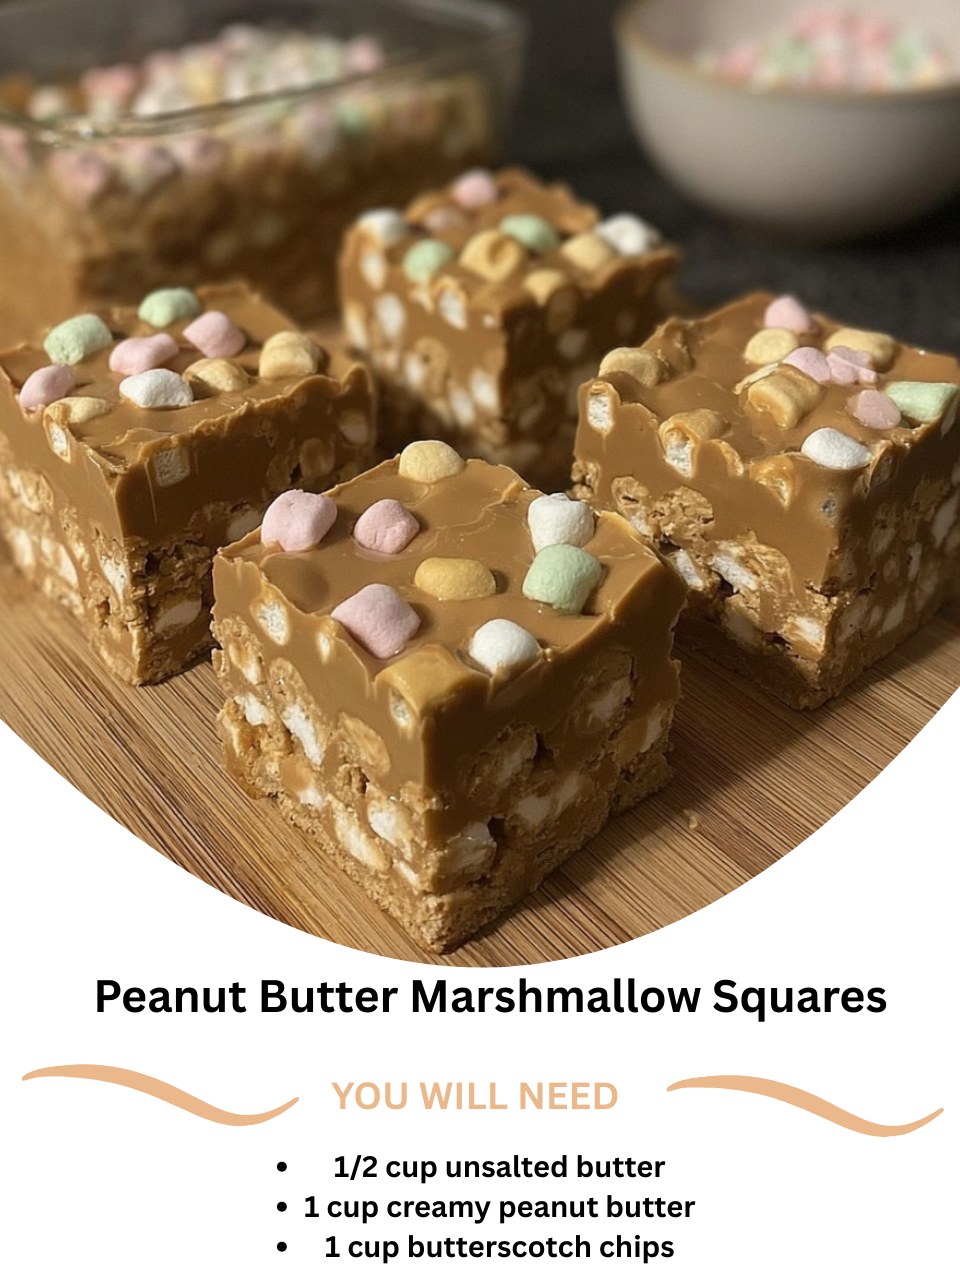
The pan size you choose dictates the texture. I’ve tested this in both a 9×9 and a 9×13 inch pan. The 9×9 gives you thicker, more substantial squares that are wonderfully chewy and rich. The 9×13 yields a thinner, crispier layer that’s easier to eat in one bite. My personal preference is the thicker 9×9 version—it feels more indulgent and the marshmallow texture really shines. Choose based on your own textural love!
I tested three different peanut butter varieties: natural (the kind you have to stir), commercial creamy like Jif or Skippy, and crunchy. The winner, hands down, is standard commercial creamy peanut butter. Its stabilized consistency and added sugars help the squares set up perfectly and give that classic flavor. Natural peanut butter, with its separated oils, makes for a greasy, less cohesive square that doesn’t slice cleanly. Don’t use it here.
For the cleanest, easiest cuts, patience is your best tool. I know it’s tempting to dig in, but letting the squares set fully at room temperature is non-negotiable. If you rush and try to cut them when they’re still slightly soft or, worse, refrigerate them to speed it up, you’ll get messy, squished squares. Refrigeration makes them rock-hard and dulls the flavor. Room temperature setting is the secret to that perfect, clean snap when you slice.
Common Mistakes to Avoid
My biggest first-time mistake was using too high of heat. I was impatient and had the burner on medium. The butterscotch chips seized up a bit, creating a slightly grainy texture instead of that perfectly smooth sauce. Always use low heat and stir constantly. Think of it as a gentle melt, not a rapid boil. This ensures your base is silky and lump-free. (See the next page below to continue…)