
Equipment Needed
- 9×9 inch or 9×13 inch baking pan (see Pro Tips for my choice!)
- Medium to large saucepan
- Wooden spoon or sturdy silicone spatula
- Measuring cups
- Parchment paper or aluminum foil for lining
- Sharp knife for cutting
Step-by-Step Instructions
I always begin by lining my baking pan. I take a moment to press a sheet of parchment paper into the bottom and up the sides, leaving a little overhang. Trust me, this simple step is a lifesaver. It means you can lift the entire slab of squares out in one piece later for perfectly clean cuts. I learned this the hard way after wrestling with a sticky, stuck batch. Once my pan is prepped, I measure out all my ingredients. Having everything ready to go is crucial because once the cooking starts, things move quickly.
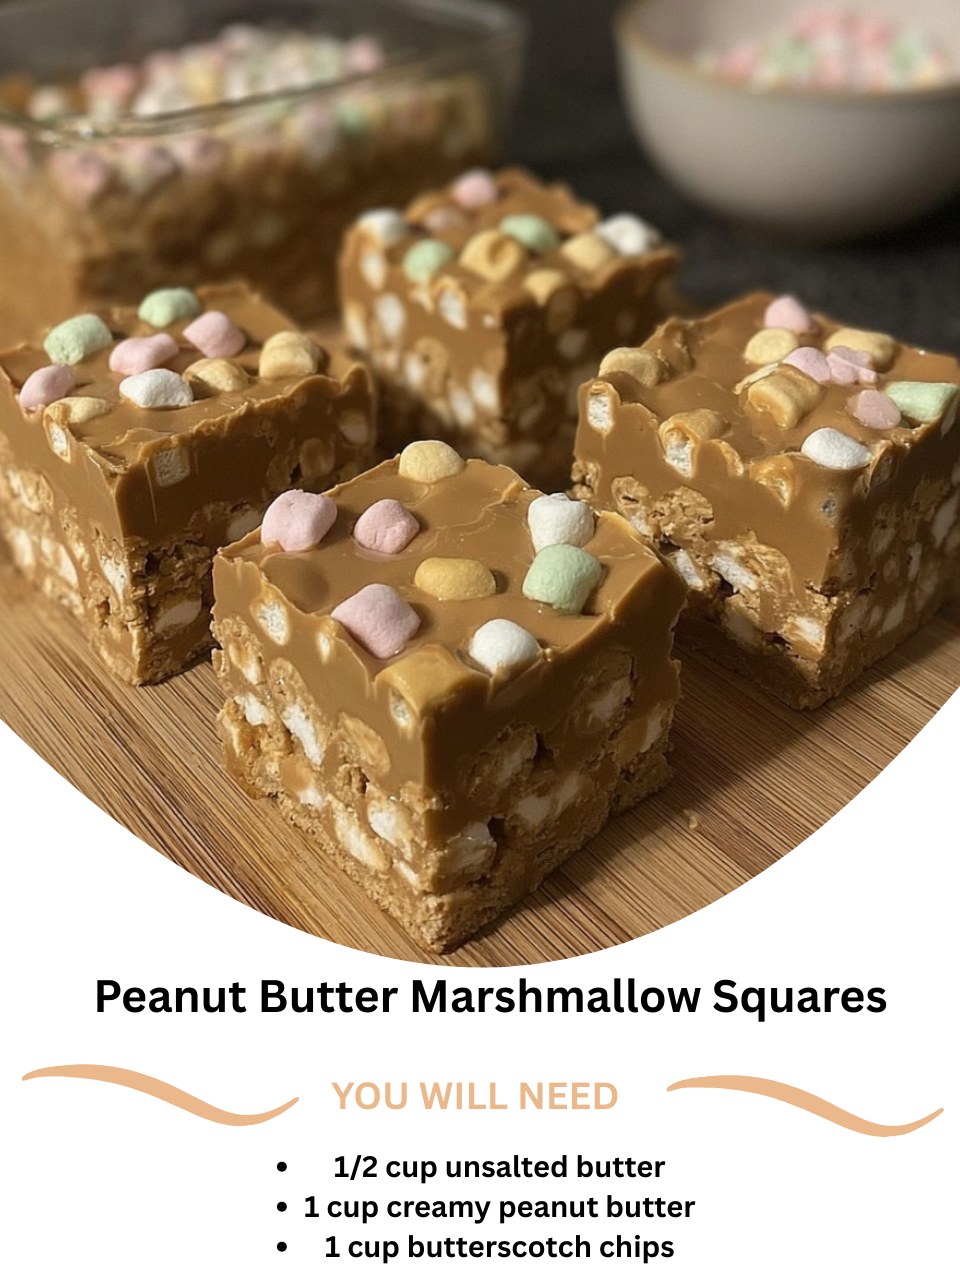
Next, in my medium saucepan, I melt the butter over low heat. I can’t stress “low heat” enough. Butter burns easily, and a scorched flavor will ruin the whole batch. Once the butter is just melted and foamy, I add the creamy peanut butter and the butterscotch chips. Here’s where the magic starts. I stir constantly and patiently with my wooden spoon until everything is melted together into a smooth, velvety, caramel-colored river. The smell at this stage is absolutely heavenly—like a warm, nutty, butterscotch hug.
As soon as the mixture is completely smooth, I immediately remove the saucepan from the heat. This is a critical moment. You must take it off the burner. I let it cool for about 60-90 seconds. Why? Because if you add the marshmallows to a boiling-hot mixture, they will instantly melt into a sticky, stringy goo. I learned this the hard way on my first attempt, and the texture was all wrong. A brief cool-down protects the integrity of the marshmallows. (See the next page below to continue…)