
Once the cereal mixture is just warm to the touch, I fold in the 3 cups of mini marshmallows. I work quickly but gently, trying to distribute them evenly without deflating them too much. I then turn the whole mixture out into my prepared pan. Using my spatula or hands lightly greased with butter, I press the mixture firmly and evenly into every corner of the pan. A good, firm press is essential for squares that hold together. For an extra-indulgent top, I’ll sometimes press a handful of additional marshmallows into the surface. I then let the pan sit at room temperature for at least 1-2 hours, until completely set and firm.
Pro Tips for Best Results
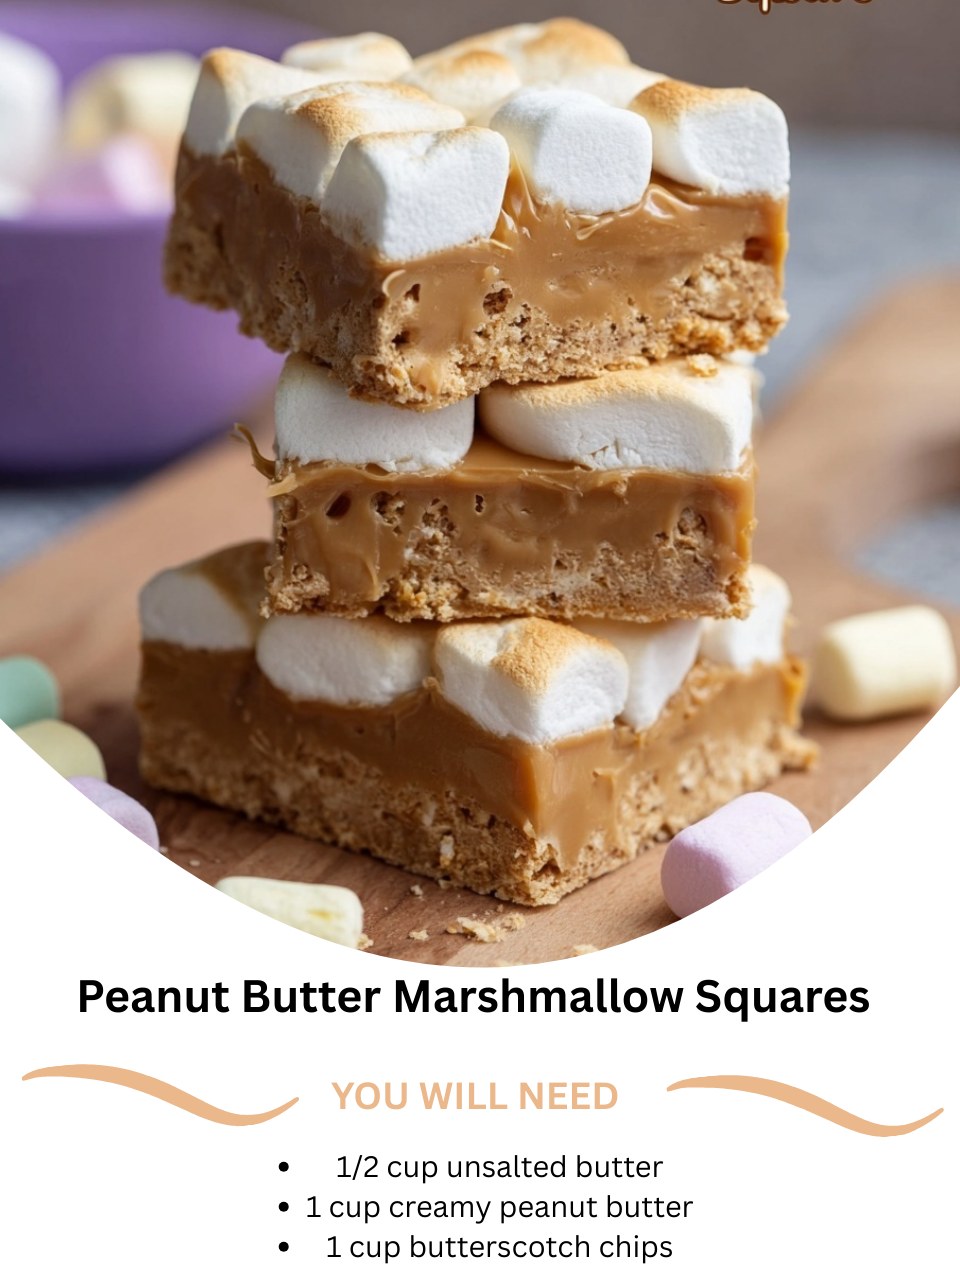
The type of peanut butter is non-negotiable. I tested this with natural peanut butter (the kind that separates), and the squares were oily and didn’t bind properly. Conventional, shelf-stable creamy peanut butter has the right stabilizers and consistency to create the perfect chewy, firm texture that holds the squares together. Trust me, do not make substitutions here.
The cooling period before adding the marshmallows is critical. I’ve tried adding them right away, and while it makes a deliciously gooey bar, you lose the delightful textural contrast of the fluffy marshmallow bits. Letting the cereal mixture cool for a few minutes ensures those mini marshmallows stay mostly intact, giving you those perfect little chewy pockets in every bite.
When pressing the mixture into the pan, don’t be shy. Use a sheet of parchment paper placed directly on top of the mixture and press down firmly with your hands or the bottom of a flat measuring cup. A light press will result in crumbly squares that fall apart when you try to lift them out. A firm, even press ensures perfect, neat bars.
Common Mistakes to Avoid
The biggest mistake is using too high heat to melt the butterscotch mixture. Butterscotch chips can burn easily, leaving a nasty, bitter aftertaste that ruins the whole batch. My first attempt was over a medium flame, and I ended up with a scorched, grainy mess. Don’t do what I did! Keep the heat on low and be patient, stirring constantly until everything is just melted and smooth.(See the next page below to continue…)