
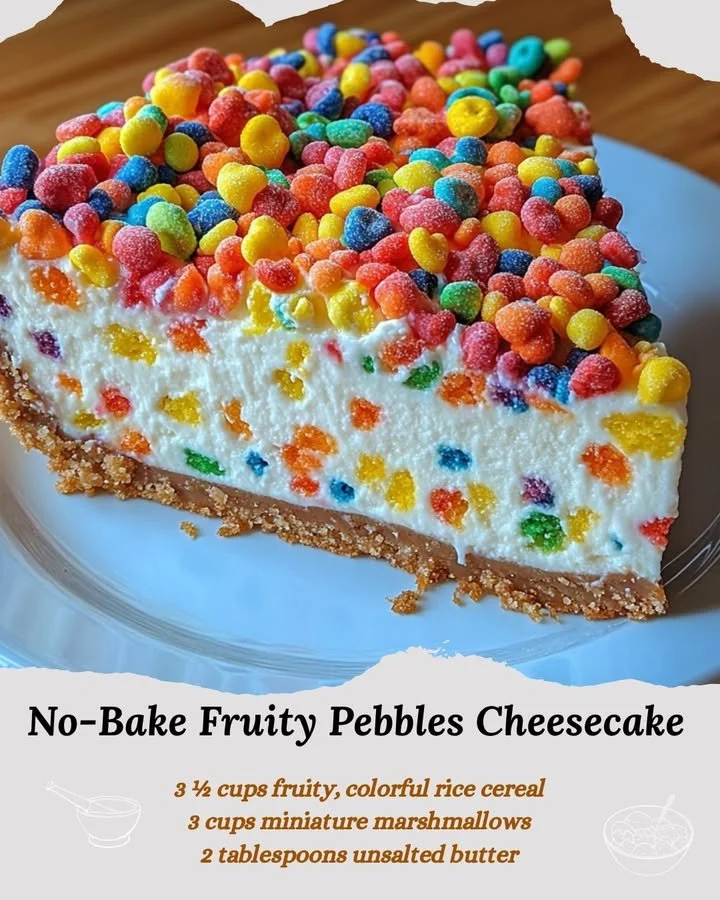
Another common pitfall is not pressing the crust down firmly enough. It needs to be compact so that it holds together after you cut the slices. I’ve had a few crumbly disasters until I figured out the right pressure—now I make sure to really pack it down!
Sometimes I overmix the cream cheese mixture or the whipped cream, thinking it would be faster. Be careful with that! Overmixing can lead to a grainy texture, which nobody wants in a creamy cheesecake. It’s best to mix gently until just combined.
Serving Suggestions
When serving my No-Bake Fruity Pebbles Cheesecake, I love to add a drizzle of fruit sauce on top, like strawberry or raspberry, for a fresh touch. It really brings together the fruity flavors and adds a splash of color on the plate. If I want to make it look even more festive, I’ll add a dollop of whipped cream and maybe even a few whole marshmallows on the side.
This dessert is perfect for parties or family gatherings, and I often slice it into small squares for a fun treat that’s easy to grab. Each bite is a delightful burst of childhood nostalgia mixed with creamy indulgence!
Finally, I like to serve it alongside a scoop of vanilla ice cream, creating a dessert experience that’s truly over-the-top. What’s not to love about cold cheesecake and ice cream melting together?
Variations & Customizations
One of the best things about this recipe is that it’s very adaptable. If you want to switch things up, you can substitute the Fruity Pebbles with another cereal! I’ve tried it with Cocoa Pebbles for a chocolate twist, and it was a big hit in my house. You can also add crushed Oreos or graham crackers for the crust if you’re feeling adventurous.
Another fun variation is to mix in some chopped fresh fruit into the cheesecake filling, like strawberries or bananas. Just be sure to adjust the sugar slightly to compensate for the sweetness. It gives the cheesecake a fresh flavor and adds a lovely texture!
If you’d like a little more depth in flavor, consider incorporating a swirl of fruit preserves into the top of the cheesecake before chilling. The vibrant colors and flavors will truly make it a standout dessert!
How to Store, Freeze & Reheat
Once I’m done enjoying my No-Bake Fruity Pebbles Cheesecake, I always cover any leftovers tightly and store them in the refrigerator. It usually stays fresh for about 3-4 days. Just make sure to pop it back in the fridge promptly to keep it cool.
If you ever want to freeze it, slice it up first and wrap each piece individually in plastic wrap, then in aluminum foil. That way, it’s easy to grab a single slice whenever the dessert craving hits! When you’re ready to eat it, just let it thaw in the refrigerator overnight or at room temperature for a couple of hours.
Reheating is not usually an option for cheesecake, but if you must, I suggest letting it come to room temperature after thawing so that it retains its creamy texture. Cold cheesecake is truly the way to go for this one!
Conclusion
I hope you’re as excited to make this No-Bake Fruity Pebbles Cheesecake as I am! It’s such a joyful, colorful dessert that never fails to make my heart happy (and my taste buds dance!). Whether you make it for a special occasion or just to enjoy at home with your family, I know it will become a cherished recipe in your kitchen, just as it has in mine. Happy baking (or no-baking, in this case)!

