
Equipment Needed
- Large, heavy-bottomed saucepan (non-stick is helpful, but not required)
- Wooden spoon or heat-resistant spatula
- Baking sheets
- Parchment paper or silicone baking mats
- Measuring cups and spoons
- Tablespoon cookie scoop (optional, but very handy)
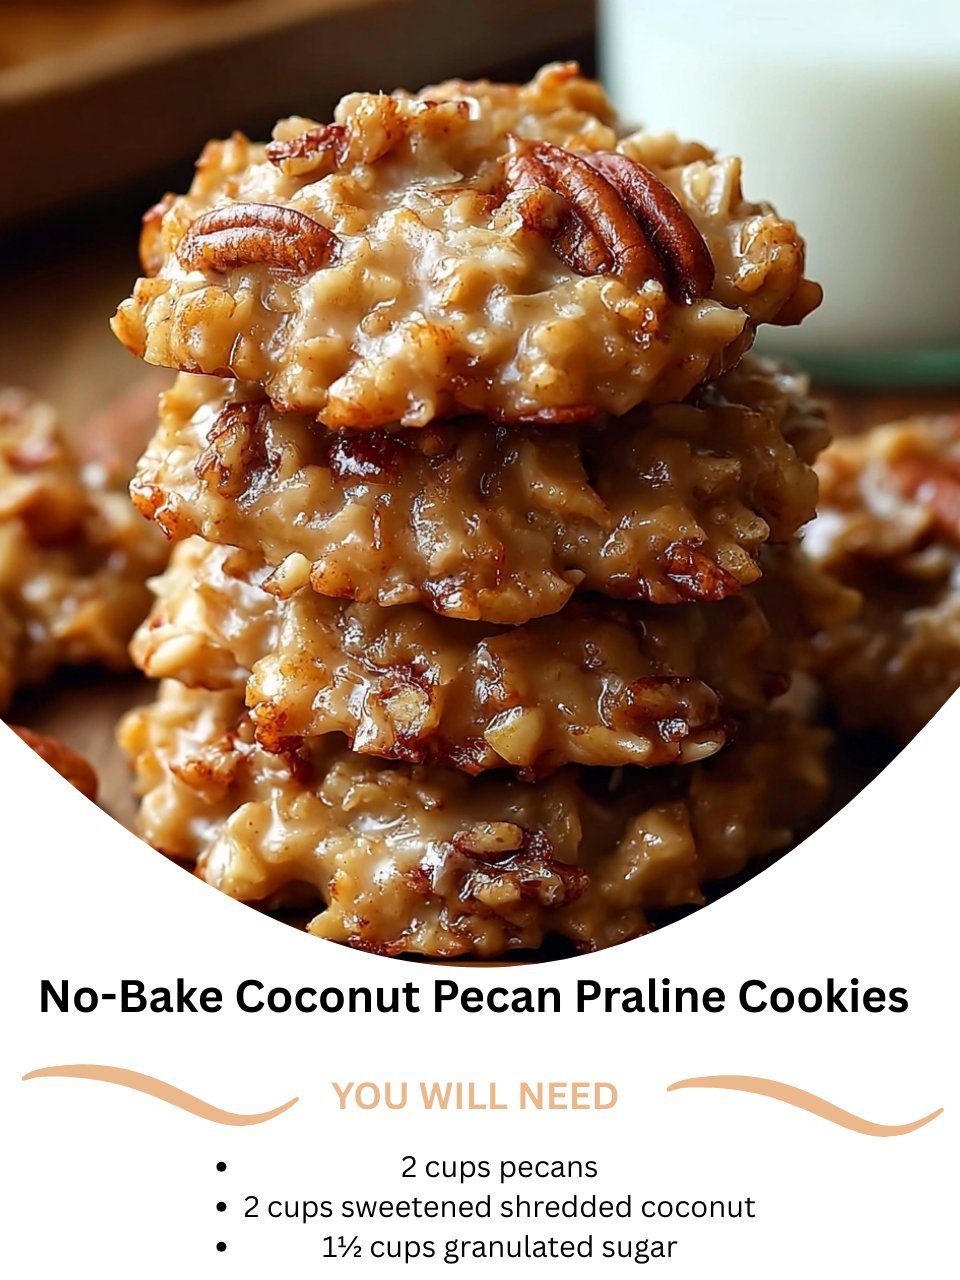
Step-by-Step Instructions
Our journey starts on the stovetop. Grab your heaviest saucepan—this is crucial for even heat distribution and preventing the sugar from scorching. Over medium heat, combine the sugar, butter, and milk. Now, this is where patience becomes your best friend. Stir gently until the butter melts and the sugar dissolves. I like to swirl the pan more than stir aggressively at this stage. Once it comes to a boil, stop stirring. Just let it bubble away. Set a timer for 2 minutes and let the syrup cook. You’ll see it start to thicken slightly and the bubbles will become glassy. This short boil is what gives the cookies their signature set; I once rushed it and ended up with sticky blobs that never fully hardened.
While the syrup is bubbling, I quickly toast the pecans and coconut. I spread them on a parchment-lined baking sheet and pop them into a 350°F oven for 5-7 minutes, just until the coconut is golden and fragrant. You can also do this in a dry skillet on the stovetop, watching it like a hawk. This step is non-negotiable in my book. Toasting unlocks the oils and deep, nutty flavor in the pecans and gives the coconut a wonderful toasty note that raw coconut just can’t match. It makes the flavor go from “good” to “absolutely incredible.” Let them cool slightly while your syrup finishes.
After the syrup has boiled for 2 minutes, take the pot off the heat. Immediately stir in the vanilla extract and salt—be careful, as it might bubble up a bit. Then, dump in all of your toasted pecans and coconut. This is the moment of transformation! Stir quickly and thoroughly with your wooden spoon. You’ll feel the mixture thicken and become less glossy as it coats every single nut and coconut strand. It will start to look like a granola cluster and pull away from the sides of the pan. You have to work with purpose here, as it sets up fast. (See the next page below to continue…)