
Equipment Needed
- An 8×8 inch baking pan
- Parchment paper
- A large, microwave-safe glass or ceramic mixing bowl (plastic can retain odors)
- A sturdy silicone spatula
- A knife for cutting
Step-by-Step Instructions
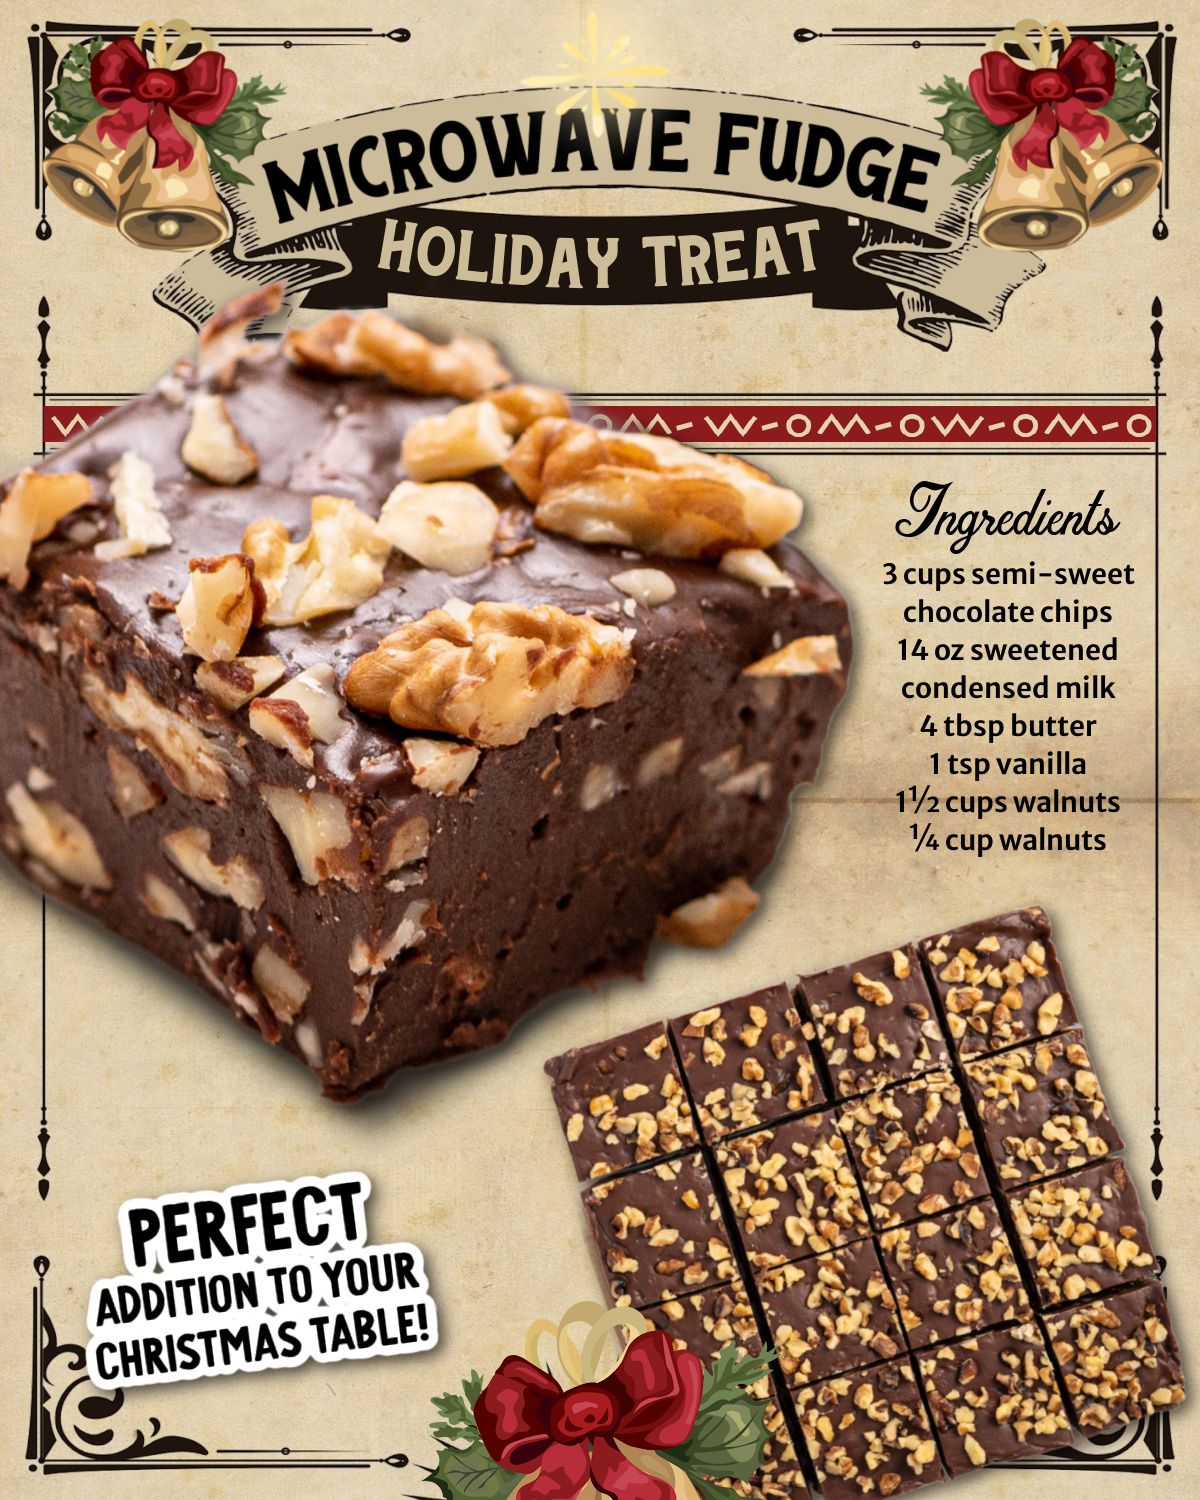
Start by lining your 8×8 inch pan with parchment paper, letting the ends overhang slightly. This creates “handles” to lift the set fudge out for clean, easy cutting. Set this aside. In your large microwave-safe bowl, combine the chocolate chips, sweetened condensed milk, and chunks of butter. The sight of these three simple ingredients together is already promising. Now, place the bowl in the microwave.
Microwave the mixture on high power for 1 minute. Remove the bowl carefully—it might be warm—and give it a good stir with your spatula. It will look mostly unmelted, and that’s normal. Place it back in the microwave and heat for another 30-second interval. Remove and stir again. You’ll see it starting to melt into a glorious, shiny mass. Continue heating in 30-second bursts, stirring vigorously after each one, until the mixture is completely smooth, glossy, and free of lumps. This usually takes about 2 to 2.5 minutes total, depending on your microwave. The key is patience and stirring; do not try to blast it all at once or you’ll scorch the chocolate.
Once the mixture is perfectly smooth and molten, stir in the vanilla extract and 1 ¼ cups of the chopped walnuts. I reserve the remaining ¼ cup for the top. Stir until everything is evenly distributed and the nuts are coated in the glossy chocolate. The batter will be thick and luxurious. Immediately pour and scrape this mixture into your prepared pan. Use your spatula to spread it into an even layer, pushing it into the corners.(See the next page below to continue…)