
Another common error is using too much flour. Baking is definitely a science, and too much can lead to a dry texture. I use the spoon-and-level method to measure my flour, gently spooning it into the measuring cup and leveling it with a knife for precision. Trust me, this small change has made my bars so much better!
Lastly, don’t forget to let them cool. I’ve been too impatient before, slicing into them while they were still warm, and they ended up falling apart. Patience may not be my strong suit, but I learned the hard way that giving them the proper time to set is essential for those lovely, clean squares.
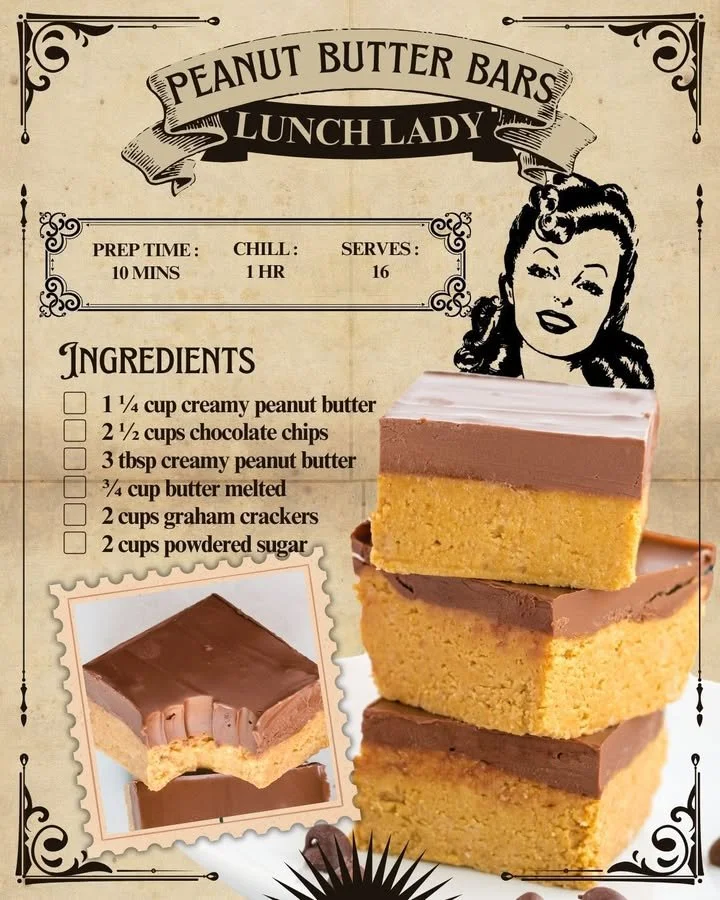
Serving Suggestions
These peanut butter bars are quite versatile! I love to enjoy them with a tall glass of cold milk for that classic pairing that takes me right back to childhood. Alternatively, they make a fantastic dessert when served warm with a scoop of vanilla ice cream on top; the way the ice cream melts into the warm bars is simply heavenly!
Another idea is to pack them in lunchboxes as a sweet surprise for the little (or big!) kids in your life. I often cut them into smaller squares for a pop of sweetness during the day at work or school. They’re perfect for sharing during a picnic or a snack on the go, and let me tell you, they always draw rave reviews!
You can also jazz them up a bit by drizzling some melted chocolate over the top! A simple ganache or even a sprinkle of sea salt can elevate them for special occasions. I’ve served these bars at gatherings, and they vanish in no time!
Variations & Customizations
If you’re feeling creative, you can easily customize these bars to suit your taste! For a little crunch, try adding chopped nuts like pecans or walnuts. They add both texture and an extra flavor dimension that’s delightful. I especially love throwing in some peanut halves for a double peanut kick!
Another variation is to use different nut butters. I’ve made these with almond butter and even sunflower seed butter for a nut-free version. Each substitution brings its own unique flavor, and it’s amazing how versatile this recipe can be while still keeping that chewy texture we all love.
For those who enjoy a hint of spice, a teaspoon of cinnamon or even a touch of cocoa powder can be a lovely addition. I’ve experimented with chocolate peanut butter powder, which provided a rich chocolatey taste that pairs beautifully with the classic peanut flavor, making for a delicious twist!
How to Store, Freeze & Reheat
Once your bars have cooled completely, you can store them in an airtight container at room temperature for up to a week. That’s if they last that long! I usually find myself sneaking bites every day until they’re gone. If I ever have extras (which is rare), I like to put them in the fridge to keep them even fresher for longer.
For those days when you want to prepare ahead, these bars freeze beautifully! Simply wrap them individually in plastic wrap and then place them all in a freezer-safe bag. They can be frozen for up to three months. Just remember to let them thaw at room temperature for about 30 minutes, and they’ll be just as good as fresh!
When reheating, I recommend popping them in the microwave for about 10-15 seconds. This gives them that warm, gooey texture reminiscent of freshly baked bars. Perfect for those late-night cravings or a cozy snack during a chilly day!
Conclusion
I hope you enjoy making these Lunch Lady Peanut Butter Bars as much as I do! They’re full of nostalgia, comfort, and of course, delicious peanut butter goodness. I love sharing them with family and friends, as they always bring smiles and warm memories. Happy baking, and enjoy every bite!