
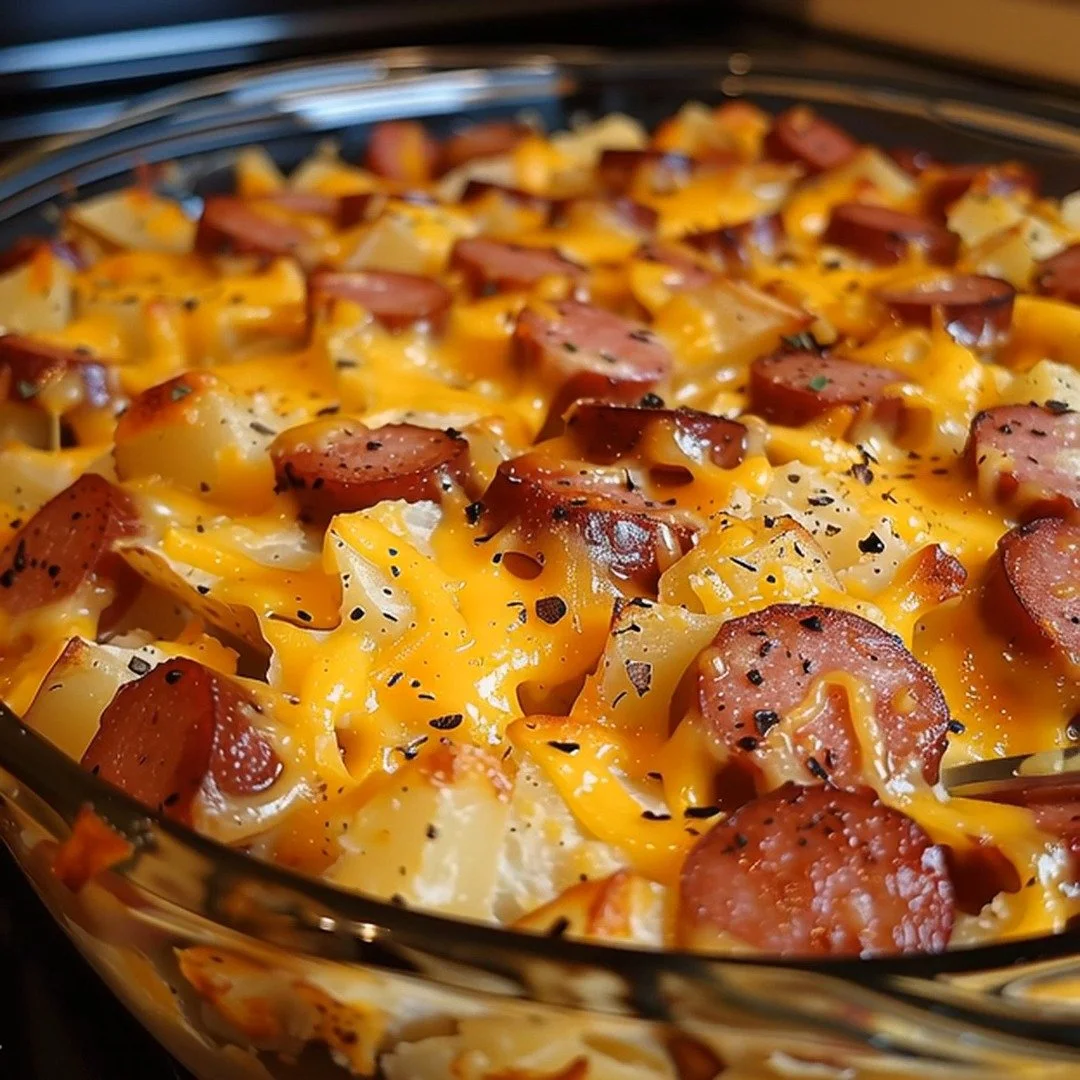
Then came the moment of truth. I poured the hearty mixture into a greased 9×13-inch baking dish and carefully spread it out. I covered the dish with aluminum foil to trap all that moisture in the beginning and popped it in the oven for 45 minutes. I lifted the foil after 30 minutes and was greeted by a bubbling, golden-top casserole that made my heart race. I couldn’t resist stealing a taste—just a smidge, of course! After 15 more minutes uncovered, I took it out, garnished it with fresh parsley, and let it rest for a few minutes, which is essential. Allowing it to settle helps it come together beautifully.
Pro Tips for Best Results
I learned the hard way to never rush the cooking of the kielbasa. Let it brown nicely; this adds so much flavor, and trust me, the results will be worth it! I also tested this with and without the sour cream, and I can honestly say it’s better with it. The Creaminess elevates the dish, bringing that rich texture you crave, so don’t skip it. And if you really want to make it decadent, consider adding a bit more cheese. You can never truly go wrong with extra cheese!
Lastly, if you’re making a larger batch for a gathering, consider using a bigger baking dish. I once tried cramming it all into a smaller one, and while it cooked, it overflowed! Clean-up was quite the chore. So, fully embrace the space of that 9×13 inch!
Common Mistakes to Avoid
I made the mistake of using fresh potatoes the first time instead of pre-cooked ones, like baby potatoes or those microwave kind. Cooking time can vary, and I ended up with crunchy bites. So my tip is to stick with russet potatoes, which cook uniformly. Also, be cautious with your salt. I once inundated my dish with salt, making it practically inedible. Start light and taste as you mix; you can always add more but can’t take it away.(See the next page below to continue…)