
Not letting the candy cool completely before breaking it is a frustrating error. In my excitement, I tried to peel it off the mat after 10 minutes. It bent instead of breaking, was chewy, and the popping reaction was weak. The candy needs to be completely room temperature and brittle. If it’s a humid day, this might take even longer. Patience is a key ingredient in candy-making.
Using old or clumpy citric acid can sabotage your fizz. Citric acid absorbs moisture from the air. If your container has been open for a while and the powder feels at all damp or has clumps, it won’t react as powerfully. I always buy a fresh, small container specifically for this project and store any leftovers with a silica gel packet. Fresh, dry citric acid makes a world of difference.
Pouring the syrup too thick is another common error. If you pour a thick puddle, the candy will be too chunky and hard to break into small pieces. It also won’t have the right delicate structure to pop easily. You want a thin, almost lace-like sheet. Don’t worry if it doesn’t cover the whole mat; it’s better to have a thin, brittle sheet in one area than a thick, tough slab.
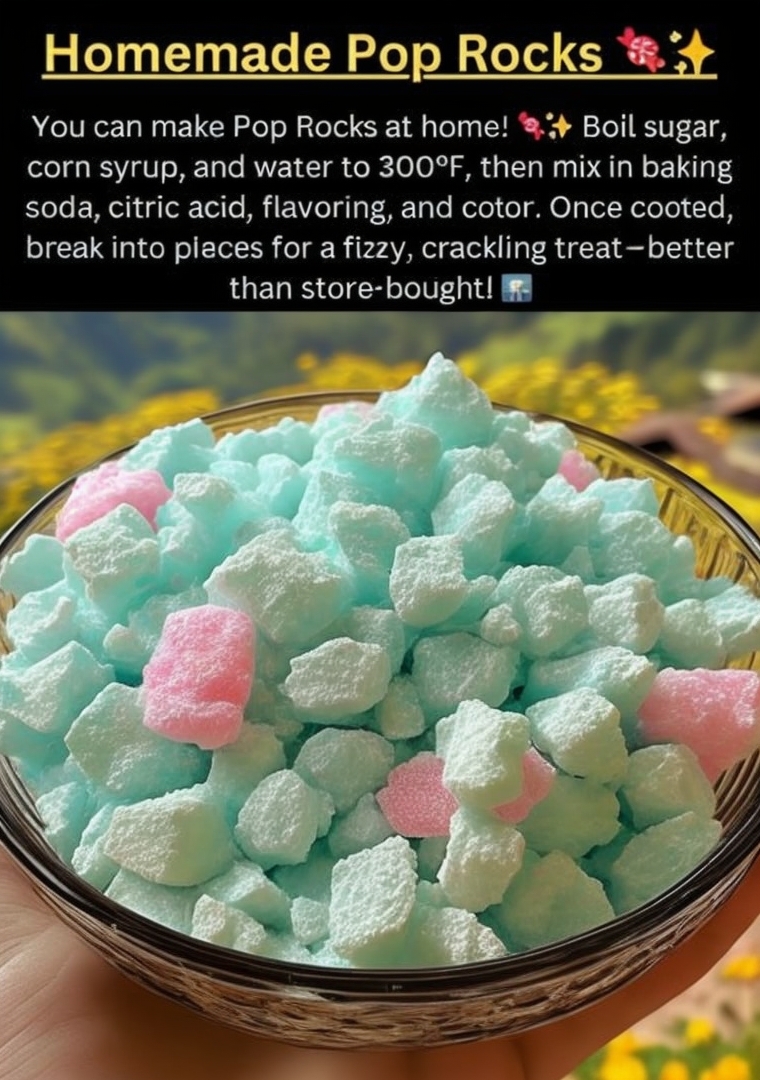
Serving Suggestions
I love serving these homemade pop rocks in small, colorful dishes at a party or as a fun dessert garnish. I’ll sprinkle them over a bowl of vanilla ice cream or lemon sorbet—the contrast of cold, creamy, and explosively fizzy is a guaranteed showstopper and always gets laughs and wide eyes from my guests.
For a truly interactive experience, I set out small bowls of different flavors I’ve made—like lemon, strawberry, and blue raspberry—and let people mix and match. They’re also a fantastic topping for cupcakes or a rim for a fun cocktail (for adults only—imagine a margarita with a fizzy rim!). Just be sure to add them right before serving so they don’t get soggy.
Because they’re so novel, they make a wonderful homemade gift. I pack them in small, clear cellophane bags or tiny glass jars with a label that says “Homemade Magic Rocks.” Kids (and nostalgic adults) absolutely adore receiving them. It’s a gift that’s personal, playful, and shows you put in some special effort.
Variations & Customizations
The flavor possibilities are endless. Instead of just extract, I’ve infused the syrup with herbs by steeping a rosemary sprig in it off the heat for a minute before adding the fizz powders, creating a “Rosemary Lemonade” pop rock. You can also use flavored drink powders like Kool-Aid in place of some of the citric acid for a sour punch and bold color.
For a “warhead” style sour experience, you can increase the citric acid to 3/4 teaspoon. Just be warned—it’s intensely sour! You can also create a two-layer effect by making one batch, breaking it, and then very quickly dipping the pieces in another thin layer of plain, colored hard candy syrup. This gives a slightly delayed pop.
If you want to get really creative, try making “cola” flavored pops by using a cola extract and a drop of brown food coloring. Or, mix in a tiny amount of finely ground freeze-dried fruit powder (like strawberry or raspberry) with the citric acid for a more natural fruit flavor and a pretty, speckled appearance.
How to Store, Freeze & Reheat
Storing these correctly is critical to maintaining their pop. Moisture is the enemy. As soon as they’re broken up, I store them immediately in an absolutely airtight glass jar or container with a tight-sealing lid. I add a food-safe silica gel packet if I have one to absorb any ambient moisture. Stored this way in a cool, dry pantry, they’ll retain their fizz for 2-3 weeks. Do not store them in the fridge, as condensation will ruin them.
I do not recommend freezing homemade pop rocks. The freezing and thawing process introduces moisture, which will cause the candy to become sticky and the baking soda/citric acid reaction to activate prematurely. The goal is to keep them bone-dry. Freezing is more likely to kill the pop than preserve it.
There is no way to reheat or refresh homemade pop rocks once they’ve gone soft or lost their fizz. The chemical reaction is a one-time deal. If they’ve absorbed moisture and become sticky, they’re sadly past saving. This is why the airtight storage right after making them is so important. The best plan is to make them close to when you plan to serve or gift them.
Conclusion
Making Homemade Pop Rocks is one of the most delightfully surprising projects I’ve ever done in my kitchen. It blends simple science with sweet nostalgia and ends with a treat that’s guaranteed to make you smile. I hope you grab your thermometer and embrace the fun, fizzy chaos of this recipe. It’s a wonderful reminder that a little culinary bravery can lead to something truly magical. Now, go heat that syrup and get ready for the pop!