Equipment Needed
Step-by-Step Instructions
- When I start making this cheesecake, the first thing I do is preheat the oven to 180°C (350°F) and line a small baking dish with parchment paper. This makes it easier to remove the cheesecake once it’s baked.
- Next, I whisk together the Greek yogurt and eggs until the mixture becomes smooth and creamy. Then I add the vanilla extract, honey (if using), and a pinch of salt. The mixture turns slightly glossy and well combined.
- Then I stir in the cornstarch if I want a firmer texture. I pour the batter into the prepared dish and gently smooth the top so it bakes evenly.
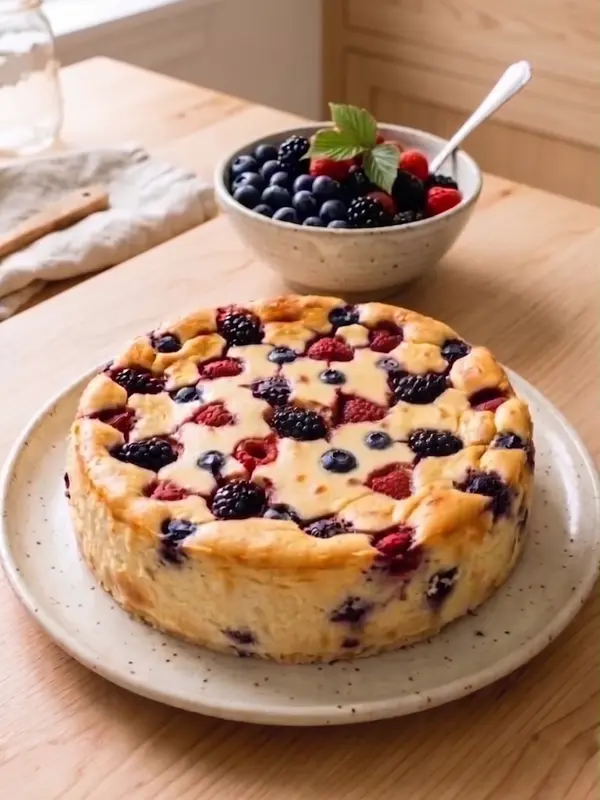
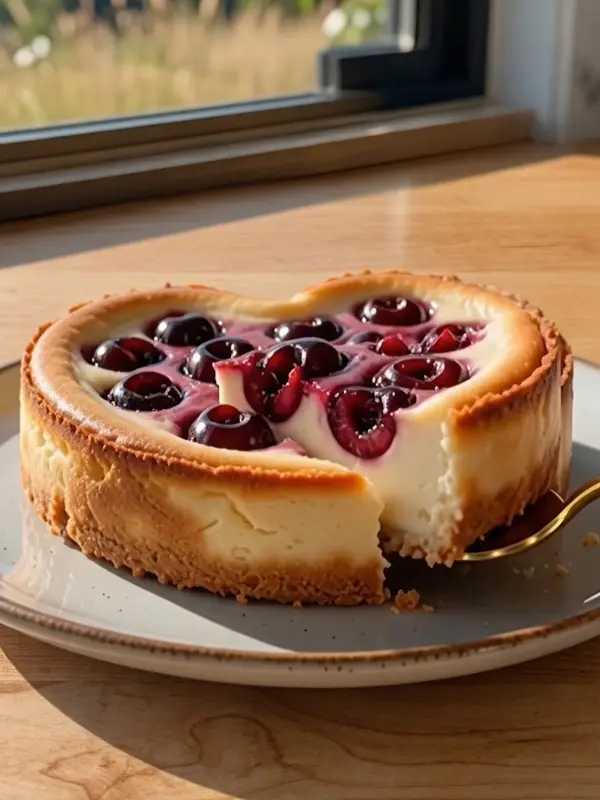
- Finally, I scatter the cherries over the top. As the cheesecake bakes for about 25–30 minutes, the cherries soften and release their juices into the surface. Once done, I let it cool completely and then chill it before slicing.
Pro Tips for Best Results
One thing I’ve learned after making this recipe a few times is that thick Greek yogurt works best. It gives a creamier and more stable texture.
Another tip is to use ripe cherries. Their natural sweetness makes a big difference in flavor. I also like chilling the cheesecake after baking. It helps the texture set and makes it easier to slice.
Common Mistakes to Avoid
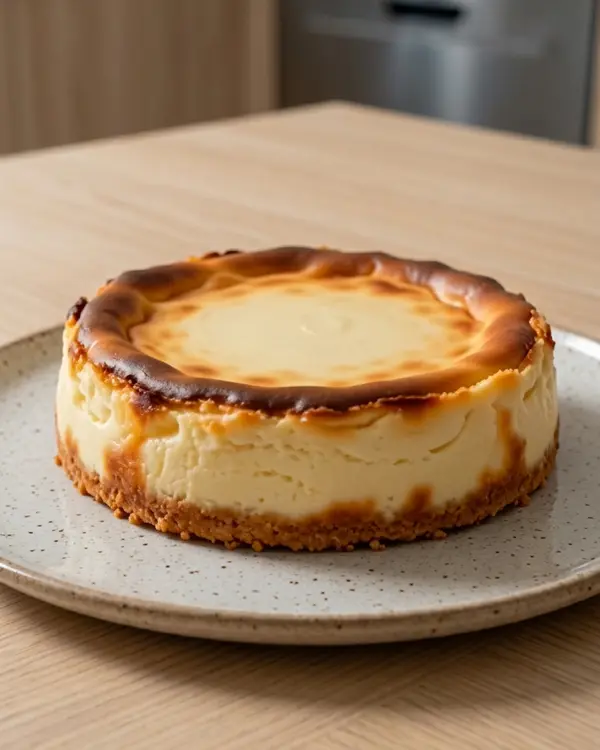
The first mistake I made was using watery yogurt. It made the cheesecake too soft and harder to hold its shape. Another mistake is overbaking. The center should still be slightly soft when removed from the oven.
I also learned not to skip lining the pan. It helps prevent sticking and keeps the cheesecake intact. Finally, avoid adding too much sweetener at once. It’s better to adjust based on taste.
Serving Suggestions
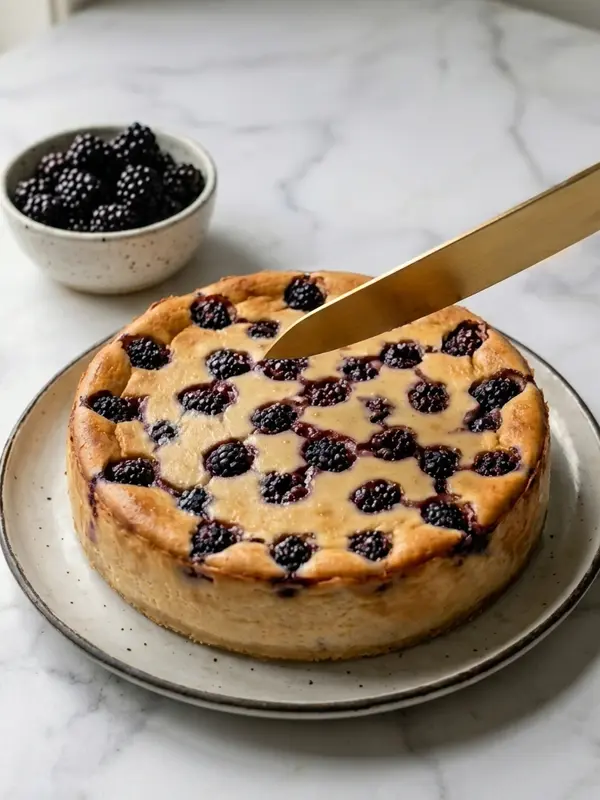
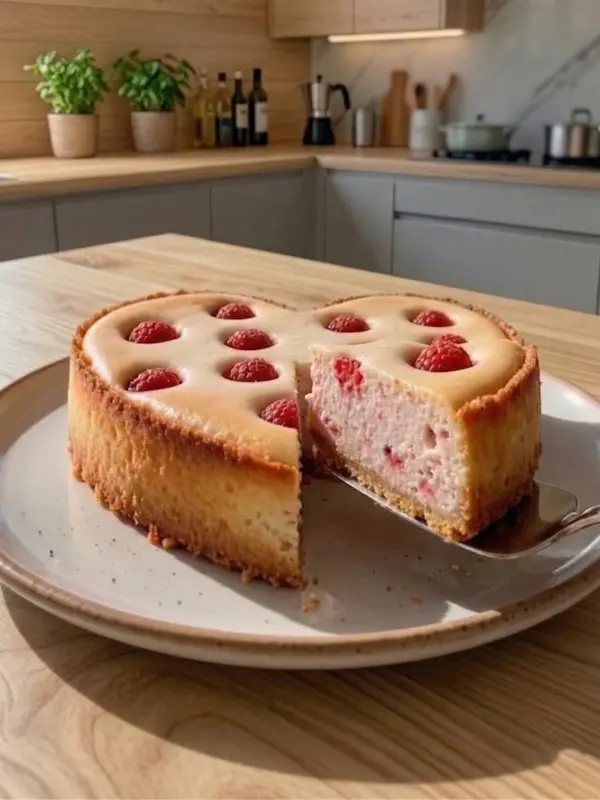
When I serve this cheesecake, I like slicing it once it’s fully chilled. The texture becomes smooth and creamy. Sometimes I add extra fresh cherries on top for a more vibrant presentation. I also enjoy serving it with a drizzle of honey or a spoonful of yogurt.
Variations & Customizations
One variation I enjoy is mixing cherries with berries like strawberries or raspberries. I’ve also tried adding lemon zest for a brighter flavor. Another version I like is adding a few chocolate chips for a chocolate-cherry combination.
How to Store, Freeze & Reheat
Whenever I make this cheesecake, I store it in an airtight container in the refrigerator for up to four days. I’ve also frozen slices, which works well for longer storage. To serve, I let it sit at room temperature for a few minutes or enjoy it chilled.
Conclusion
Every time I make this Healthy Cherry Cheesecake, I’m reminded how simple ingredients can create something fresh and delicious. The creamy texture, juicy cherries, and light sweetness make it a perfect dessert or snack. I love how easy it is to prepare and how it feels both indulgent and balanced. Once you try it, it might become one of your favorite healthy cheesecake recipes.