
Next, I sift together the all-purpose flour, baking soda, and salt in a separate bowl. This step not only helps combine the ingredients evenly but also gives the pie an airy texture. Gradually add this mixture to the wet ingredients, using a rubber spatula to fold it together gently. Just when you think you’re done mixing, it’s time to fold in those glorious chocolate chips. I always double the amount because, let’s be honest, you can never have too much chocolate!
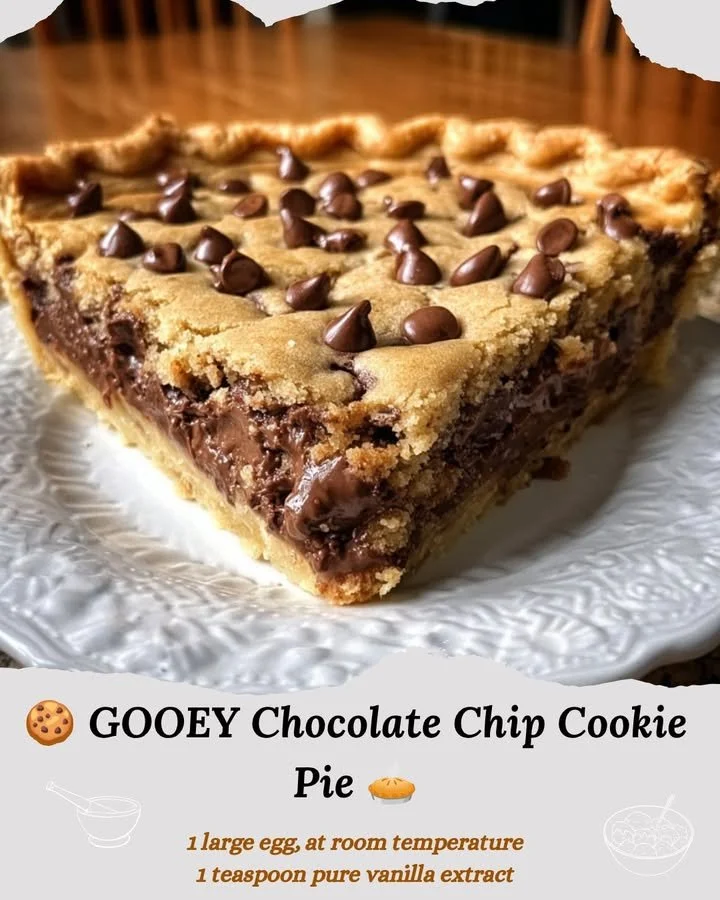
Now that the filling is ready, carefully pour it into your pre-made pie crust. Give the pie dish a gentle shake to spread the filling evenly. I like to sprinkle a few extra chocolate chips on top for good measure — presentation matters, after all! Pop it in the preheated oven and bake for 25 to 30 minutes. The edges should be golden brown, but the center will remain soft and gooey, creating that perfect contrast. You’ll know it’s done when you see a slight jiggle in the middle; that’s a sign of ooey-gooey perfection!
Pro Tips for Best Results
First, I recommend letting the chocolate chip cookie pie cool for about 10-15 minutes before slicing. This allows the filling to set a bit, making it easier to cut while still maintaining that gooey texture. I tested it both ways: slicing immediately and waiting, and trust me, patience really pays off!
Second, consider adding a pinch of cinnamon to the dough for a warm, cozy flavor kick. I stumbled upon this idea by accident, and it made me realize how much depth it adds to the experience. It’s subtle but incredibly satisfying, especially with chocolate!
Lastly, if you want to elevate this pie even further, serve it warm with a scoop of vanilla ice cream on top. The cold creaminess perfectly contrasts the warm, gooey chocolate, creating a blissful bite. This has become my go-to way to serve it!
Common Mistakes to Avoid
One of the biggest mistakes I made when I first started baking this pie was not measuring the ingredients properly. It might seem small, but using too much flour can lead to a dry texture that’s simply not enjoyable. I always take a moment to ensure I’m leveling my flour properly and using the right measurements! (See the next page below to continue…)

