
After about 25 minutes of baking, I remove the foil and let it bake for an additional 10 minutes. This is when my kitchen really starts to smell irresistible! Watching the cheese bubble and turn golden is pure joy. I’ve learned that keeping an eye on the casserole is essential during this stage; you want it bubbly but not burnt. Once it looks all melty and toasty, I take it out and let it sit for a few moments before serving.
Pro Tips for Best Results
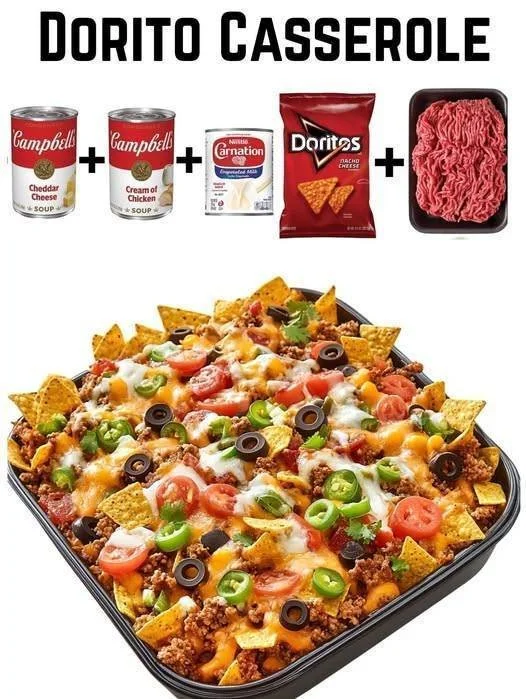
I’ve tested this recipe with different cheese types, but I have to say, don’t skip the sharp cheddar! It adds a richness that goes perfectly with the Doritos. I also recommend using the nacho cheese flavor for the chips—it enhances the overall flavor of the dish. In my experience, the casserole tastes even better the next day, as the flavors have time to meld together, so I like to make it in advance whenever possible.
Another tip I swear by is to not go overboard with the toppings. Less is more here; I’ve found that too many toppings can make the casserole fall apart when serving. Stick to one layer of crushed Doritos on top and a good sprinkle of cheese, and trust me, it’ll be more than enough!
Lastly, I always use a light hand when pouring the ingredients together—don’t just dump them in! Gently folding them helps maintain that perfect texture, so each section has a delightful contrast of crunch and creaminess.
Common Mistakes to Avoid
I’ll be honest; my first attempt at Dorito casserole was a bit of a disaster. I used way too many layers of ingredients and ended up with a soggy mess. If you’re like me and tend to be a bit heavy-handed, take it easy on the layering! Stick to the method I’ve described, and you’ll be fine.(See the next page below to continue…)