
Finally, I quickly pour the vibrant, creamy fudge mixture into my prepared pan. I use my spatula to spread it into an even layer. If I’m using sprinkles or edible glitter, I sprinkle them on top right now, pressing them in gently so they stick as the fudge sets. Then, the hardest part begins: the wait. I let the pan sit at room temperature for about an hour, then I transfer it to the refrigerator for at least 3-4 hours, or better yet, overnight. This slow, firm set is what gives it that classic, creamy fudge texture.
Pro Tips for Best Results
My biggest tip is about ingredient quality, especially the white chocolate. I tested this with generic chips, baking chips, and high-quality chips (like Ghirardelli or Guittard). The high-quality chips made a dramatically smoother, creamier fudge that set perfectly. Cheaper chips can have a waxy texture and sometimes don’t melt as smoothly. Don’t skip this ingredient; it makes a huge difference in the final mouthfeel. It’s worth the few extra dollars for that luxurious result.
Controlling heat is everything. I’ve tried this three different ways: direct low heat, a double boiler, and the microwave. The direct low heat method, with constant stirring, is my winner. The double boiler is safer but takes forever, and the microwave is risky and can easily scorch the chocolate. If you do use direct heat, the moment you see the last chip melt, take it off the burner. The residual heat in the pan will finish the job without overcooking it.
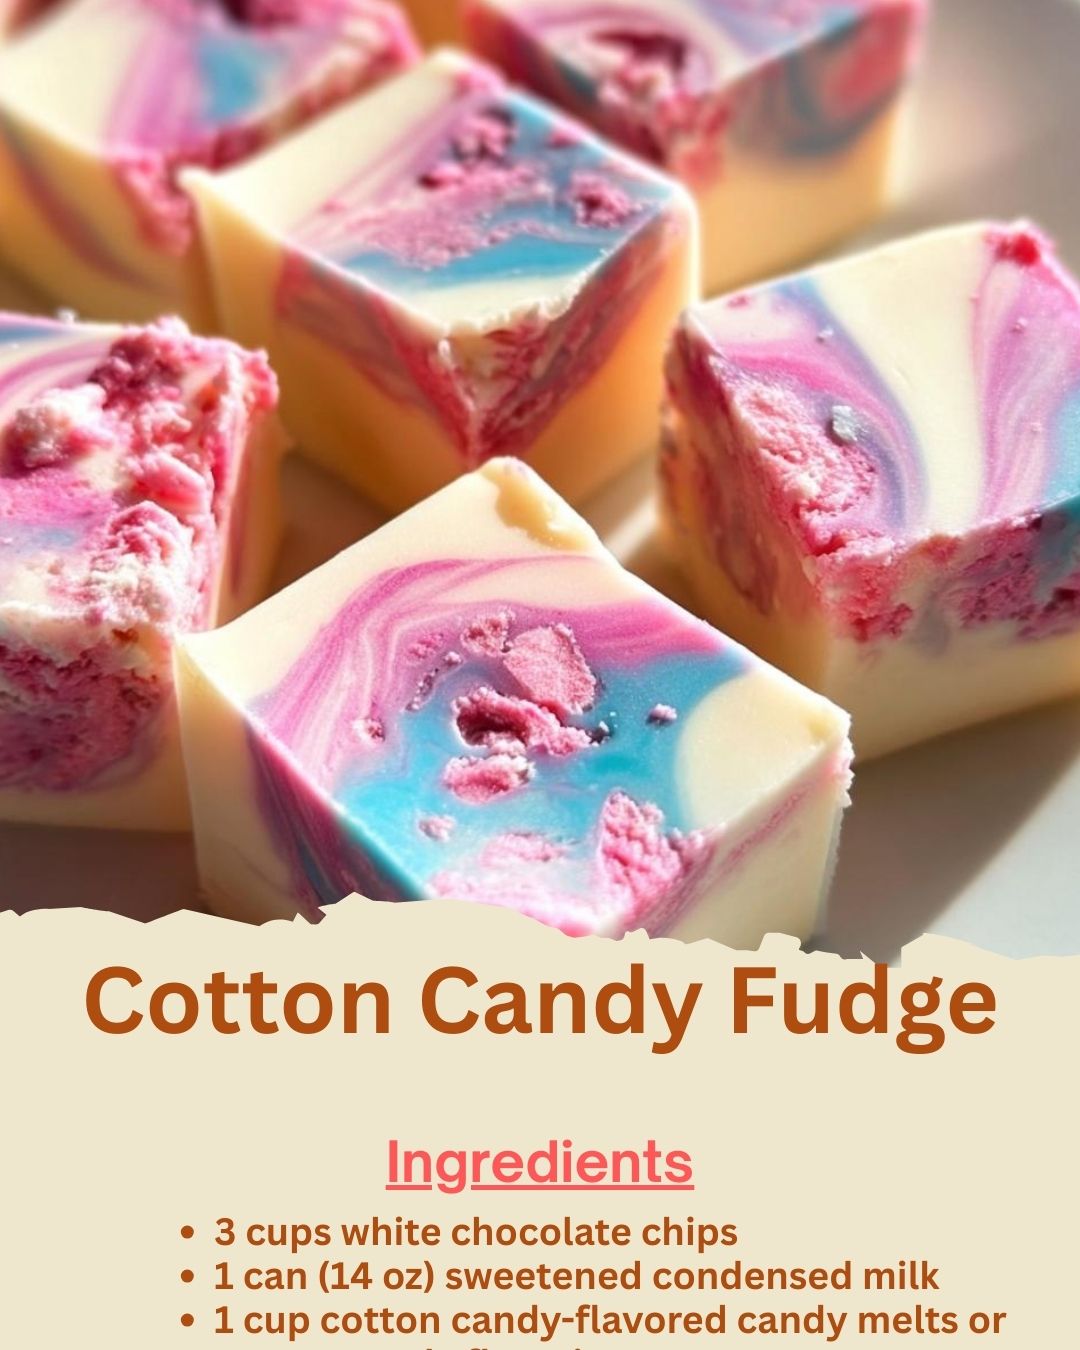
For the strongest, most authentic cotton candy flavor, you need the right product. The pre-colored cotton candy candy melts are ideal. If you can’t find them, you must use a flavoring oil, not an extract. I made the mistake of using extract once, and the flavor baked right out and was barely detectable. Oils, like those made by LorAnn Oils, are concentrated and heat-stable. Just a quarter teaspoon is usually enough to infuse the whole batch with that unmistakable fairground taste.
Common Mistakes to Avoid
The first and most heartbreaking mistake is letting the chocolate seize. This happened to me when a single, tiny drop of water from my spoon fell into the melting chocolate. It immediately turned into a grainy, clumpy mess. Water is the enemy of melting chocolate. Ensure all your tools are completely dry. Also, if you see the mixture starting to look oily or separate, don’t panic. Remove it from heat immediately and vigorously stir in an extra tablespoon of condensed milk; this can often bring it back together. (See the next page below to continue…)