Equipment Needed
Step-by-Step Instructions
- I start by preheating my oven to 170°C (340°F). Then I line a small baking pan with parchment paper, making sure the bottom and sides are covered well enough to make the cheesecake easy to remove later.
- Next, I place the softened cream cheese in a large mixing bowl. I whisk it until it becomes completely smooth and creamy. Using softened cream cheese makes this step much easier and helps prevent lumps in the finished batter.
- Then I add the sweetened condensed milk, eggs, vanilla extract, and lemon juice. I whisk everything together until the mixture becomes smooth and uniform. I take my time during this step because a smooth batter creates the best cheesecake texture.
- Once the batter is ready, I pour it into the prepared baking pan. I gently tap the pan against the counter a few times to release any large air bubbles from the mixture.
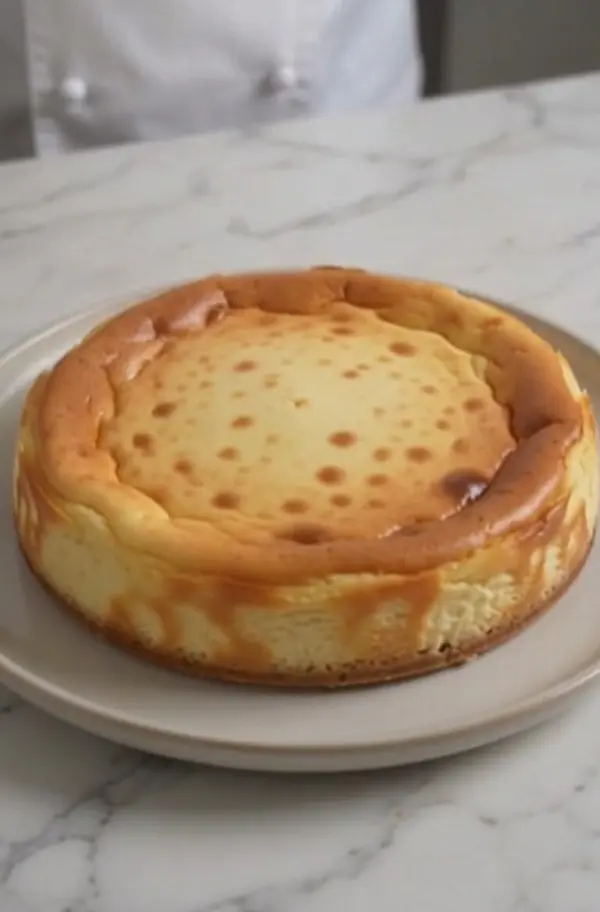
- I place the cheesecake in the preheated oven and bake it for about 35 to 40 minutes. I look for edges that are set while the center still has a slight jiggle. The center doesn’t need to look completely firm because it will continue setting as it cools.
- After baking, I remove the cheesecake from the oven and let it cool completely at room temperature. I allow it to cool gradually rather than cutting into it while it’s still warm.
- Once completely cooled, I transfer it to the refrigerator and chill it for at least 2 to 4 hours. For an even firmer and creamier texture, I sometimes let it chill overnight.
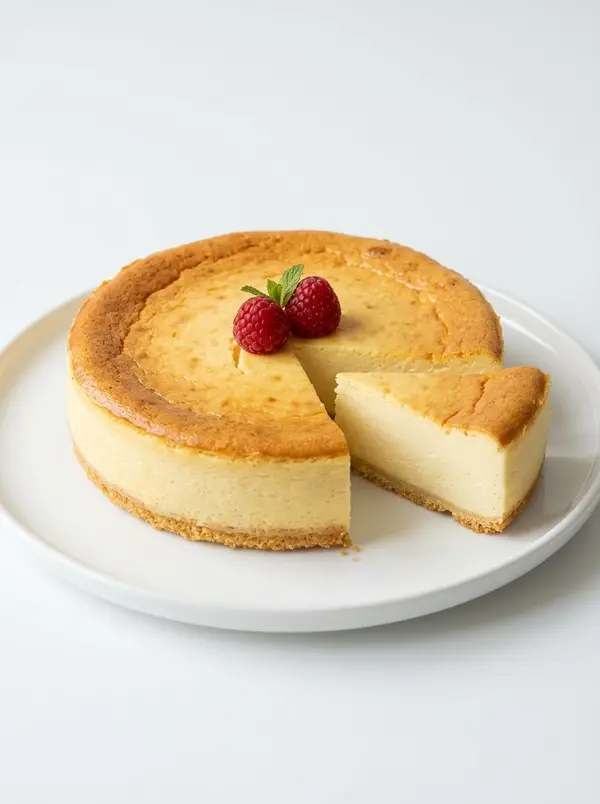
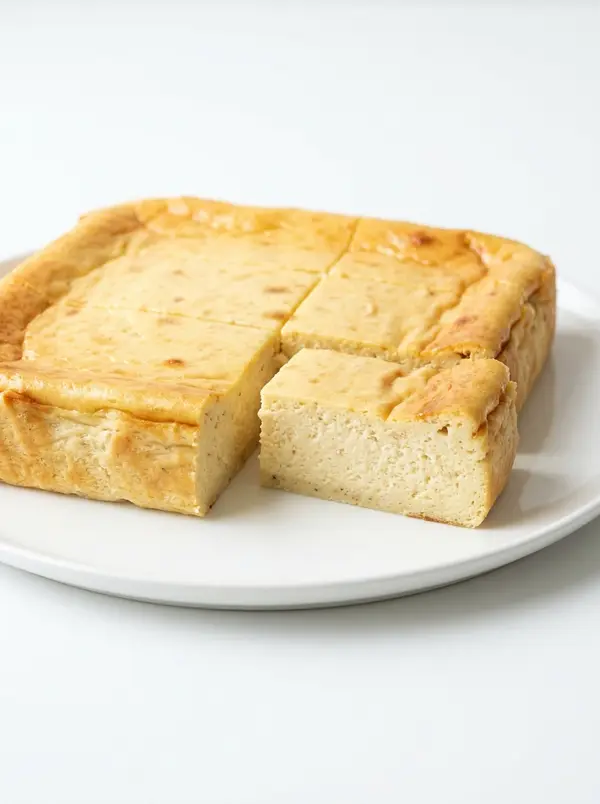
- When I’m ready to serve it, I carefully remove it from the pan, slice it while chilled, and enjoy.
Pro Tips for Best Results
I always recommend using full-fat cream cheese for the richest and creamiest texture. Make sure it’s softened before mixing.
Don’t skip the lemon juice. Even though it’s a small amount, it helps balance the sweetness of the condensed milk and adds a subtle brightness.
Avoid overmixing the batter once all the ingredients are combined. Mix just until everything is smooth and incorporated.
Don’t overbake the cheesecake. A slightly jiggly center is exactly what you want because it will firm up during cooling and refrigeration.
For the cleanest slices, chill the cheesecake thoroughly before cutting it.
Common Mistakes to Avoid
One common mistake is using cold cream cheese straight from the refrigerator. It can create lumps and make it harder to achieve a smooth batter.
Overbaking is another mistake to avoid. If the center is completely firm while the cheesecake is still in the oven, the final texture may become too dense or dry.
Don’t cut the cheesecake while it’s warm. It needs enough time to cool and chill so the filling can properly set.
Another mistake is skipping the parchment paper. Lining the pan makes removing the cheesecake much easier, especially once it has been chilled.
Serving Suggestions
I love serving this cheesecake chilled and simple because the creamy filling is delicious on its own.
For a fresh contrast, add strawberries, raspberries, blueberries, or blackberries on top.
A little lemon zest sprinkled over each slice adds a bright citrus flavor that works beautifully with the creamy filling.
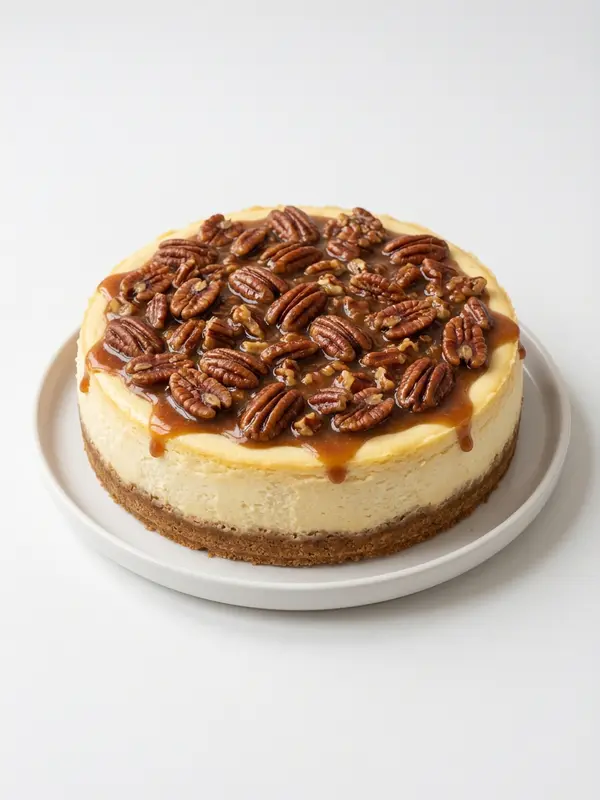
You can also add a drizzle of caramel, melted chocolate, or a spoonful of whipped cream for a more indulgent dessert.
Variations & Customizations
For a lemon cheesecake, increase the lemon flavor by adding a little extra lemon zest to the batter.
You can add fresh berries to the top just before serving for a fruity variation.
For a chocolate version, add unsweetened cocoa powder to the batter and mix until completely smooth.
A little extra vanilla extract can also give the cheesecake a warmer and more pronounced vanilla flavor.
For a caramel-inspired version, drizzle caramel sauce over the chilled cheesecake just before serving.
How to Store & Freeze
Store leftover cheesecake in an airtight container in the refrigerator for up to 4 to 5 days.
Keep the cheesecake chilled until you’re ready to serve it. The texture is best when cold.
To freeze it, cut the cheesecake into individual slices and wrap each slice tightly in plastic wrap or parchment paper. Place the wrapped slices in a freezer-safe container and freeze for up to 1 month.
Thaw frozen slices overnight in the refrigerator before serving.
Conclusion
This Easy Condensed Milk Cheesecake is a simple recipe that creates an incredibly creamy and satisfying dessert. Sweetened condensed milk and cream cheese create a rich, smooth filling, while eggs help the cheesecake set beautifully in the oven.
With just a few ingredients and simple preparation, you can make a homemade cheesecake that’s perfect for family dinners, weekend treats, or whenever you’re craving something sweet and creamy.
Chill it well, add your favorite toppings, and enjoy every smooth and delicious bite.