
Equipment Needed
- Stand mixer or handheld electric mixer
- Medium and large mixing bowls
- Measuring cups and spoons
- Whisk
- Baking sheets
- Parchment paper or silicone baking mats
- Wire cooling rack
- Small bowl for optional sugar rolling
Step-by-Step Instructions
Let’s begin with the most important step: creaming the butter and sugar. I cannot stress enough how vital it is to have your butter properly softened. I’ve learned the hard way that “softened” means cool to the touch but yielding—if your finger leaves a clear indent, it’s ready. I beat the butter and sugar together on medium-high speed for a full three to four minutes. I once tried to rush this, and my cookies were dense and didn’t spread properly. You want the mixture to become very pale, fluffy, and almost like a creamy frosting. This incorporates air, which is the secret to a lovely texture.
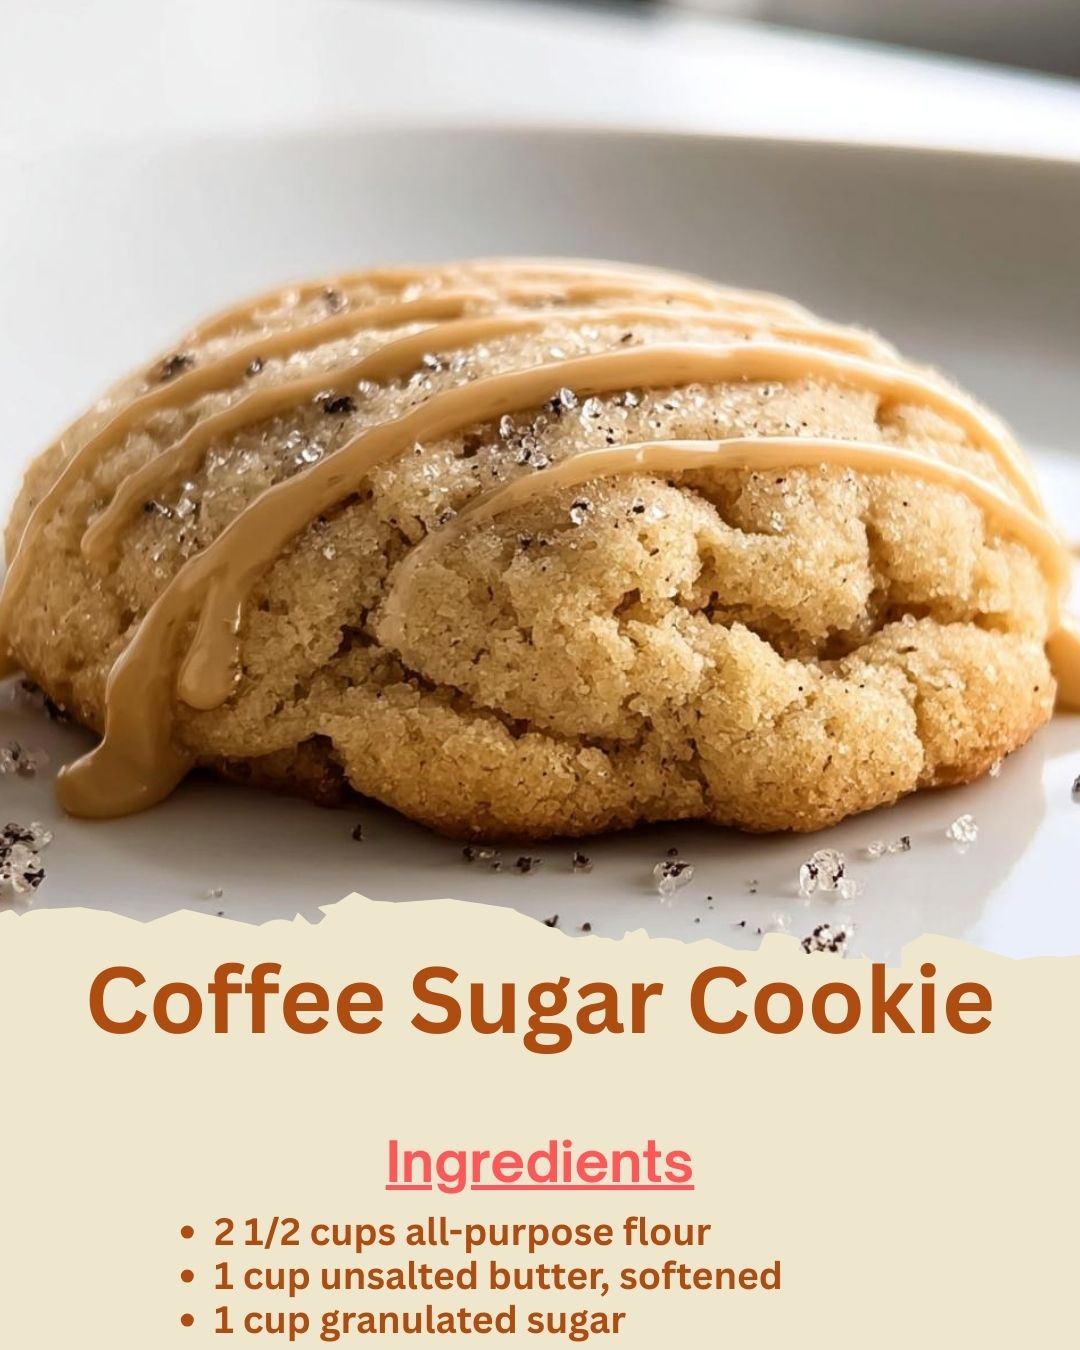
While the mixer is running, I whisk together my dry ingredients. In a separate bowl, I combine the flour, finely ground coffee, baking powder, and salt. The grind of the coffee is crucial here; you want it as fine as flour, not a coarse grind. I use my spice grinder to pulse espresso beans to a powder. This ensures you get deep coffee flavor in every bite without any gritty texture. Once the butter and sugar are gloriously fluffy, I add the egg and vanilla, mixing just until they disappear into the mixture.
Now, with the mixer on low, I gradually add the dry ingredients. I add the flour mixture in three parts, letting each incorporate fully before adding the next. I stop mixing the moment the last streak of flour disappears. Overmixing at this stage is the enemy of a tender cookie! The dough will be soft and slightly sticky, but it should pull away from the sides of the bowl. I then use a spatula to give it a few final folds to make sure everything is evenly distributed. The smell at this point—the rich coffee mingling with sweet butter—is absolutely intoxicating. (See the next page below to continue…)