
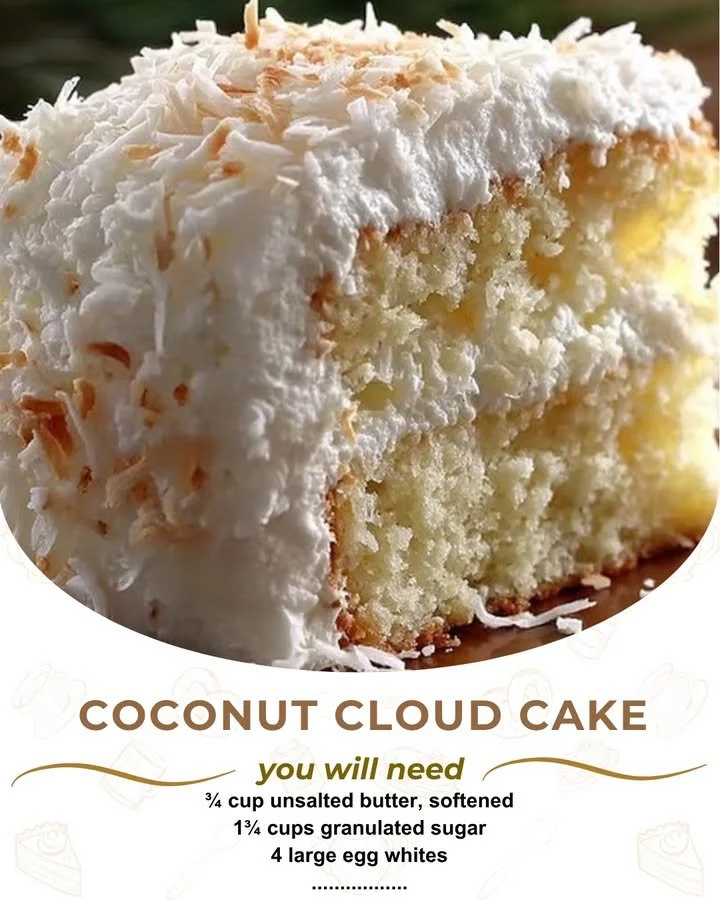
Next, add the eggs one by one, making sure each one is fully incorporated before adding the next. Don’t forget to stir in the vanilla extract and shredded coconut, which will give our cake that delightful coconut flavor and texture. Once everything is mixed together, evenly distribute the batter between the two prepared cake pans. Bake for about 25-30 minutes, or until a toothpick inserted in the center comes out clean. The aroma wafting through your kitchen will be simply intoxicating!
While your cakes are baking, I suggest preparing the frosting. In a separate bowl, whip the heavy cream until it forms soft peaks, and then gradually add the powdered sugar and coconut extract. This frosting is incredibly light and fluffy, which complements the airy layers of the cake. Once the cakes are done, let them cool completely in the pans for about 10 minutes before transferring them to a wire rack to cool fully. I love letting them cool while I tidy up my kitchen; it makes everything feel organized and ready for the decorating part.
When the cakes are completely cool, it’s time for the best part: frosting! Place one layer of cake on your desired serving plate and spread a generous layer of frosting on top. Then, add the second layer and cover the top and sides with the remaining frosting. Feel free to sprinkle some extra shredded coconut on top for an appealing finishing touch. And there you have it—a beautiful Coconut Cloud Cake that’s just as lovely to look at as it is to eat!
Pro Tips for Best Results
First things first, I tested this three ways: with fresh coconut, desiccated coconut, and even a mix. I found that although fresh coconut adds an incredibly delightful flavor and texture, desiccated coconut is much easier to work with and incorporates beautifully into the cake batter. If you love a bit of tropical flair, don’t hesitate to use fresh coconut on top for decoration!
Another tip is to ensure your butter and eggs are at room temperature before you start baking. I always take my eggs out of the fridge at least an hour before I start. This simple step makes for an even better, fluffier texture in your cake—a little trick I learned from a fellow baker that really does make a difference.
Lastly, if you’re planning to transport your cake, consider assembling it right before serving. I’ve had a few mishaps where the layers shifted during transport, but now I always frost it just before I’m ready to serve. It might feel like an extra step, but it’s worth it for the perfect presentation!
Common Mistakes to Avoid
One common mistake I ran into while making this cake the first time was overmixing the batter. It’s really important to mix until just combined, as overmixing can lead to a dense cake rather than the fluffy cloud-like texture we’re aiming for. I learned to trust my instincts after my first try—if it looks mixed enough, stop! (See the next page below to continue…)