
Avoid overmixing the cream cheese layer once you add the whipped topping. This is a folding job, not a beating job. If you use your electric mixer, you’ll whip the air right out of the whipped topping, resulting in a dense, heavy layer instead of the light, fluffy “lush” texture we’re after. Use a spatula and gentle, confident folds from the bottom of the bowl up until just combined.
Do not skip the chilling time. I made this mistake for a last-minute gathering—I only chilled it for 2 hours. The layers hadn’t set, so when we tried to serve it, the creamy layers ran into the cherry topping, creating a pink, messy swirl. It tasted fine, but it wasn’t the beautiful, defined dessert I wanted. The four-hour minimum is essential for structure, but the overnight chill is when the magic truly happens and the flavors become one.
Finally, don’t use cold cream cheese straight from the fridge. I’ve said it before, but it’s worth repeating because it’s the most common pitfall. Those little lumps will never fully incorporate, and you’ll find them in an otherwise smooth layer. Plan ahead. Setting your cream cheese on the counter an hour before you start is the simplest way to guarantee a silky, lump-free filling.
Serving Suggestions
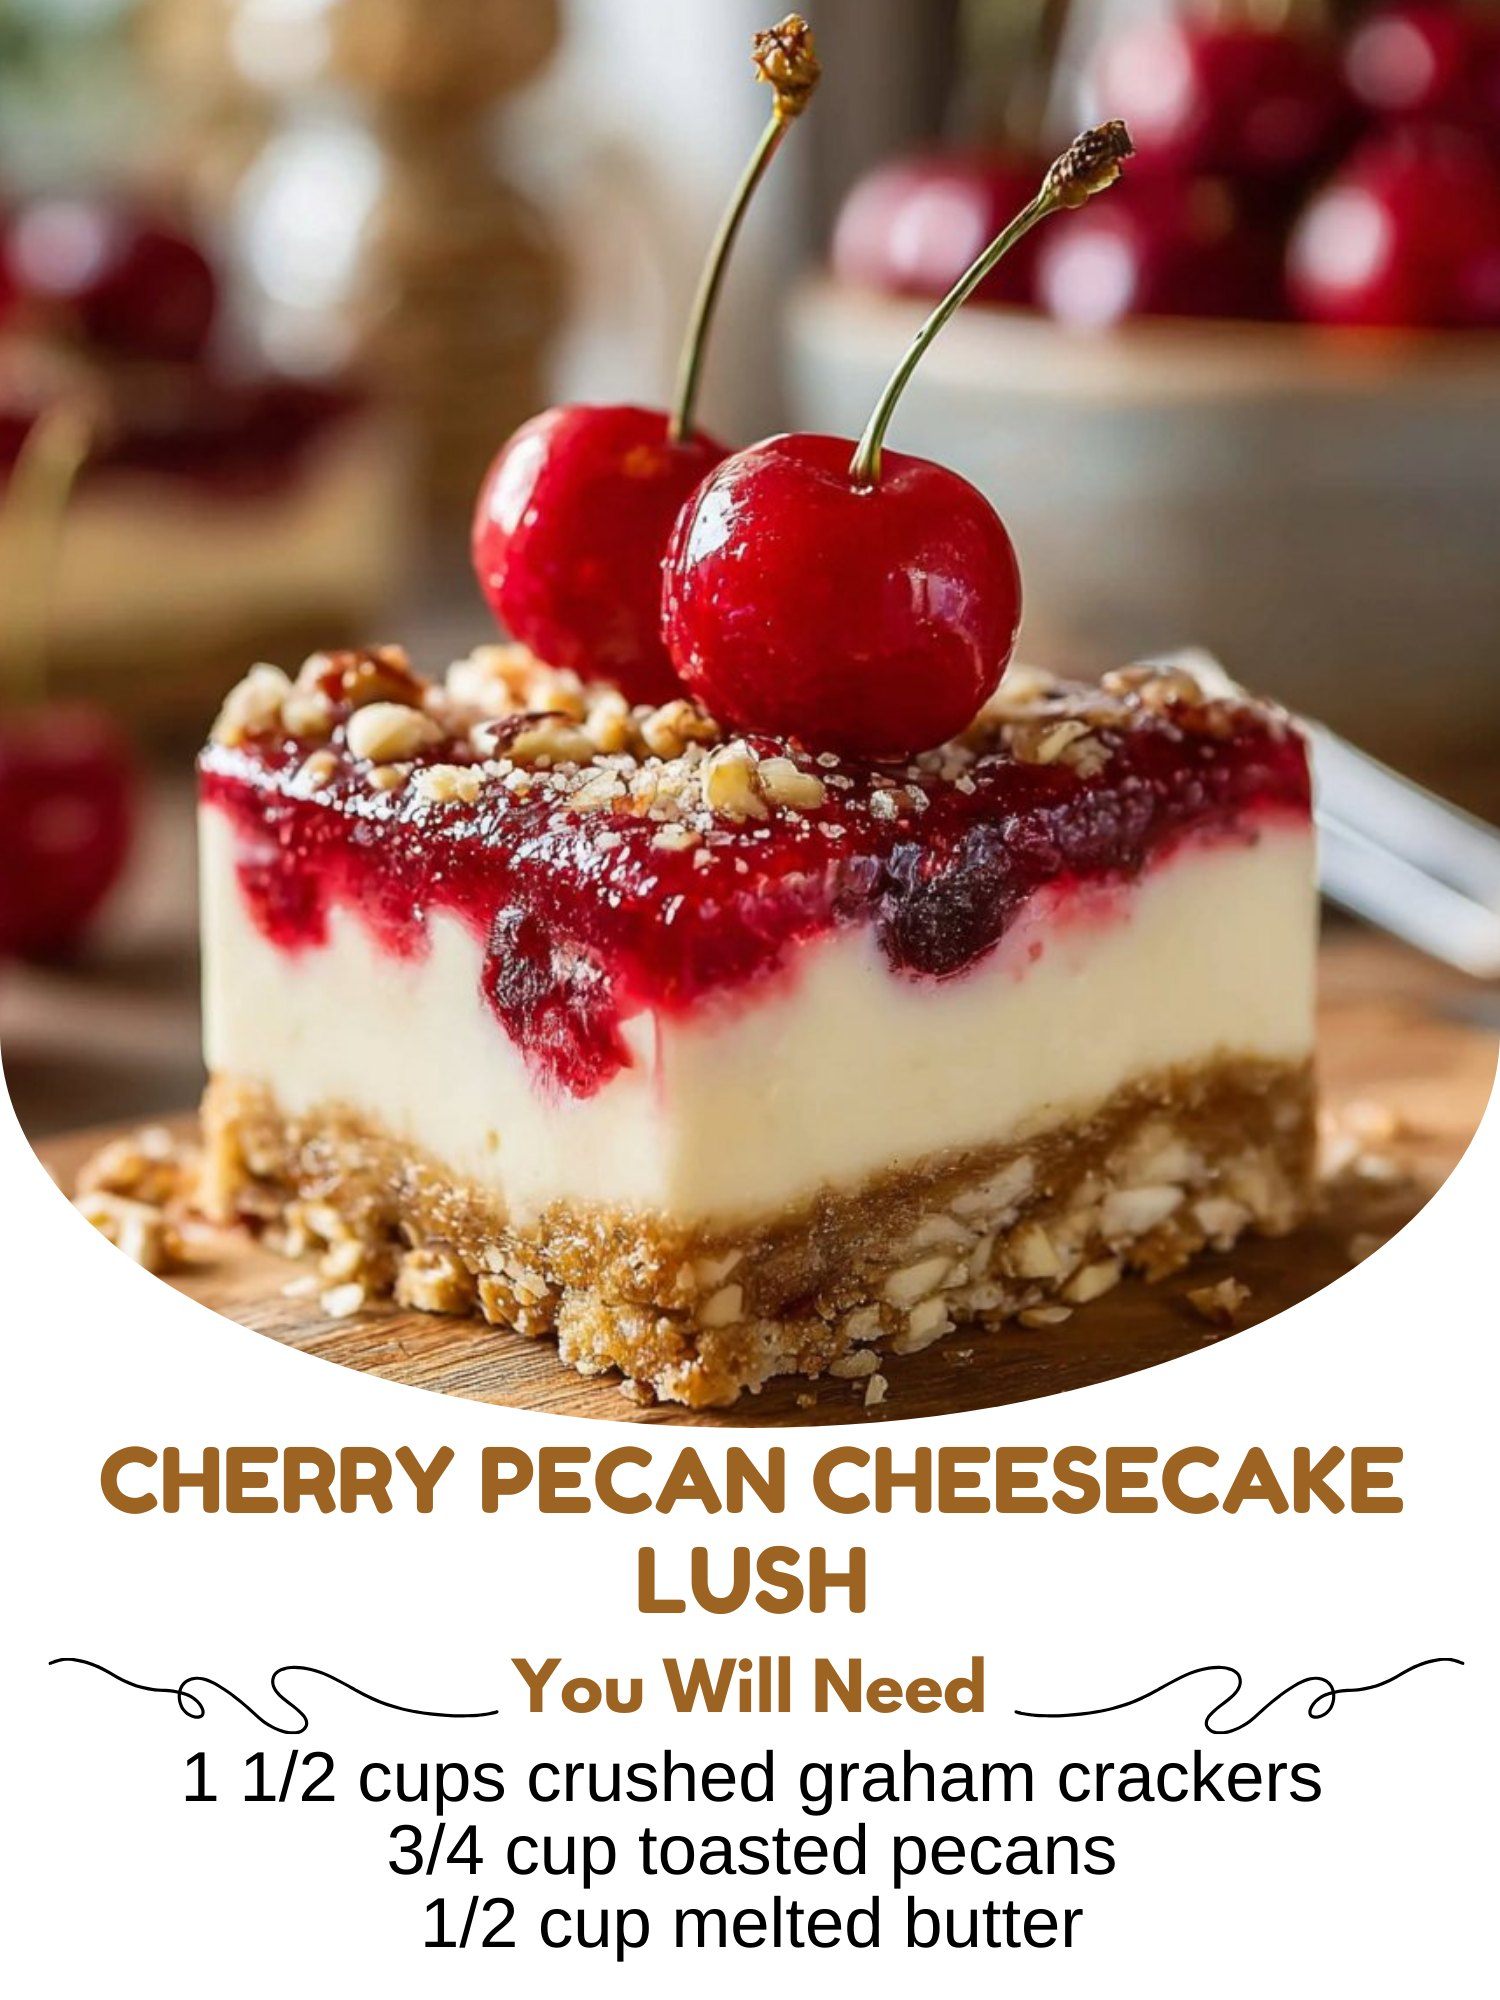
I love serving this straight from the fridge, cut into neat squares and placed on simple white plates. The vibrant red cherries and white layers look so striking. For a special touch, I’ll add a tiny dollop of fresh whipped cream on the side and a single, perfect toasted pecan half on top.
It’s the ultimate potluck or holiday party dessert because it feeds a crowd effortlessly. I transport it right in the baking dish, with the cover on, and bring my own serving spatula. It’s always one of the first dishes to empty, and I love overhearing people ask, “Who made the amazing cherry dessert?”
For a cozy family dinner, I’ll sometimes serve it in bowls rather than on plates. It feels a bit more rustic and inviting that way, and it’s perfect with a cup of strong coffee after a hearty meal. The creamy, cool texture is a wonderful contrast to a warm drink.
Variations & Customizations
For a chocolate twist, I’ll add 1/4 cup of cocoa powder to the graham cracker crust mixture. It pairs wonderfully with the cherries, like a Black Forest cake vibe. You can also use a chocolate graham cracker for the crumbs to deepen that flavor without extra steps.
If cherries aren’t your favorite, blueberry or apple pie filling are fantastic substitutes. I’ve made a blueberry pecan version that was a huge hit, especially in the summer. The key is to use a good quality, thick pie filling so it doesn’t make the dessert watery.
For a nut-free version, simply replace the pecans in the crust with an additional ¾ cup of graham cracker crumbs. To add back some texture and flavor, you could mix in ½ cup of toasted coconut flakes or even crushed shortbread cookies for a different kind of buttery crunch.
How to Store, Freeze & Reheat
Once assembled, this dessert needs to live in the refrigerator. I cover the baking dish tightly with plastic wrap or a lid. It stays perfectly fresh and delicious for up to 4 days. The crust will slowly soften the longer it sits, but the flavors actually improve, making day two or three a real treat.
You can freeze this lush for longer storage. I cut it into individual portions, wrap each square tightly in plastic wrap, and place them all in a heavy-duty freezer bag. They will keep for up to 2 months. This is perfect for preventing dessert temptation on a weeknight or for planning ahead for a party.
To serve a frozen portion, I do not recommend reheating it. Instead, I transfer the wrapped square from the freezer to the refrigerator the night before I want to eat it. This allows it to thaw slowly and evenly, preserving all the distinct layers and that perfect, cool, creamy texture it’s meant to have.
Conclusion
This Cherry Pecan Cheesecake Lush is more than a dessert; it’s a memory maker. It’s the taste of family gatherings, holiday joy, and the simple pleasure of creating something beautiful and delicious to share. I hope this recipe finds its way into your kitchen and becomes a beloved tradition, just as it has in mine. Now, go toast those pecans, and get ready for the compliments to roll in.