
Another error is overmixing the biscuit dough. In my early attempts, I kept stirring until it was a smooth ball, worried about uneven mixing. This developed the gluten in the flour and resulted in dense, tough little hockey pucks instead of light, flaky biscuits. The dough should be shaggy and just barely holding together when you drop it. A few dry spots are okay; they’ll incorporate as you gently form the mounds.
Using pre-shredded cheese for both the filling and the biscuit dough is a shortcut that affects quality. Pre-shredded cheese is coated with anti-caking agents like cellulose, which can prevent it from melting as smoothly and can make your biscuits a bit gummy. For the creamiest filling and the best melt in your biscuits, take two minutes to shred a block of sharp cheddar yourself. The flavor and texture difference is noticeable and worth it.
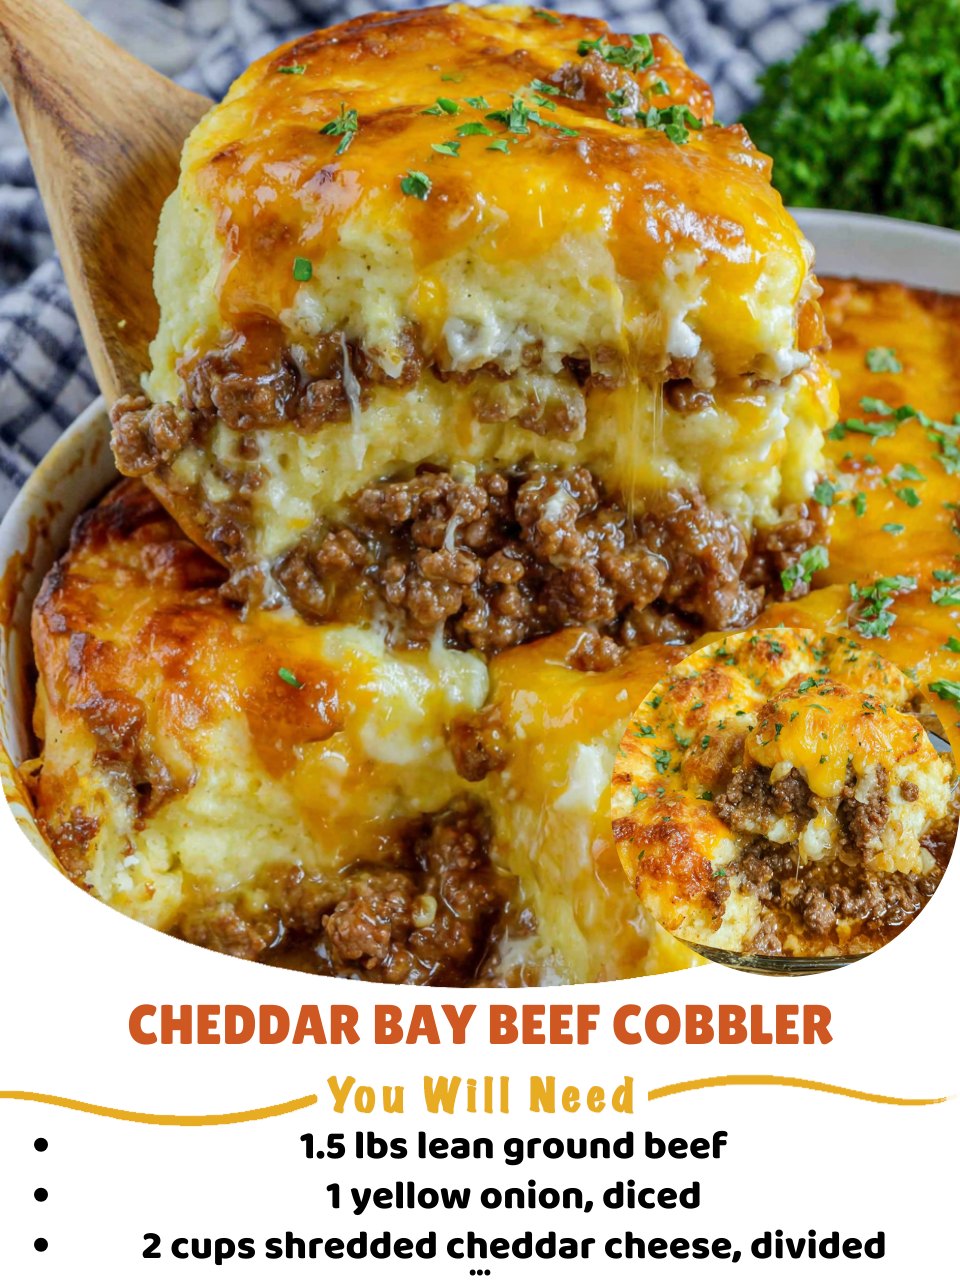
Finally, not letting the dish rest before serving is a disservice to yourself and your guests. The filling is bubbling and intensely hot straight from the oven. A 5-10 minute rest allows it to cool to a edible temperature and also lets the filling set up slightly, so when you spoon it out, it holds together beautifully on the plate instead of running everywhere. Patience here makes for a perfect presentation.
Serving Suggestions
I love serving this cobbler right from the skillet or baking dish at the table. It’s a stunning, rustic presentation. The dish is a complete meal with protein, veg (if you added them), carbs, and dairy, so it truly needs no sides. However, I often pair it with a simple, crisp green salad with a tangy vinaigrette to cut through the richness. A Caesar salad or an arugula salad with lemon also works wonderfully.
For a heartier plate, especially for big appetites, a side of steamed green beans, roasted broccoli, or garlicky sautéed spinach is a perfect vegetable companion. The cobbler is so flavorful and satisfying that you don’t need anything elaborate. A cold beer or a glass of iced tea is the perfect drink to wash it all down.
If I have any leftovers (a rarity!), the biscuit topping softens into the filling, creating a delicious, savory bread-pudding-like texture that’s amazing for lunch the next day. It’s one of those dishes that’s arguably just as good, if not better, as leftovers.
Variations & Customizations
This recipe is a fantastic canvas. For a different meat, try using ground turkey, chicken, or even a plant-based crumble. For a “Shepherd’s Pie” twist, use ground lamb and add a teaspoon of rosemary to the filling. You can also add a can of drained and rinsed black beans or kidney beans to the beef mixture for extra fiber and heartiness.
Feel free to play with the vegetables. Corn, diced zucchini, or chopped mushrooms sautéed with the onions are all great additions. For the biscuit topping, you can add a pinch of cayenne for heat, or swap half the cheddar for Pepper Jack cheese. If you’re out of fresh parsley, a teaspoon of dried parsley in the dough and the butter brush works in a pinch.
For a low-carb version, you can skip the biscuit topping altogether and instead top the beef filling with a layer of cauliflower mash mixed with cheese, then bake until golden. The core concept of a savory, cheesy filling with a delicious topping is endlessly adaptable.
How to Store, Freeze & Reheat
Leftovers can be stored in an airtight container in the refrigerator for up to 3 days. The biscuits will soften into the filling, which is still delicious. To reheat, the oven is best to re-crisp the topping a bit. Place portions in an oven-safe dish, cover with foil, and warm at 350°F for 15-20 minutes. The microwave will work but will keep everything soft.
You can assemble the cobbler ahead of time and freeze it before baking. Prepare the filling and let it cool completely. Make the biscuit dough and drop it on top. Wrap the entire dish tightly in plastic wrap and then foil. Freeze for up to 2 months. To bake from frozen, do not thaw. Remove the wrappers, cover with foil, and bake at 400°F for 30 minutes, then uncover and bake for 25-30 minutes more, until the filling is bubbling and the biscuits are cooked through. You may need to brush with garlic butter after baking.
I do not recommend freezing already-baked cobbler, as the biscuit texture becomes very compromised upon thawing and reheating. For the best make-ahead strategy, freeze it unbaked. This ensures you get that fresh-from-the-oven texture whenever the craving strikes.
Conclusion
This Cheddar Bay Beef Cobbler is more than just a clever recipe; it’s a fun, flavorful, and deeply comforting experience that turns a simple weeknight into something special. It has become a beloved favorite in my home, combining nostalgic flavors in the most satisfying way. I hope it brings the same warmth, cheesy joy, and delicious simplicity to your table, becoming a recipe you turn to whenever you need a guaranteed smile. Now, go grab that skillet and get ready to bake up some comfort with a cheesy, garlicky twist