
Now, while the crust is cooling, I whip up the cheesecake filling. In another mixing bowl, I combine the softened cream cheese and 1 cup of sugar, beating them together until it’s smooth and creamy. I love watching it transform—it’s like magic! Then, I add in the vanilla extract and eggs, beating each egg in one at a time. I make sure not to over-mix, just until everything is combined. Next, I fold in the diced apples and cinnamon, taking care to distribute them evenly in the cheesecake batter.
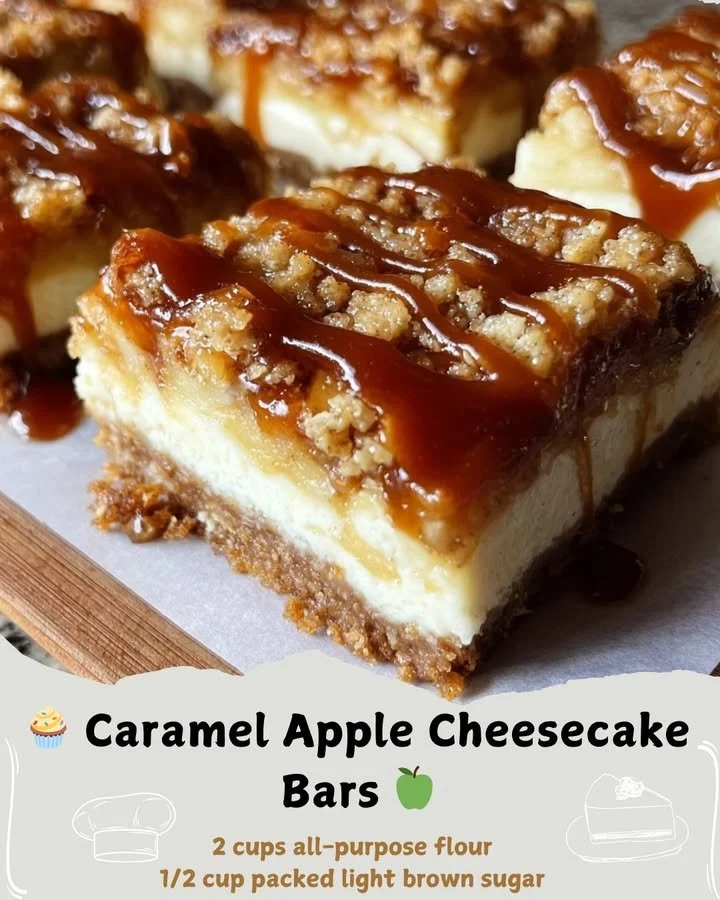
Once my crust has cooled slightly, I pour the creamy cheesecake mixture over the top of the crust, spreading it out evenly with my rubber spatula. Then, I bake these beauties in the oven for about 30-35 minutes, or until the edges are set and the center is slightly jiggly. After I take them out, I allow them to cool at room temperature before drizzling with caramel sauce. If I’m feeling indulgent, I might even sprinkle a bit of sea salt to enhance that sweet and salty contrast!
Pro Tips for Best Results
To get the best texture for my cheesecake bars, I always make sure my cream cheese is at room temperature. Trust me, this step avoids those dreaded lumps that nobody wants in their cheesecake! I’ve tested this recipe three ways—using cold cream cheese, partially softened, and fully softened—and the latter is the clear winner!
I also like to use freshly diced apples rather than canned. Not only does it ensure they retain their crunch, but it also gives a fresher flavor. My go-to apple is Granny Smith for that perfect tartness, but I have enjoyed mixing in a bit of Honeycrisp for added sweetness.
Lastly, don’t forget to let your bars cool completely before cutting! If you’re in a rush (believe me, I’ve been there), I recommend cooling them in the fridge for at least an hour. This little patience pays off with cleaner cuts and a more appealing look.
Common Mistakes to Avoid
One common mishap I’ve experienced is overbaking the cheesecake bars. It’s easy to think they’re not done just because the center is jiggly when you take them out, but remember—they continue to firm up as they cool! Keep an eye on them and remove them once the edges feel set. (See the next page below to continue…)