
Next, while the crust is cooling, let’s whip up the cheesecake filling. In a mixing bowl, beat the softened cream cheese with granulated sugar until it’s light and fluffy. This step is all about incorporating air, so take your time! Then, add in the vanilla extract and one egg at a time, mixing well after each addition. Once everything is well combined, fold in the heavy cream gently with a spatula. The batter should now be luxuriously creamy and a little bit thick.
Now, pour this creamy mixture over the cooled crust in your springform pan, smoothing the top with your spatula. This cheesecake will rise a little while baking, and it will give you a lovely, creamy texture. Bake it at 325°F (160°C) for about an hour. Keep a close eye on it—it’s done when the edges are set but the center still has a slight jiggle. Let it cool to room temperature while you prepare the caramel and Butterfinger topping.
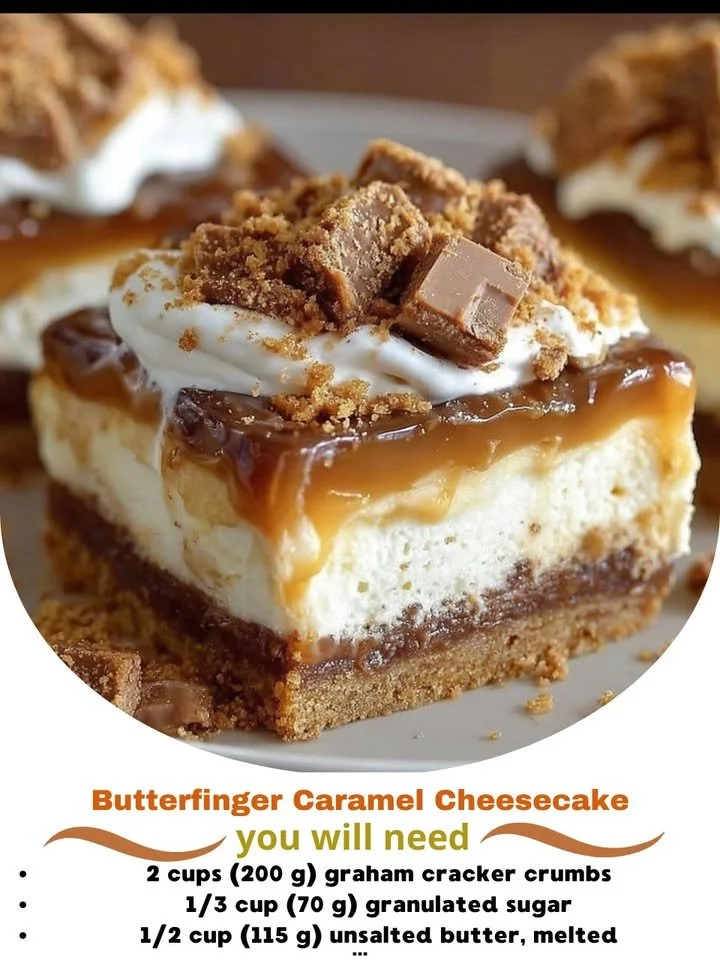
Once the cheesecake has cooled, drizzle the caramel sauce over the top generously; I like to go a little wild here! Next, sprinkle the crushed Butterfinger bars over the caramel. You’ll get that delightful crunch that adds such a fun contrast to the creamy cheesecake. Refrigerate for at least 4 hours, or preferably overnight, to let all the flavors meld together beautifully; the wait is hard, but oh-so worth it when you finally slice in!
Pro Tips for Best Results
I’ve tested this recipe a few different ways, and one of my biggest takeaways is to make sure your cream cheese is at room temperature before you start mixing. Trust me, cold cream cheese will lead to lumps in your filling, and nobody wants that! I also recommend using a springform pan; it makes for easy removal and a gorgeous presentation.
Another tip? Don’t skimp on the chilling time! I know it’s hard to wait, but letting the cheesecake chill overnight allows the flavors to deepen and leads to a denser, creamier texture. I’ve found that the cheesecake tastes even better the next day.
Lastly, if you want to add a touch of elegance, you can whip some extra heavy cream and pipe it around the edges before adding your toppings. It not only looks beautiful but makes each slice just that much creamier. It’s those little touches that elevate a dessert to a whole new level!
Common Mistakes to Avoid
One common mistake I made the first time I tried this recipe was not allowing my cheesecake to cool gradually in the oven. I went straight to room temperature, and that caused cracks on top. To avoid this, turn off the oven when the cheesecake is done, crack the oven door open, and let it sit in there for about an hour before taking it out. This gradual cooling helps prevent those pesky cracks. (See the next page below to continue…)