
Another pitfall to avoid is rushing the cooling time. Give it at least 10 minutes before digging in! I was far too impatient on my first attempt, and while the taste remained phenomenal, the textures just didn’t come together as well; it was still too warm and messy.
Keep an eye on baking times as well. Every oven behaves differently, and I learned this the hard way when I let my first one bake too long, resulting in a crispy edge and a dry center. Keep checking around the 40-minute mark, and remember, a little golden color is your friend!
Serving Suggestions
When serving my Banana Split Dump Cake, I love dolloping generous amounts of whipped cream over the top. It adds that classic dessert feel and balances the richness of the cake beautifully. Occasionally, I’ll even opt for a scoop of vanilla ice cream to truly play into the banana split theme—I mean, who can resist ice cream?
For an extra touch, I drizzle some chocolate syrup on top before adding whipped cream. It not only makes the dish look more tempting but adds a layer of rich chocolatey goodness that I adore. Sometimes, I’ll sprinkle a few extra chopped nuts too, just for that added crunch!
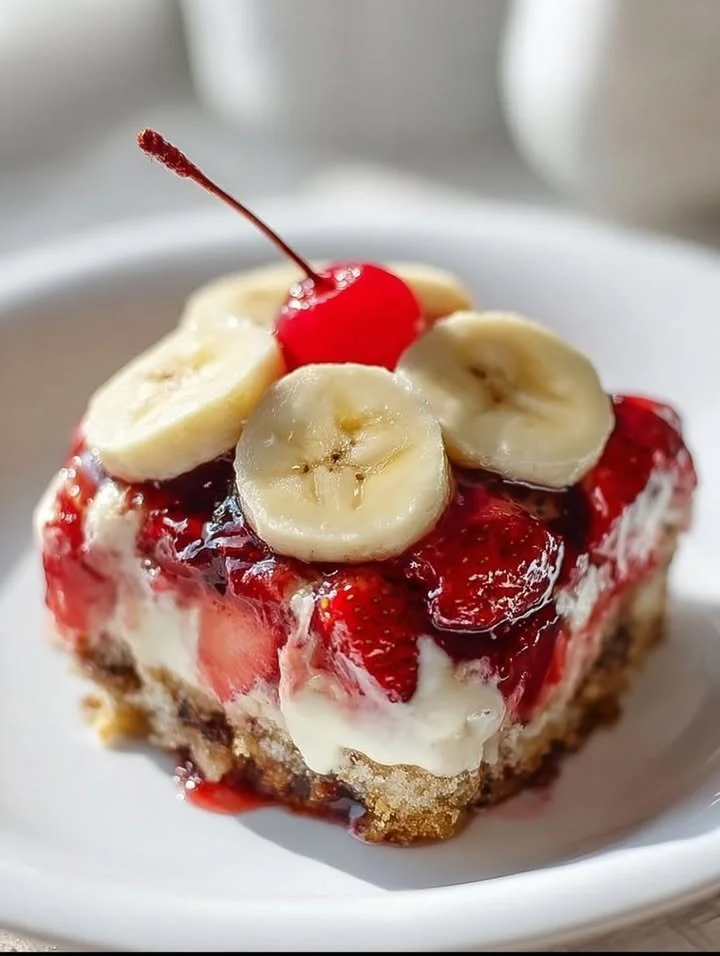
Lastly, don’t forget the maraschino cherries! Placing a couple on top before serving makes it feel extra festive and turns each plate into a mini celebration. Every time I set this dessert on the table, I get smiles all around.
Variations & Customizations
One delicious variation I’ve tried is adding a layer of strawberries along with the bananas to give it a fruity twist that is simply divine. The burst of fresh strawberry flavor elevates the cake and adds a gorgeous color contrast as well. You could also swap out the crushed pineapple for a can of peach slices—it brings in a delightful sweetness that’s just as good!
In the mood for more chocolate? Try substituting the yellow cake mix with a chocolate cake mix! It takes the already indulgent flavors to a whole new level and is perfect for chocolate lovers, which I am one. I also sometimes add a sprinkle of mini marshmallows on top during the last few minutes of baking—they melt beautifully and add a surprising gooeyness to the dish.
Feel free to play around with the nuts as well! I often use walnuts, but I’ve also experimented with macadamia nuts for a tropical vibe that’s delightful. It opens up so many paths of flavor that take this simple dump cake to gourmet levels!
How to Store, Freeze & Reheat
Storing leftover Banana Split Dump Cake is a breeze! Just cover it with plastic wrap or aluminum foil and keep it in the fridge for up to 3 days. I usually warm mine up a bit in the microwave before indulging—nothing beats that comforting warmth!
If you want to make this cake in advance, it freezes wonderfully too. Simply let it cool completely, then wrap it tightly in plastic wrap and place it in an airtight container. It can stay frozen for up to three months. When you’re ready to indulge, just let it thaw in the fridge overnight before reheating.
Reheating is easy—just pop it in the oven at around 350°F (175°C) for about 15-20 minutes, or until warmed through. You can also nuke it in the microwave for a quick treat, but keep in mind that the oven gives it a nicer texture. Whichever way you choose, you’ll be diving back into that sweet, cozy comfort of Banana Split Dump Cake in no time!
Conclusion
I hope you love making and enjoying this Banana Split Dump Cake as much as I do! It’s such a versatile and easy dessert, perfect for those moments when you want something warm and comforting without all the hassle. Trust me, every bite is an experience that will make you feel like a kid again, savoring the joys of a classic banana split but in a fun, delightful new way. Happy baking, everyone!