
The first time I made black bean brownies, I was honestly skeptical—beans in dessert didn’t sound right at all. But the moment they came out of my oven, my entire kitchen smelled like rich, deep chocolate, and I knew something special was happening. When I took that first bite, I was shocked at how fudgy and indulgent they were. Since then, I’ve made them over and over again, tweaking the texture until they became one of my favorite “secret ingredient” treats.
Why You’ll Love This Recipe
You’re going to love this recipe because it gives you that rich, chocolatey brownie experience while using simple, wholesome ingredients—and trust me, no one will guess there are black beans inside. From my experience, they’re incredibly easy to make, super satisfying, and perfect when you want something indulgent without the usual heaviness of traditional brownies.
Ingredients
- 1 can (400g) black beans, drained and rinsed
- 2 large eggs
- 1/3 cup (80ml) maple syrup or honey
- 1/4 cup (60ml) coconut oil, melted
- 1/2 cup (50g) unsweetened cocoa powder
- 1/2 cup (90g) dark chocolate chips
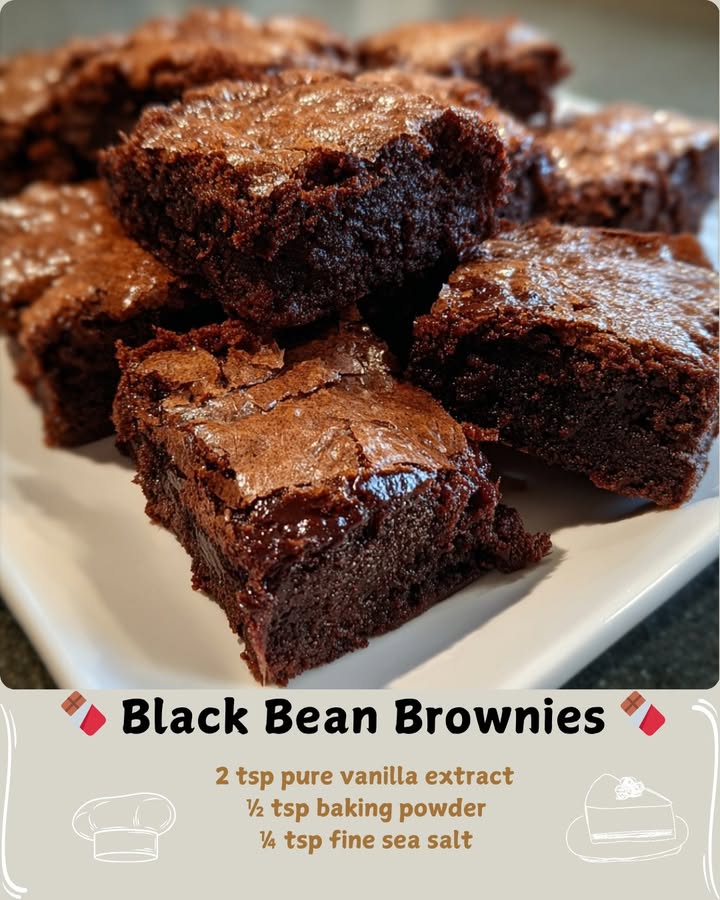
- 2 tsp pure vanilla extract
- 1/2 tsp baking powder
- 1/4 tsp fine sea salt
Equipment Needed
- Blender or food processor
- Mixing bowl
- Spatula
- 8×8-inch baking pan
- Parchment paper
- Oven
Step-by-Step Instructions
When I make these brownies, I always start by preheating my oven to 180°C (350°F) and lining my baking pan with parchment paper. Trust me, don’t skip the parchment—it makes removing the brownies so much easier later. Then I rinse the black beans really well; I’ve learned that any leftover liquid can affect both taste and texture.
Next, I add the black beans, eggs, maple syrup, melted coconut oil, cocoa powder, vanilla, baking powder, and salt into my blender. I blend everything until it becomes completely smooth. I’ve tried leaving it slightly chunky before, and it just doesn’t work—you want a silky batter with no visible bean pieces.
Once the batter is smooth, I pour it into a bowl and fold in the chocolate chips. This is one of my favorite parts because those chips melt slightly while baking and create pockets of gooey chocolate. I spread the batter evenly into the prepared pan, making sure the top is smooth.
I bake them for about 20–25 minutes, but I always check around the 18-minute mark. The top should look set with a slight crackle, but the inside should still be soft. I let them cool completely before cutting—this is the hardest part, but it makes a huge difference in texture.
Pro Tips for Best Results
I tested this recipe several times, and one thing I learned is that blending thoroughly is non-negotiable. If the batter isn’t completely smooth, the texture won’t feel like a real brownie. Trust me, take the extra minute to blend it well.
Another thing I discovered is that using good-quality cocoa powder makes a big difference. I once used a lower-quality one, and the flavor just wasn’t as rich. A deep, dark cocoa really elevates the whole recipe.
Also, don’t skip the resting time after baking. I know it’s tempting to cut into them right away—I’ve done it—but they firm up and become perfectly fudgy as they cool.
Common Mistakes to Avoid
The first mistake I made was not rinsing the beans properly. That slight bean taste can sneak through if you’re not careful, so rinse them thoroughly until the water runs clear.
Another mistake is overbaking. I once left them in just a few minutes too long, and they turned out dry instead of fudgy. Keep an eye on them and remember—they continue to set as they cool.
I also tried reducing the sweetener once, thinking it would be healthier, but it threw off the balance completely. The sweetness isn’t just for taste—it helps with texture too.
Lastly, don’t skip lining the pan. I made that mistake once, and getting the brownies out was a mess. Parchment paper saves you time and frustration.
Serving Suggestions
I love serving these brownies slightly chilled or at room temperature—they get even fudgier after sitting for a bit. Sometimes I warm them slightly and add a scoop of vanilla ice cream on top.
If I’m serving guests, I cut them into neat squares and dust a little cocoa powder on top for a simple but elegant look. They always look impressive.
For a more indulgent treat, I drizzle a bit of melted chocolate over them. It adds an extra layer of richness that I personally can’t resist.
Variations & Customizations
I’ve tried adding chopped nuts like walnuts, and they bring a really nice crunch that contrasts with the soft texture. It’s one of my favorite variations.
Sometimes I mix in peanut butter or swirl it on top before baking. The combination of chocolate and peanut butter is just unbeatable.
I’ve also experimented with making them vegan by replacing the eggs with flax eggs, and it actually works pretty well. The texture is slightly different but still delicious.
How to Store, Freeze & Reheat
When I have leftovers, I store them in an airtight container in the fridge, and they stay fresh for up to 4 days. I actually think they taste even better the next day.
For freezing, I wrap individual pieces and store them in a freezer bag. This way, I can grab one whenever I’m craving something sweet.
When reheating, I prefer letting them thaw naturally or warming them slightly in the microwave for a few seconds. Just enough to bring back that soft, fudgy texture.
Conclusion
These black bean brownies completely changed the way I think about desserts. They’re rich, chocolatey, and surprisingly simple to make, yet they always impress anyone who tries them. If you give them a shot in your kitchen, I’m confident you’ll be just as surprised—and hooked—as I was.