
Another issue I’ve run into is not allowing the fudge enough time to set. If you cut into it too soon, it’s a goopy situation! I recommend chilling it for a full two hours, or even longer if you have the time, to achieve that perfect texture.
Also, if you forget to line your pan with parchment paper, you might find yourself battling with the fudge when it comes time to remove it. Trust me, using parchment paper is a game changer! It makes cleanup so much easier, and the fudge pops right out without any sticking.
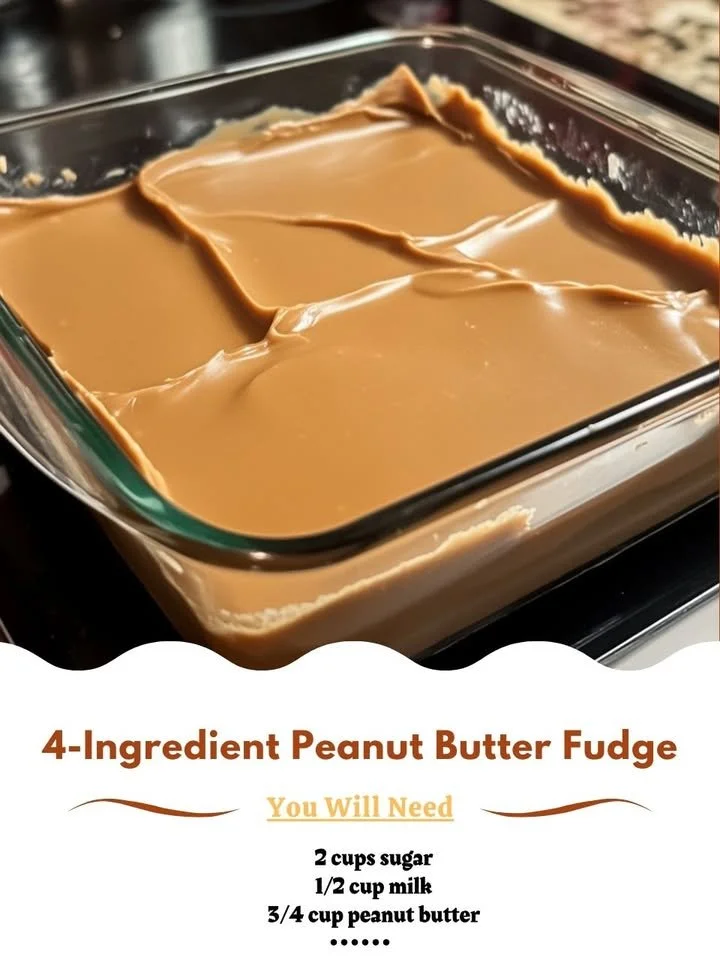
Lastly, using low-quality ingredients, especially the unsweetened condensed milk, can affect the taste and texture of your fudge. Buy the good stuff—it truly makes all the difference in your final product!
Serving Suggestions
Once your fudge is ready, the fun part is how you serve it! I like to stack it in a charming glass dish for a visually appealing presentation. A sprinkle of sea salt on top adds a gourmet touch and enhances the flavor beautifully. I often bring it to gatherings or serve it at family movie nights along with popcorn for a sweet and salty combo that everyone loves.
For a fancier occasion, consider pairing the fudge with fresh strawberries or raspberries. The tartness of the fruits beautifully balances the richness of the fudge. It makes for a lovely dessert platter that looks like it was made by a pro!
I also enjoy giving fudge as gifts. Each time I make a batch, I cut it into pretty squares, package them in a little box, and wrap it with a colorful ribbon. It’s a heartfelt treat perfect for birthdays or holidays, and everyone seems to appreciate the homemade touch.
Variations & Customizations
While my 4-Ingredient Peanut Butter Fudge is perfect just as it is, there are plenty of fun ways to switch things up! One of my favorites is to add a few tablespoons of cocoa powder to create chocolate peanut butter fudge. The chocolate enhances the rich flavors and creates a decadent dessert that’s perfect for chocolate lovers.
Another delicious twist is to mix in some crushed pretzels for an added crunch and salty contrast to the sweetness. The salty-sweet combination is absolutely addictive! You could even add a layer of melted chocolate on top for a delightful treat that’s reminiscent of a candy bar.
Finally, if you want to make these fudge pieces even more special, try stirring in some flavored extracts, like almond or peppermint, for a surprise flavor profile. These small adjustments can lead to big flavor rewards, captivating everyone who tries them!
How to Store, Freeze & Reheat
To store your fudge, simply keep it in an airtight container in the refrigerator. It can last for about two weeks, although I doubt it’ll hang around that long—it’s just too good! Just slice off a piece whenever that sweet tooth strikes.
If you want to make a larger batch and save some for later, freezing fudge is super easy. Follow the same steps as before, wrapping each piece individually in plastic wrap and then placing them in a freezer-safe container. It will keep well for about three months, so you’ll always have a sweet treat ready for when those cravings hit!
When you’re ready to enjoy frozen fudge, you can either let it sit at room temperature for a few minutes or pop it in the microwave for just 10-15 seconds. This makes for a melty, delicious treat that will remind you why you loved it in the first place.
Conclusion
I hope you enjoy making and sharing this 4-Ingredient Peanut Butter Fudge just as much as I do! It’s a versatile recipe that invites creativity while offering the deliciously creamy taste of peanut butter. There’s something truly magical about sharing homemade treats with friends and family, so gather your ingredients and give it a try—you won’t regret it! Happy fudging!