Equipment Needed
Step-by-Step Instructions
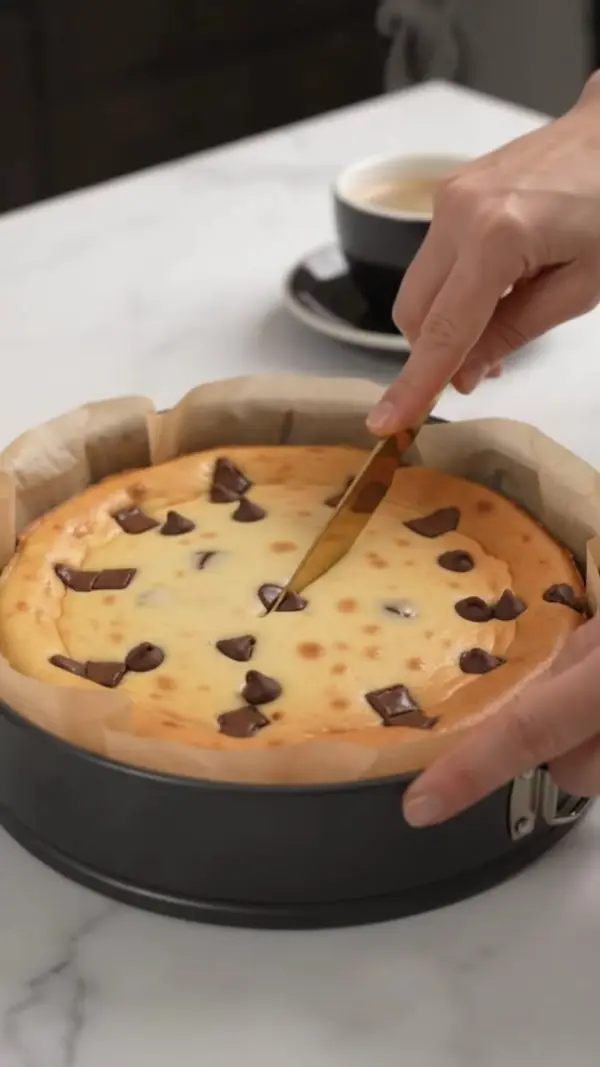
- The first thing I always do is prepare my cake pan and oven. I preheat the oven to 170°C (340°F), grease the pan, and line both the bottom and sides completely with parchment paper. Trust me, taking the extra minute to line the sides properly makes removing the cheesecake much easier later.
- Next, I melt the white chocolate until smooth and glossy. I usually use a double boiler because it gives me more control, but a microwave works too if done carefully. Once melted, I whisk in the softened cream cheese until completely smooth. The mixture becomes rich and silky at this stage. Then I add the egg yolks and continue whisking until everything is fully incorporated.
- In a separate clean bowl, I beat the egg whites until stiff peaks form. This is one of the most important steps in the entire recipe. The first time I made this cheesecake, I slightly underwhipped the egg whites, and the cake didn’t rise as much. Now I make sure the peaks stand firmly when I lift the beaters.
- I gently fold the whipped egg whites into the cream cheese mixture in batches. I always use a spatula and take my time because rushing can knock out all the air. Once the batter looks light and fluffy, I pour it into the prepared pan, tap it gently on the counter, and place it into a hot water bath. After baking at 170°C (340°F) for 15 minutes and then 160°C (320°F) for another 15 minutes, I turn off the oven and leave the cheesecake inside for 15 more minutes. This final step helps prevent sudden temperature changes that can cause the cake to collapse.
Pro Tips for Best Results
I tested this recipe several times, and room-temperature ingredients make a huge difference. Soft cream cheese blends much more easily and creates a smoother batter without lumps.
Another thing I learned is that the bowl used for whipping egg whites must be completely clean and free of grease. Even a tiny amount of oil can prevent the whites from reaching stiff peaks.
Don’t rush the folding process. I’ve tried mixing too aggressively before, and the cheesecake lost much of its airy texture. Gentle folding keeps the batter light and fluffy.
Common Mistakes to Avoid
The biggest mistake I made the first time was opening the oven door during baking. The sudden temperature drop caused the cheesecake to sink more than usual. Now I leave the oven closed until baking is finished.
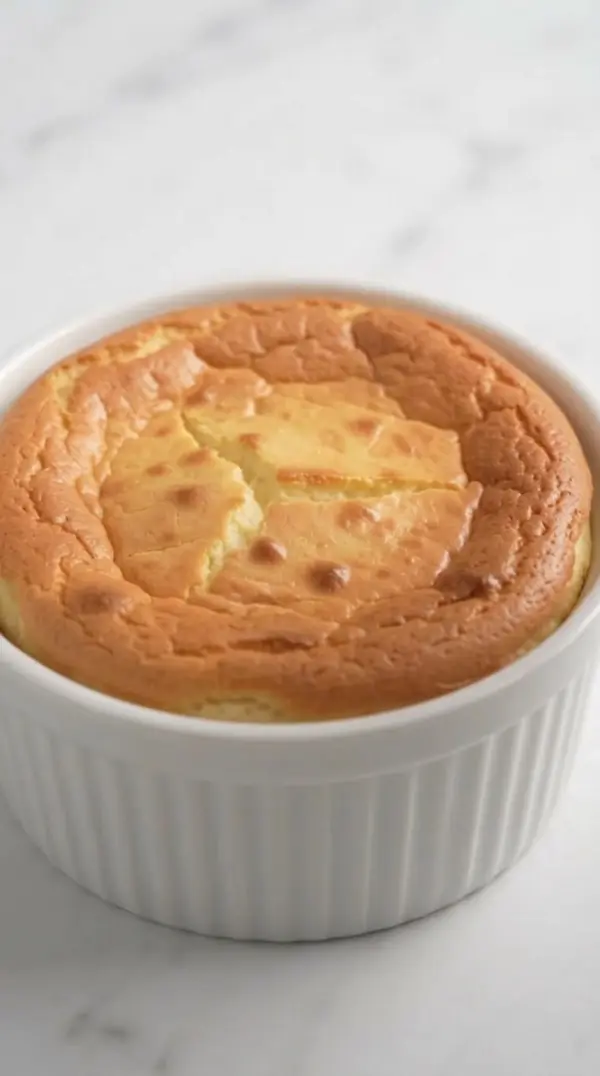
Another mistake is overmixing after adding the egg whites. Those tiny air bubbles are what create the signature Japanese cheesecake texture, so preserving them is essential.
I also recommend using a proper water bath. I once skipped it, and the cheesecake baked unevenly. The steam from the water bath helps create that delicate, soft texture.
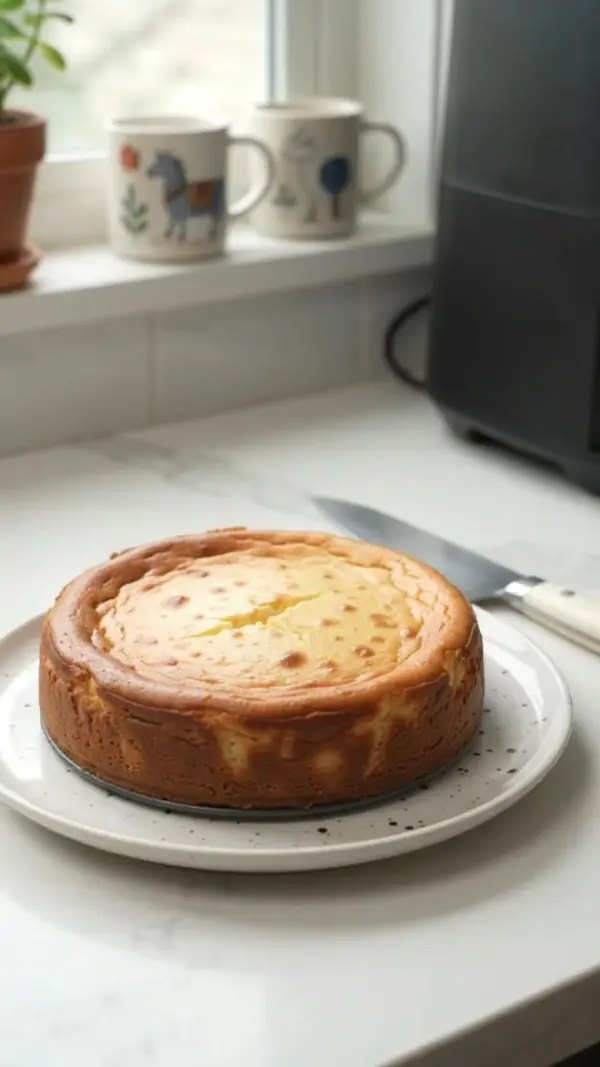
One more mistake is removing the cheesecake from the oven too quickly. Allowing it to rest in the switched-off oven helps reduce the risk of cracking and collapsing.
Serving Suggestions
I personally love serving this cheesecake slightly chilled because the texture becomes even creamier while still maintaining its airy softness.
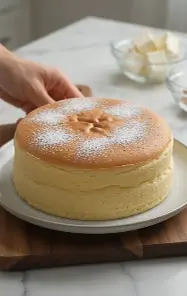
Sometimes I dust the top lightly with powdered sugar before serving. The simple finish makes the cheesecake look elegant and bakery-worthy.
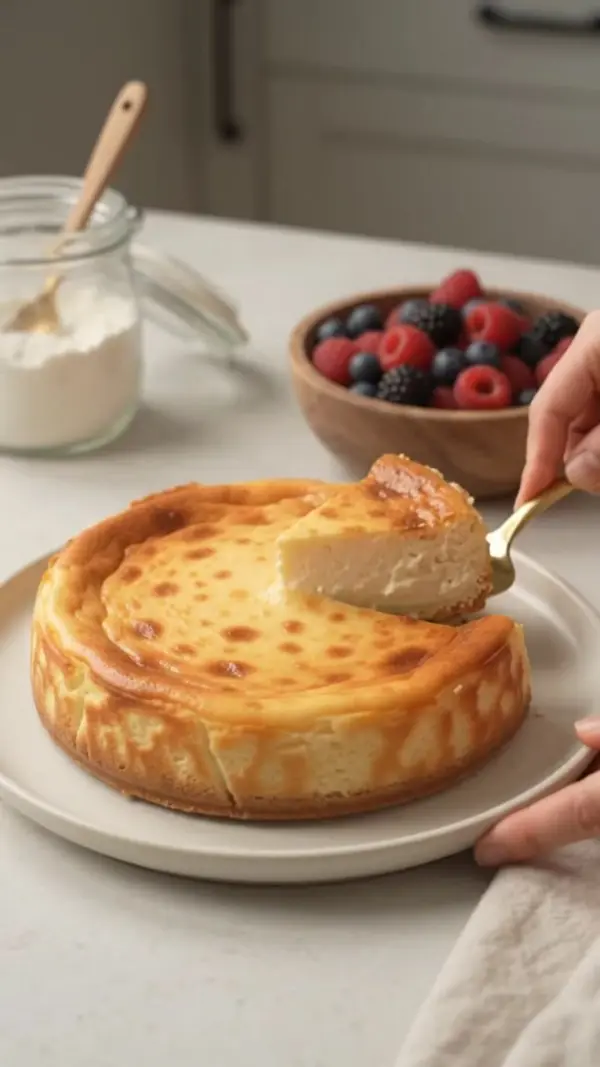
When I want to make it feel extra special, I serve slices with fresh berries on the side. The slight tartness balances the sweetness of the white chocolate beautifully.
Variations & Customizations
I’ve experimented with adding a teaspoon of vanilla extract, and it creates a warmer, richer flavor that pairs beautifully with the cream cheese.
Another version I enjoy includes a little lemon zest folded into the batter. The citrus adds freshness and brightens the flavor without overpowering the cheesecake.
Sometimes I top the finished cheesecake with fresh fruit puree or berry sauce. The added fruit flavor complements the delicate cake perfectly.
How to Store, Freeze & Reheat
From my experience, this cheesecake stays fresh in the refrigerator for up to four days when stored in an airtight container. The texture remains soft and delicious.
I’ve frozen individual slices before, and they thaw surprisingly well. I wrap each slice tightly and place them in a freezer-safe container for storage.
As for reheating, I usually enjoy this cheesecake cold or at room temperature. Its delicate texture is one of its best features, so reheating generally isn’t necessary.
Conclusion
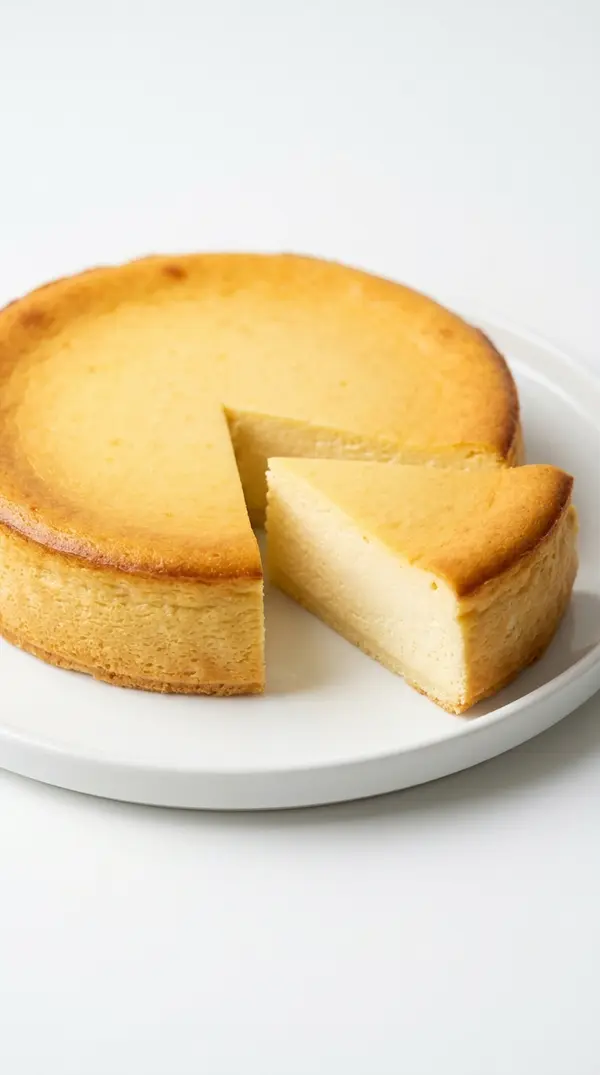
This 3-Ingredient Japanese Cheesecake is one of the most impressive desserts I’ve ever made with such a short ingredient list. The combination of cream cheese, white chocolate, and eggs creates a light, fluffy cake with a melt-in-your-mouth texture that feels truly special. Whether you’re making it for guests, family, or simply treating yourself, this recipe delivers beautiful results every time. Once you experience that soft, jiggly texture and delicate sweetness, trust me, you’ll want to make it again and again.