Equipment Needed
Step-by-Step Instructions
- The first thing I do is preheat my oven to 170°C (340°F) and line a small baking pan with parchment paper. Preparing the pan first makes transferring the finished cake much easier. I also chop the apple into small pieces so it blends more easily.
- Next, I place the chopped apple into a blender along with the eggs and blend everything until completely smooth. I love how the apple creates a naturally creamy base without needing any butter or oil. Once the mixture is smooth, I add the cocoa powder and blend again until the batter becomes rich, dark, and silky.
- After blending, I pour the batter into the prepared baking pan and smooth the surface with a spatula. The batter is thinner than a traditional cake batter, but that’s completely normal. I gently tap the pan on the counter once or twice to remove any large air bubbles.
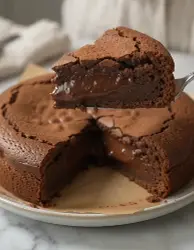
- Finally, I bake the cake for 25 to 30 minutes, or until the center is set and a toothpick inserted into the middle comes out mostly clean. I let the cake cool completely before slicing because it becomes even fudgier as it cools.
Pro Tips for Best Results
I’ve tested this recipe with different apple varieties, and sweet apples like Fuji, Gala, or Honeycrisp produce the best flavor. They add natural sweetness that balances the cocoa perfectly.
Another thing I’ve learned is to blend the batter really well. A smooth batter creates a much softer, more even cake.
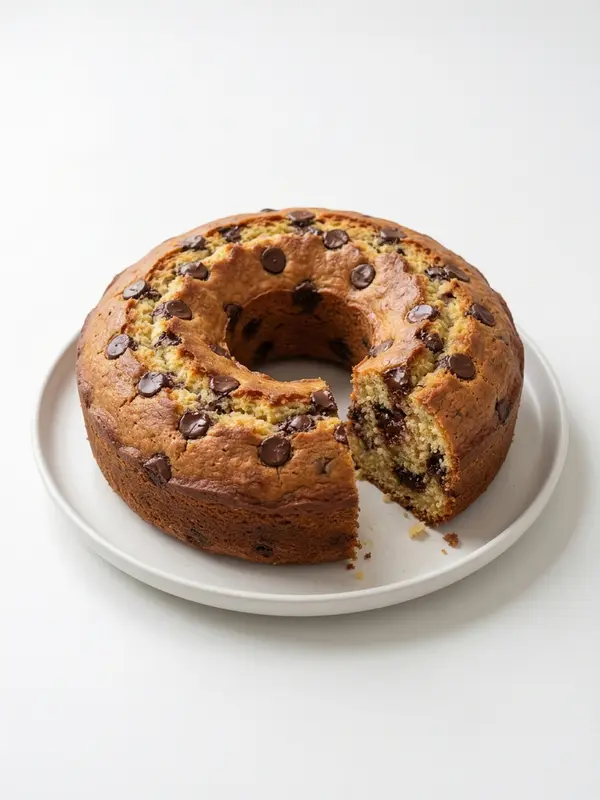
If you enjoy extra chocolate flavor, I sometimes add a handful of dark chocolate chips after blending. Although it becomes a four-ingredient cake, it’s absolutely delicious.
Common Mistakes to Avoid
The first mistake I made was using a tart apple. The cake still worked, but it wasn’t nearly as naturally sweet.Another mistake is under-blending the apple. Small chunks can affect the smooth texture, so I always blend until completely creamy.
I also avoid overbaking. Since this cake is naturally moist, baking it too long can make it dry.Finally, let the cake cool before slicing. It firms up beautifully and develops an even richer chocolate texture.
Serving Suggestions
I love serving this cake slightly chilled because it tastes almost like a chocolate brownie.
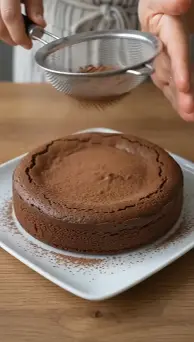
Sometimes I dust the top with a little cocoa powder for a simple, elegant finish.
When I want to make it extra special, I serve each slice with fresh berries or thin apple slices on the side.
Variations & Customizations
I’ve added a teaspoon of cinnamon to the batter, and it pairs beautifully with both the apple and chocolate flavors.
Another variation I enjoy includes adding a splash of vanilla extract for extra depth of flavor.
Sometimes I mix chopped walnuts into the batter for a little crunch and a delicious nutty finish.
How to Store, Freeze & Reheat
From my experience, this cake stays fresh in an airtight container in the refrigerator for up to five days.
I’ve also frozen individual slices by wrapping them tightly before placing them in a freezer-safe container. They thaw perfectly overnight in the refrigerator.
If I want a warm slice, I heat it for just a few seconds in the microwave. It becomes soft and wonderfully chocolatey without drying out.
Conclusion
This 3-Ingredient Apple Chocolate Cake proves that you don’t need a long ingredient list to create an incredibly delicious dessert. With just an apple, eggs, and cocoa powder, you can make a moist, naturally sweet, and rich chocolate cake that’s perfect for satisfying chocolate cravings in a healthier way. Whether you enjoy it as a snack, dessert, or even breakfast, this easy recipe delivers amazing results every single time.