
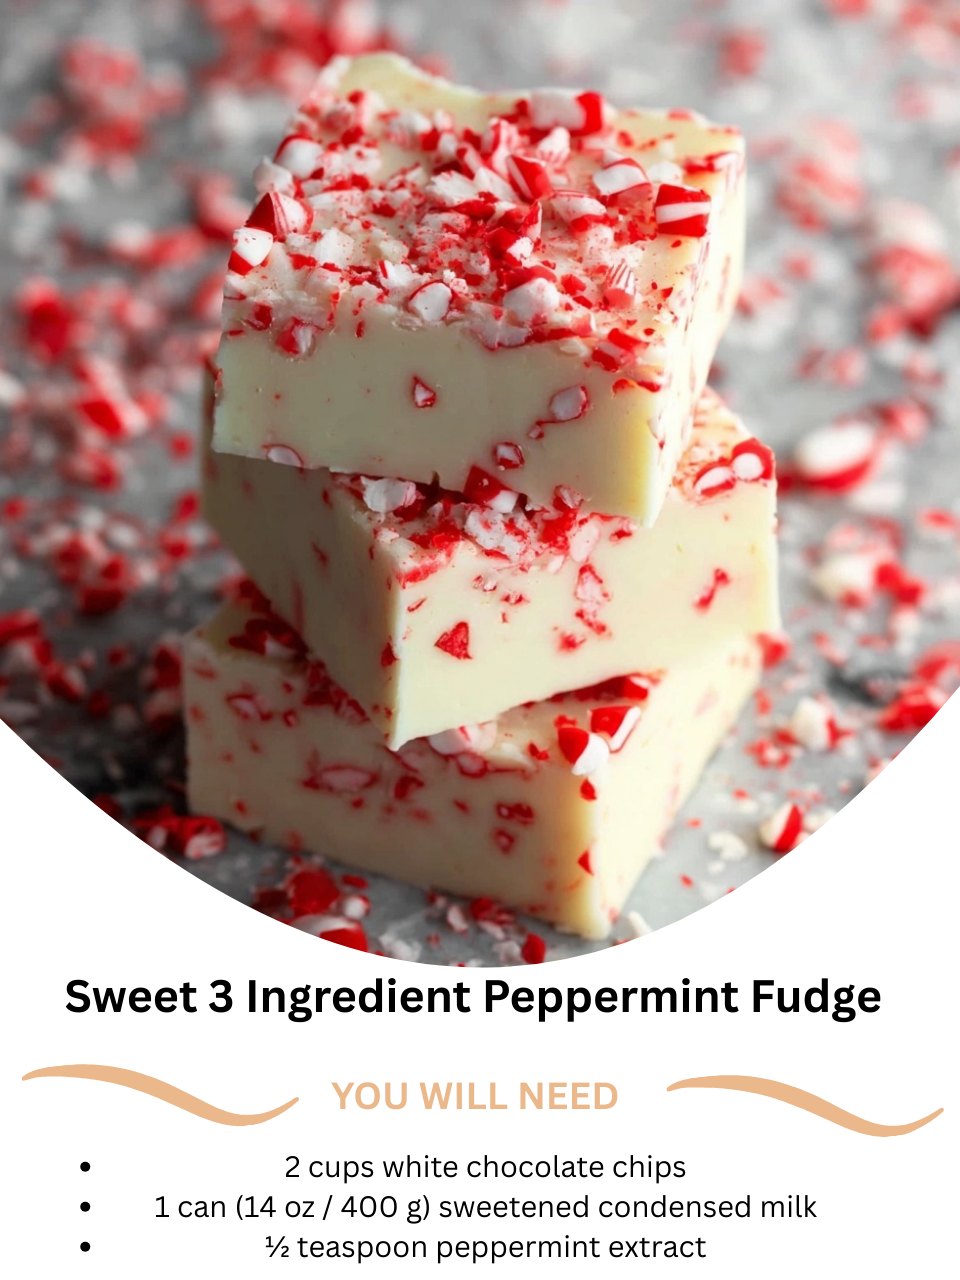
I quickly pour the warm, glossy fudge mixture into my prepared parchment-lined pan. I use my spatula to spread it into an even layer, nudging it into the corners. If I’m using toppings, like crushed candy canes, I sprinkle them on immediately and gently press them in so they stick as the fudge sets. Then, I simply place the entire pan in the refrigerator. I let it chill, uncovered, for at least 2 hours, but I prefer 3-4 for a perfectly firm cut. The wait is the hardest part! Once it’s solid, I use the parchment sling to lift the whole block out onto a cutting board, peel back the paper, and slice it into small squares with a sharp knife.
Pro Tips for Best Results
I tested the melting process three different ways: in the microwave, in a double boiler, and directly in a saucepan on the stove. The heavy-bottomed saucepan on the lowest heat setting was the clear winner for control and consistency. The microwave is risky and can easily overheat the chocolate. The double boiler works, but it’s an extra pot to wash. A good saucepan and low, patient heat gives you perfect smoothness every time.
Here’s what I learned the hard way about chilling: don’t rush it by putting it in the freezer. I tried that once to speed things up, and while the fudge set, it developed a strange, almost chalky texture on the surface from condensation and too-rapid cooling. The gentle, slow set in the refrigerator gives you that classic, creamy, dense fudge texture we all love. Plan ahead and give it the full chill time.
For the cleanest, most professional-looking squares, use a large, sharp chef’s knife. Run it under very hot water, wipe it dry, and make a confident cut straight down. Wipe the blade clean and reheat it between cuts. The heat helps the knife glide through the firm fudge without cracking or dragging. I also like to score the top lightly with lines before chilling, giving me a perfect cutting guide later.
Common Mistakes to Avoid
My biggest first-time mistake was using low heat but not stirring constantly. I got complacent, thinking it was melting fine on its own. A thin layer on the bottom of the pan scorched, and that bitter, burnt taste tainted the entire batch. It was heartbreaking. From that day on, I stand at the stove and stir from the first chip to the last, making sure nothing sticks. Constant, gentle stirring is your best insurance.(See the next page below to continue…)