
Equipment Needed
- Mixing bowl
- Electric mixer or whisk
- Rubber spatula
- Measuring cups and spoons
- Plastic wrap or storage container
- Baking sheet
- Parchment paper (optional)
Step-by-Step Instructions
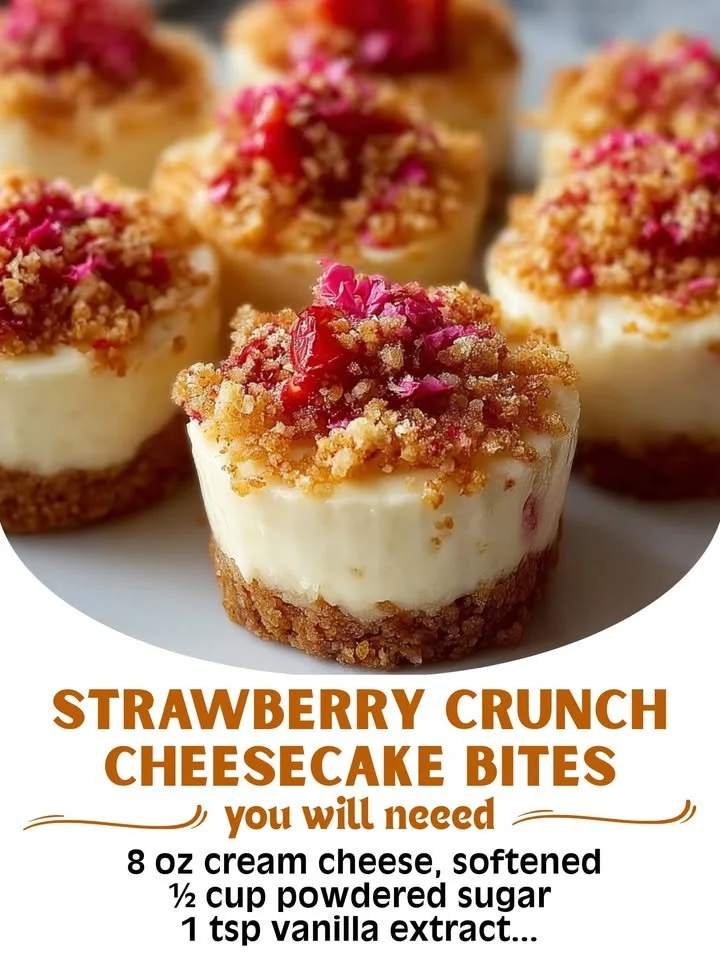
When I first started making these bites, my kitchen felt like the ultimate sweet-scents factory! I began by prepping the strawberries; I diced up one cup of those luscious red jewels. At first, I tried to skip macerating them with a little sugar, but trust me, waiting a bit was worth it. Sprinkling a tablespoon of sugar helped enhance their sweetness and made the topping so much yummier. After letting that rest for about ten minutes, I didn’t realize how juicy and flavorful my strawberries would become.
Next, I turned my attention to the creamy cheesecake filling. In a mixing bowl, I combined the softened cream cheese with powdered sugar and vanilla extract. I used my electric mixer here, and let me tell you, I’m so glad I did! The mixture became beautifully smooth and rich within seconds—no lumps! I gently folded in the whipped topping with a rubber spatula. This is a step I recommend taking your time with because you want it to be airy and fluffy rather than dense. Trust me, the texture makes all the difference.
Now came the fun part—assembling the bites! I used a small baking sheet lined with parchment paper, but you can also just cover it with plastic wrap if you prefer. I took spoonfuls of the cheesecake filling and formed them into little balls. When I rolled them, I kept them on the smaller side, about the size of a walnut. After placing them on the sheet, I froze them for about 30 minutes. This step is crucial; it helps the cheesecake bites hold their shape when I coat them in the crushed vanilla wafers.(See the next page below to continue…)