
Next, I pour in the milk, melted butter, and vanilla extract. I love how the butter adds richness, while the vanilla brings a delightful fragrance. After mixing these wet ingredients into the dry ones, the batter comes together nicely, with just a few lumps remaining – I always remind myself that it doesn’t need to be perfect! Then, I pour the batter into my baking dish, spreading it evenly before I tackle the magic part of the recipe.
In a separate bowl, I combine that last bit of brown sugar and cocoa powder with the boiling water. Once mixed, I carefully pour this liquid over the batter in the baking dish. It feels like I’m doing something wrong, but trust the process! I then pop it into the oven and let it bake for about 30 minutes. The moment I take it out, the scent is incredible—sweet, buttery, and utterly enticing!
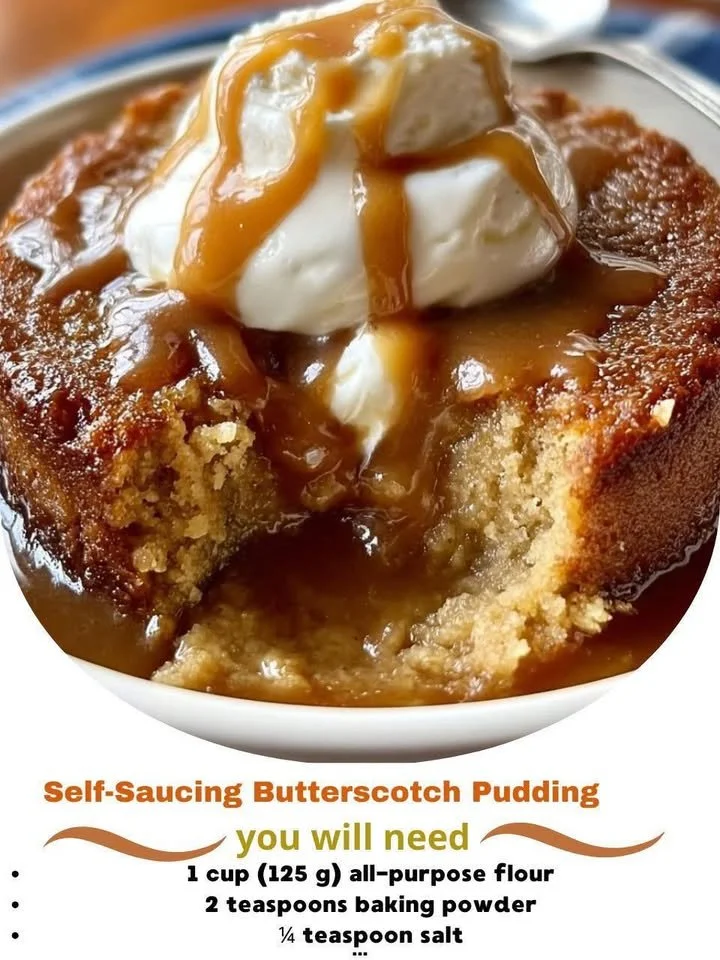
Let the pudding sit for a few minutes before serving. This resting time is crucial because it allows that sauce to settle perfectly at the bottom. When I scoop out a serving, I can see the rich pudding atop the luscious sauce, ready to be paired with a dollop of whipped cream or vanilla ice cream.
Pro Tips for Best Results
I’ve tested this recipe a few times, and one of my best tips is to make sure your boiling water is truly boiling when you pour it over the batter. This ensures the sauce forms correctly. Once, I used water that was just hot, and the sauce didn’t set as perfectly as I wanted. That sauce is what makes this dessert so special, so don’t skimp on this step!
Another little trick I’ve incorporated into my baking routine is to mix the dry ingredients in one bowl and the wet ingredients in another before combining them. This helps prevent over-mixing and ensures a fluffier pudding. The less you handle the batter, the better texture you’ll achieve!
Lastly, I always make sure to check my oven’s calibration. When I first started baking, I made the mistake of assuming the temperature was spot on. I’ve learned that ovens can vary, and if it’s too hot or too cool, it could affect the end result. Investing in an oven thermometer has been a game changer!
Common Mistakes to Avoid
One common mistake I initially made was not allowing the pudding to rest after baking. I was so eager to dive in that I skipped this step. It turns out waiting just a few minutes helps the sauce separate properly from the pudding layer, giving it a nice texture and presentation. Trust me; it’s worth the wait!
Additionally, measuring ingredients accurately is vital. I once added too much flour, thinking it would be fine, but it resulted in a denser pudding. I always suggest leveling off those measuring cups to ensure a perfect balance between the ingredients.
Another pitfall is not using enough water for the sauce. I remember the first time I thought I could reduce the water and still get the sauce to form. Let me tell you, it turned out more like a thick pudding! So, stick to the recipe for the best results.
Lastly, don’t forget that every oven behaves a little differently! When I followed the same baking time in my old oven, it took much longer than in my new one. Keep an eye on your pudding as it nears the 30-minute mark, and you’ll know when it’s ready!
Serving Suggestions
When it comes to serving this self-saucing butterscotch pudding, I have found that a simple dollop of whipped cream or a scoop of vanilla ice cream enhances the experience beautifully. The cold creaminess is a perfect contrast to the warm pudding, elevating the whole dessert into pure bliss.
Sometimes, I even add a sprinkle of sea salt on top of the whipped cream. Just a touch of salt can highlight the sweetness of the butterscotch flavor and take your dessert from great to absolutely phenomenal!
Another fun idea is to pair it with a side of fresh fruit. Berries, in particular, add a light and refreshing contrast to the richness of the pudding. I’ve had great success with strawberries or raspberries, adding a tart note that balances the sweetness.
Variations & Customizations
I love that this recipe can easily be adjusted to suit different preferences! One of my favorite variations is to add a splash of rum or bourbon to the batter. Just replace a tablespoon of the milk with your favorite spirit, and you’ll create an adult-only version with a deeper flavor profile.
For those who enjoy a nutty flavor, consider mixing in some toasted pecans or walnuts into the batter. They add a lovely crunch and richness that pairs beautifully with the butterscotch flavor.
If you want to switch up the flavor entirely, try substituting the cocoa powder with an equal amount of cinnamon or pumpkin spice. This is especially delightful during the fall months and will fill your kitchen with a warm, inviting aroma that’s hard to resist!
How to Store, Freeze & Reheat
Leftover pudding? No problem! I typically store mine in an airtight container in the refrigerator for up to 3 days. When I want to indulge again, I just scoop out the portion I want, place it in a bowl, and pop it in the microwave for about 30 seconds. The sauce reabsorbs beautifully, and it tastes like I just made it fresh!
If you’re considering making a bigger batch for later, self-saucing butterscotch pudding can also be frozen! I like to let it cool completely before transferring it to a freezer-safe container. It will last for about 2 months. When you’re ready to enjoy it, just thaw it overnight in the refrigerator and reheat it as mentioned above.
One note of caution: When reheating from frozen, do it slowly in the microwave or oven to prevent the pudding from drying out. I usually cover it with a damp paper towel in the microwave, and it helps retain the moisture beautifully.
Conclusion
In preparing this self-saucing butterscotch pudding, I’ve enjoyed every sweet journey—from mixing the ingredients to the mouthwatering aroma of it baking in the oven. Each step has its charm, and I can’t wait for you to experience it too. Whether you’re treating yourself or sharing it with loved ones, I hope this recipe brings warmth and joy to your kitchen just like it does for me. Happy baking!