Equipment Needed
Step-by-Step Instructions
- When I start making this pancake, the first thing I do is lightly grease the inside of my rice cooker with butter or oil. I learned pretty quickly that skipping this step can cause the pancake to stick, which makes it harder to remove later. After greasing, I set the rice cooker aside while I prepare the batter.
- In a mixing bowl, I whisk together the flour, sugar, baking powder, baking soda, and salt. Then in another bowl, I combine the milk, egg, melted butter, and vanilla extract. The vanilla smell always makes the batter smell like a cozy bakery. Once everything is mixed, I pour the wet ingredients into the dry ingredients and gently stir until just combined.
- I try not to overmix the batter because I’ve learned that doing so can make the pancake dense instead of fluffy. Sometimes I add chocolate chips or blueberries at this point, which turn the pancake into more of a breakfast dessert. Then I pour the batter directly into the greased rice cooker bowl and smooth the top.
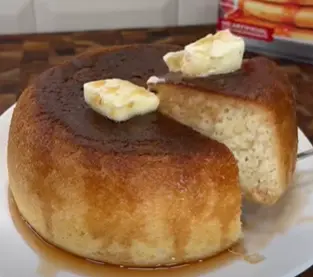
- Finally, I close the lid and press the regular cook setting. Depending on the rice cooker, it usually takes about 25–35 minutes. When it finishes, I check the center with a toothpick to make sure it’s cooked through. Once it’s done, I let it rest for a few minutes before gently turning it out onto a plate.
Pro Tips for Best Results
After making this recipe several times, I’ve learned that slightly thicker pancake batter works best. If the batter is too thin, the pancake can end up a bit flat. I usually aim for a consistency similar to cake batter.
Another thing I discovered is that every rice cooker behaves a little differently. The first time I made this, my cooker switched to the warm setting before the pancake was fully done. Now I simply press the cook button again if needed, and that usually finishes it perfectly.
One more tip I always share is to let the pancake cool for about five minutes before removing it. When I tried taking it out immediately, it broke apart slightly. Giving it a few minutes helps it firm up nicely.
Common Mistakes to Avoid
The first mistake I made with this recipe was forgetting to grease the rice cooker. The pancake stuck to the sides, and getting it out was a bit messy. Now I always grease the pot generously.
Another mistake is opening the lid too often while it cooks. I was curious the first time and kept checking, but that releases heat and slows down the cooking process.
I also learned not to overfill the rice cooker. Pancake batter rises while cooking, and if the pot is too full, it can spill over or cook unevenly.
One more thing to avoid is overmixing the batter. When I stirred it too much once, the pancake turned out dense instead of soft and fluffy.
Serving Suggestions
When I serve this rice cooker pancake, I love slicing it into wedges like a cake. It makes breakfast feel a little more special and fun.
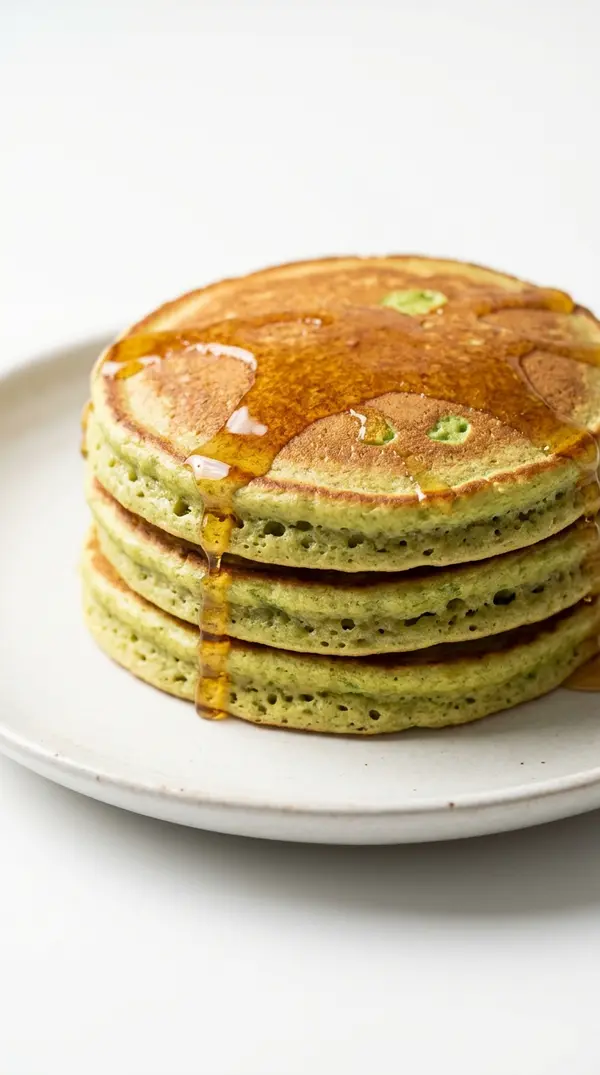
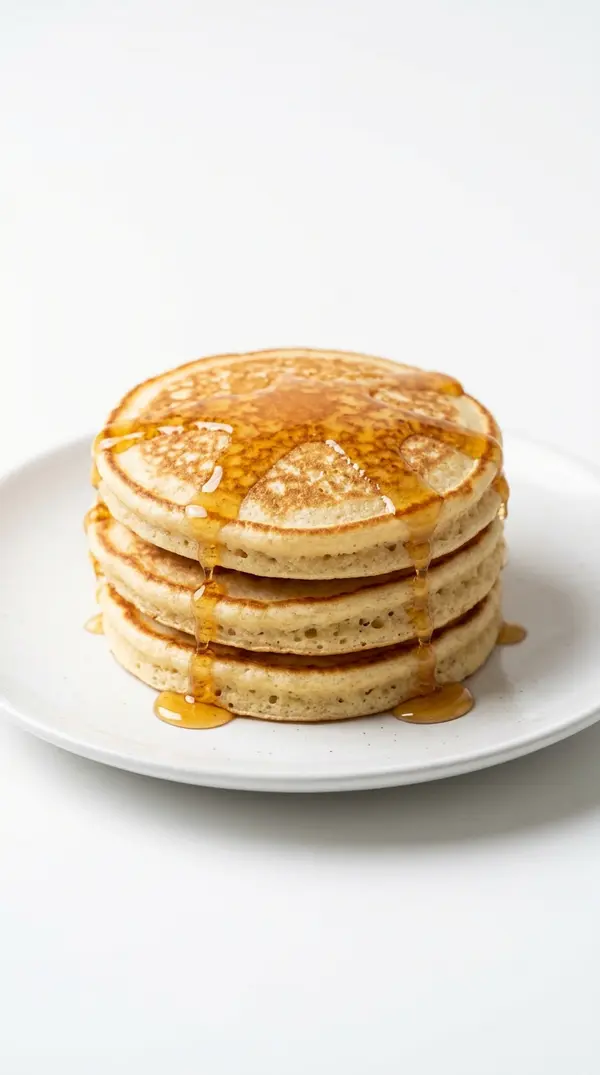
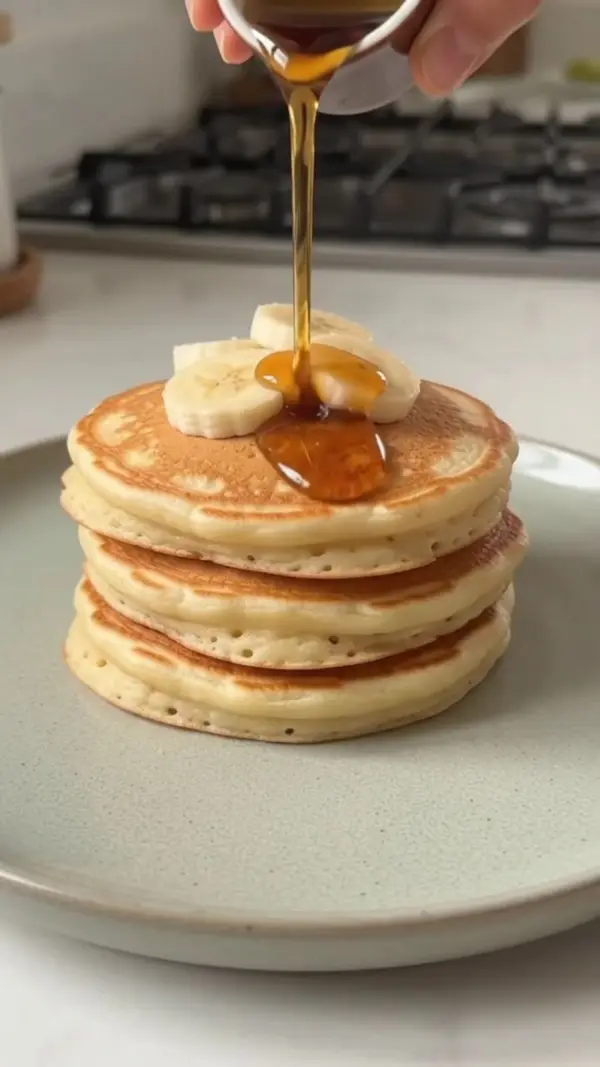
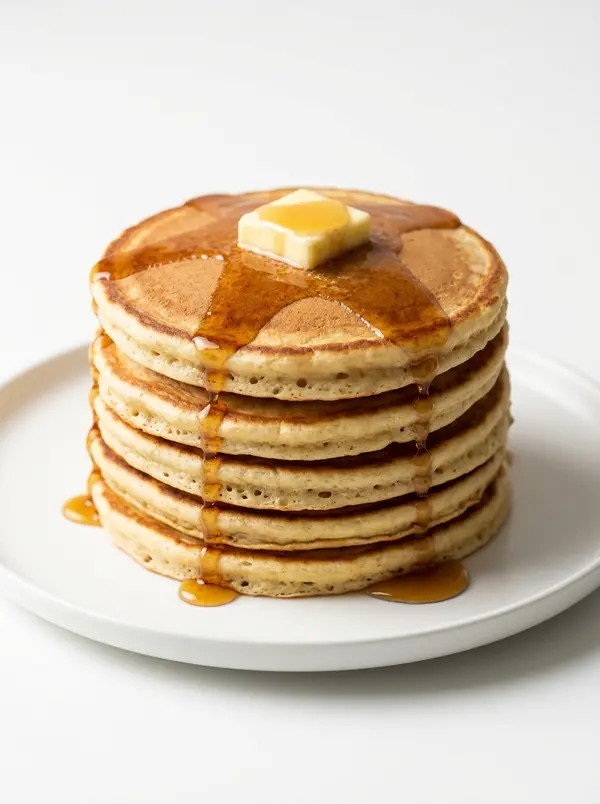
One of my favorite toppings is a simple drizzle of maple syrup with a pat of butter melting on top. The warm pancake absorbs the syrup beautifully.
Sometimes I also add fresh fruit like strawberries, bananas, or blueberries. A little whipped cream on top turns it into a breakfast that almost feels like dessert.
Variations & Customizations
One variation I enjoy is adding chocolate chips to the batter. They melt slightly during cooking and create little pockets of chocolate throughout the pancake.
I’ve also tried making a cinnamon version by adding a teaspoon of cinnamon and a swirl of brown sugar in the batter. It tastes almost like a cinnamon roll pancake.
Another fun option is mixing in blueberries or raspberries. The berries add a fresh flavor that balances the sweetness perfectly.
How to Store, Freeze & Reheat
If I have leftover pancake slices, I usually store them in an airtight container in the refrigerator. They stay good for about three days.
I’ve also frozen slices before by wrapping them individually and placing them in a freezer bag. That way I can pull one out whenever I want a quick breakfast.
To reheat, I prefer using the microwave for about 20 seconds or warming the slices in a toaster oven. The toaster oven brings back a slightly crisp edge that I really like.
Conclusion
Every time I make this Rice Cooker Pancake Hack, I’m reminded how simple kitchen tricks can turn ordinary ingredients into something fun and delicious. I love how fluffy and thick the pancake turns out, and the fact that the rice cooker does most of the work makes it even better. Whether you’re making it for a relaxed weekend breakfast or just trying something new in the kitchen, this giant pancake is always a fun recipe to share.