
Another pitfall is measuring the oats incorrectly. I once dumped in way too much, thinking it wouldn’t matter. Trust me, it does! The bars came out too crumbly and didn’t hold together well. So, double-check your measurements for consistency.
And instead of adding all the chocolate chips at once, try sprinkling them on top after you’ve pressed the mixture into the baking dish. I learned this one the hard way when they all melted into the mixture, and I didn’t get to enjoy those gorgeous chocolate pockets within the cut bars. You’ll want that chocolatey surprise in every bite!
Serving Suggestions
When it comes to serving these bars, I love to cut them into bite-sized pieces for gatherings. They make a perfect addition to a dessert platter alongside fruits or other sweets. If I’m feeling extra fun, I drizzle some melted chocolate on top before cutting them. This adds an elegant finish but also elevates the chocolatey flavor we crave with these bars.
I also enjoy pairing these peanut butter delights with a tall glass of cold milk or my favorite dairy-free alternative. That combination never fails to take me back to my childhood, when a sweet treat after school was always accompanied by a refreshing drink. Plus, dunking a piece into milk is simply divine!
For a quick boost of energy, I keep a few of these bars wrapped up in my bag during outings or hikes. They’re a fantastic grab-and-go snack, packed with protein and delightful indulgence—and they keep me fueled until my next meal!
Variations & Customizations
When it comes to customizing these no-bake bars, the possibilities are endless! For a fun twist, I sometimes add shredded coconut to the mixture. It gives a lovely chewy texture and adds a tropical vibe that pairs beautifully with the peanut butter. If you love coconut as much as I do, you’ll be pleasantly surprised!
I’ve also played around with different sweeteners. If I want something lower on the glycemic index, I’ve swapped honey for agave syrup, and the bars turned out just as fantastic. It’s all about experimenting to find the flavors that you and your family love most!
For those who enjoy adding a little heat, try a pinch of cayenne pepper or some cinnamon to the mixture. It creates a unique flavor combination and makes the bars stand out from your typical dessert. This variation amazed my friends when I brought it to a potluck!
How to Store, Freeze & Reheat
To store these bars, I simply place them in an airtight container lined with parchment paper to help preserve their fudginess. They can usually last about a week in the refrigerator, but I find they disappear faster than that! Just be sure to keep them chilled, as the melted chocolate can cause the bars to become messy if left out for too long.
If you want to keep these no-bake bars longer, you can freeze them! I’ve done this a couple of times when I’ve made a big batch. Simply cut them into squares and wrap each one in plastic wrap before placing them in a freezer-safe bag. They can last up to three months this way. Just pull one out whenever a sweet craving strikes!
When you’re ready to enjoy a frozen bar, simply let it sit at room temperature for about 10 minutes, and it’ll thaw to the perfect texture. It’s like having a special treat ready whenever you need it—and it means I can stockpile them and always have a hit dessert available!
Conclusion
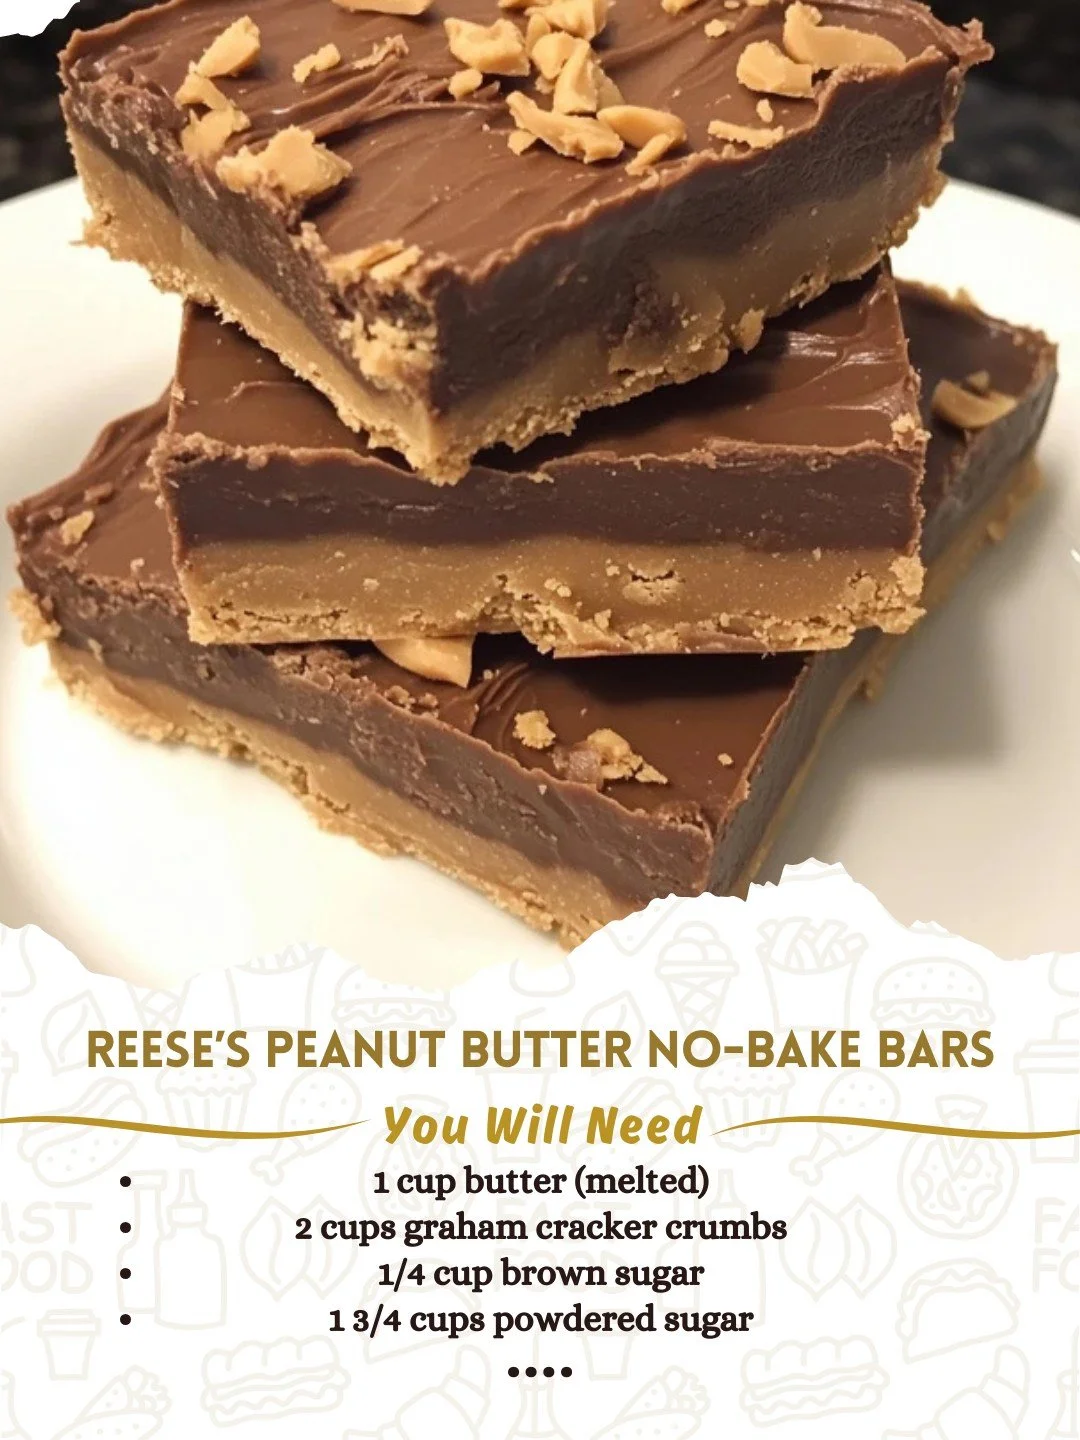
I hope you enjoy making and indulging in these Reese’s Peanut Butter No-Bake Bars as much as I do! They’re straightforward, delicious, and perfect for satisfying sweet cravings or impressing friends and family. Let me know how your batch turns out, and don’t hesitate to get creative with your own variations. Happy baking—I mean, no-baking!