
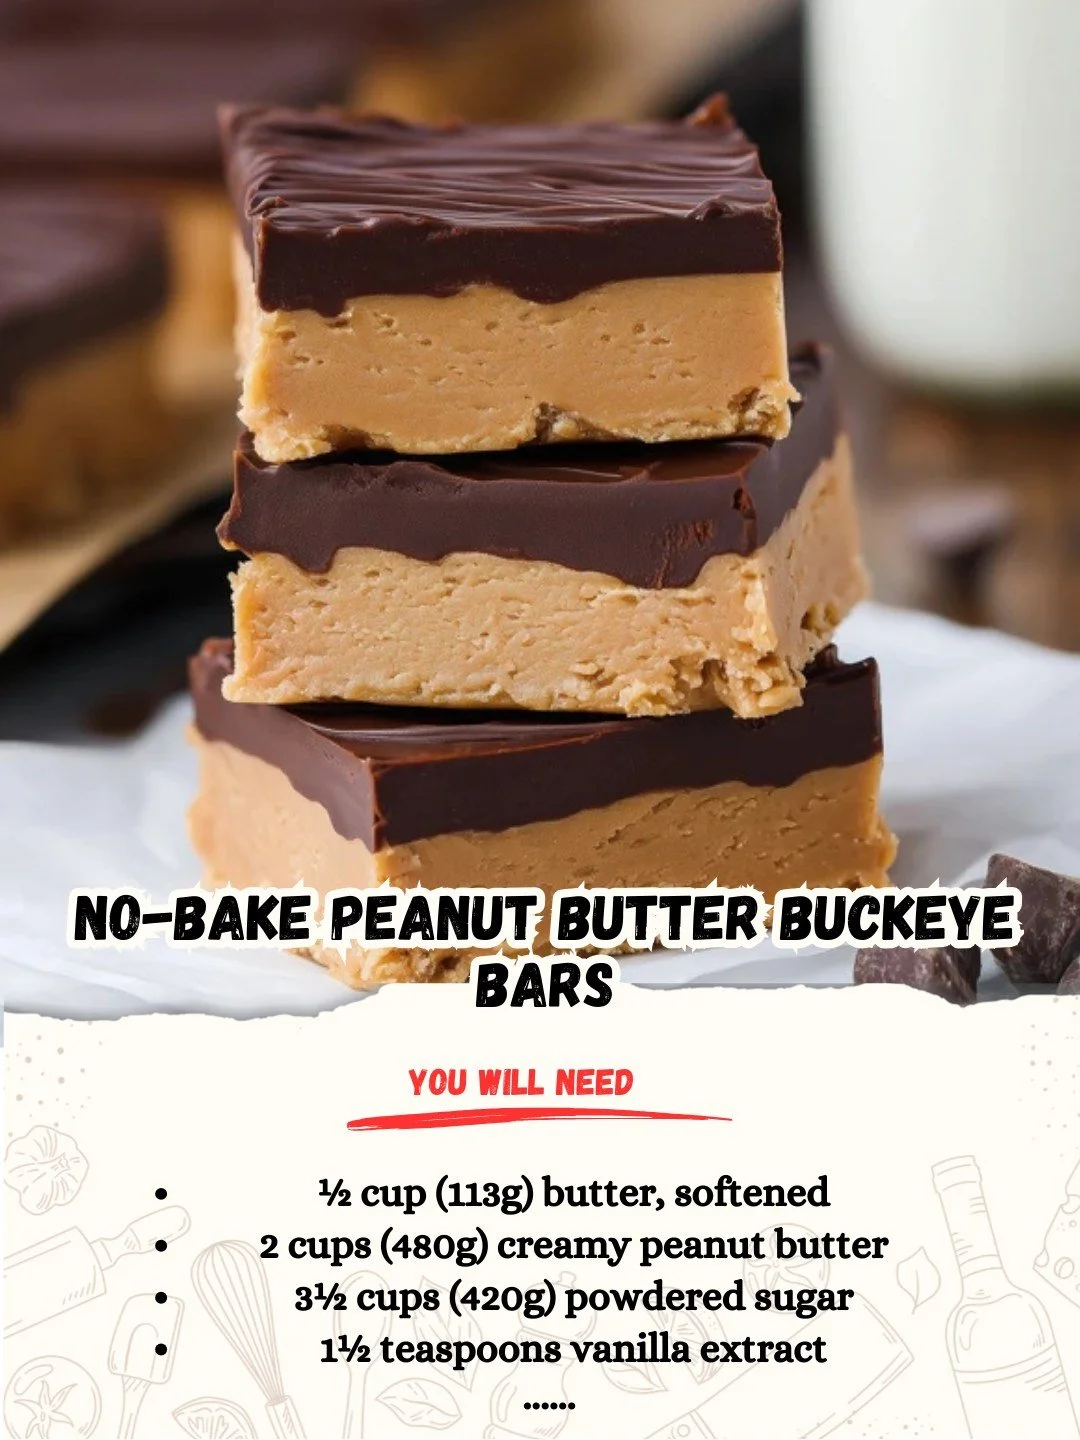
Welcome to my kitchen, where delicious treats come to life! Today, I’m excited to share one of my all-time favorite no-bake recipes: Peanut Butter Buckeye Bars. With their rich, creamy peanut butter filling and a chocolatey coating, these bars are perfect for satisfying my sweet tooth without the hassle of baking. They’re super easy to whip up, and I guarantee they’ll become a favorite in your household too!
Why You’ll Love This Recipe
You’ll absolutely love this recipe for its simplicity and the delightful combination of flavors. I mean, who can resist the creamy, nutty taste of peanut butter paired with smooth chocolate? Plus, the fact that they require no baking means you can enjoy them on a whim, whenever that sweet craving strikes. The best part? They’re perfect for any occasion, whether it’s a family gathering or a cozy night in. Trust me, once you try them, you’ll understand their irresistible charm! (See the ingredients in the next page below…)
Ingredients
– 1 cup creamy peanut butter
– 1 cup graham cracker crumbs
– 1 cup powdered sugar
– 1/2 cup unsalted butter, melted
– 1 1/2 cups semi-sweet chocolate chips
– 2 tablespoons vegetable oil (for chocolate coating)
Equipment Needed
– Mixing bowl
– Rubber spatula
– 9×9-inch baking pan
– Parchment paper
– Microwave-safe bowl for melting chocolate
– Refrigerator
Step-by-Step Instructions
To start, I take out a mixing bowl and combine the creamy peanut butter, melted butter, powdered sugar, and graham cracker crumbs. I mix everything together until it’s smooth and well combined. The peanut butter and butter create a lovely, creamy texture that smells absolutely divine! Once I achieve that perfect consistency, I place the mixture into a 9×9-inch baking pan lined with parchment paper, pressing it down firmly to create an even layer. This step is crucial to ensure each bite is just right! (See the next page below to continue steps…)
Next, I set the pan in the refrigerator to firm up while I prepare the chocolate coating. In a microwave-safe bowl, I melt the semi-sweet chocolate chips with the vegetable oil in 30-second intervals, stirring in between. The aroma of the warm melting chocolate wafts through my kitchen, and I simply can’t resist stealing a bit to taste! Once the chocolate is melted and smooth, I remove the peanut butter layer from the fridge. It’s now ready to be coated.
I pour the melted chocolate over the peanut butter layer, ensuring it covers every inch. It’s so satisfying to spread the rich chocolate on top! Afterward, I return the whole thing to the refrigerator for about 30 minutes to allow the chocolate to set. Just the thought of the flavors melded together makes me giddy. Once the bars are completely chilled and the chocolate is firm, I remove them from the pan and cut them into squares. Each square is a perfect bite-sized treat!
Pro Tips for Best Results
I tested this recipe three ways to ensure perfect results, and I found that using a good-quality peanut butter really makes a difference in flavor. Go for creamy, not crunchy, as it yields a smoother texture for the filling. If you’re like me and want to take it a step further, try adding a pinch of salt to the peanut butter mixture! It really enhances the sweetness of the chocolate.
Make sure to line your baking pan with parchment paper before adding the peanut butter layer. This little trick makes removal a breeze and keeps the bars looking neat and tidy. Plus, I found that if I pressed down the peanut butter mixture firmly, the bars held together better upon cutting.
And hey, if you find the chocolate coating too thick for your taste, you can always add a touch more vegetable oil when melting the chocolate. This way, you can achieve that perfect drizzle effect. I personally love the balance of a thicker chocolate layer, but it’s all about your preference!
Common Mistakes to Avoid
One common mistake I encountered on my first try was not allowing the peanut butter layer to chill long enough. I couldn’t wait to taste them, so I rushed it and ended up with a soft layer that didn’t hold its shape well. I learned that patience is key with this step! A solid chill ensures that your layers will cut beautifully.(See the next page below to continue…)
Another pitfall is using different types of chocolate chips. I tried dark chocolate once, thinking it would give a sophisticated twist, but the result was too bold for my taste. Semi-sweet chocolate balances the sweetness of the peanut butter perfectly, so I recommend sticking to that for the best flavor profile.
Also, don’t be tempted to skip the vegetable oil for the chocolate coating. Without it, the chocolate can set too hard and make the bars difficult to bite into. It adds that nice sheen and keeps the chocolate coating softer, giving that delightful “snap” as you dig in. Trust me, I learned that the hard way!
Serving Suggestions
When it comes time to serve these delicious bars, I love to place them on a pretty platter and sprinkle a few crushed peanuts on top for that extra crunch and visual appeal. They make for such a lovely presentation and are bound to catch everyone’s eye!
Pairing them with a fresh glass of milk is a classic move in my house. The combination of peanut butter, chocolate, and milk is pure comfort food for me. You can also serve them alongside a scoop of vanilla ice cream for a decadent dessert that feels not too guilty!
If I’m preparing them for a gathering, I often cut them into smaller squares for easy sharing. These bars have a way of disappearing quickly, so the smaller portions help everyone get a taste without overindulging too much (though I can’t blame anyone if they want seconds!).
Variations & Customizations
One variation I adore is adding a layer of crushed pretzels into the peanut butter mixture for a sweet and salty concoction. The added crunch elevates the texture and gives a delightful twist you wouldn’t expect, making each bite more exciting!
If you’re feeling adventurous, you can also swap out the chocolate coating with white chocolate or even yogurt-coated chips for a different flavor profile. The sweetness of white chocolate pairs beautifully with the peanut butter, creating a lovely contrast.
Finally, feel free to mix in your favorite toppings or nuts. I’ve thrown in mini chocolate chips or drizzle some caramel sauce over the top for an indulgent touch. It’s a fun way to personalize the bars and make them your own!
How to Store, Freeze & Reheat
These delightful bars can be stored in an airtight container in the refrigerator for up to a week. I often keep them tucked away for a sweet treat after dinner or a quick snack during the day. Just be sure to separate layers with parchment paper to avoid them sticking together.
If you want to keep them for longer, they freeze beautifully! I usually cut them into squares and layer them in a freezer-safe container separated by parchment. When I’m ready for a treat, I take out a square or two and let them sit at room temperature for about 10-15 minutes before digging in.
Reheating isn’t necessary for these bars, but if you love that warm chocolatey melt, you can pop them in the microwave for just a few seconds. But be careful not to overdo it—no one wants a melted mess, just a delightful warm treat!
Conclusion
I hope you’re as excited as I am to try these No Bake Peanut Butter Buckeye Bars! They are a deliciously simple treat that’s perfect for sharing with friends and family or sneaking bites as you prepare them in your kitchen. Whether you’re an experienced baker or a novice, I’m sure you’ll find joy in making these bars. Happy munching!