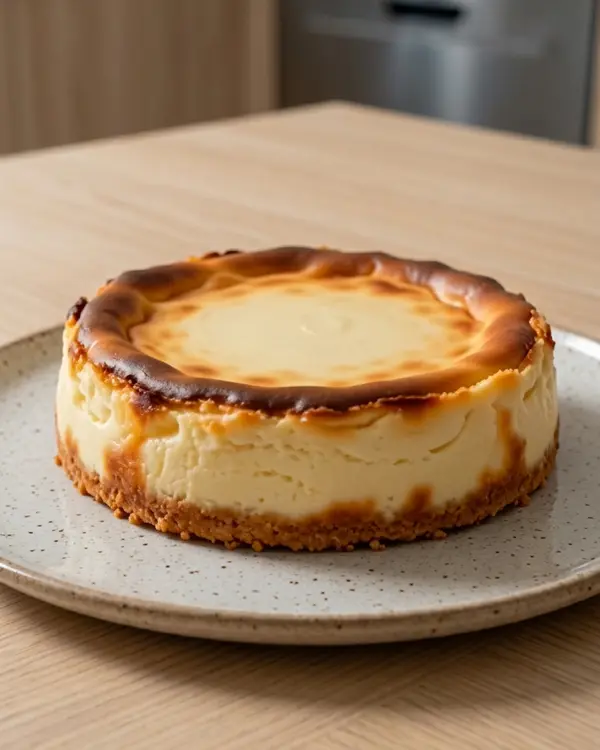
Microwaving Steps for a Fluffy Mug Cheesecake
Step 1: Crack the egg directly into the mug and let it sit for a moment.
Step 2: Using a teaspoon, scoop two tablespoons of Greek yogurt and drop it into the mug with the egg.
Step 3: Add one tablespoon of sugar to the mixture, spreading it evenly.
Step 4: Pour in one teaspoon of vanilla extract, letting the aroma fill the kitchen.
Step 5: Sprinkle half a teaspoon of baking powder over the surface.
Step 6: Stir vigorously with a fork in fast circular motions until the batter is smooth and no streaks remain.
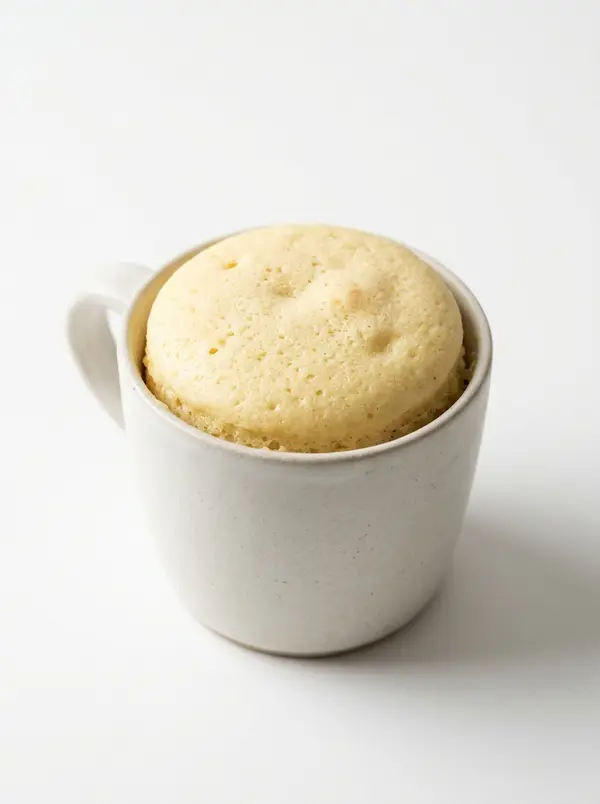
Step 7: Place the mug on a microwave‑safe plate and microwave on high. Watch as the batter expands and forms a domed top, usually between 60 and 90 seconds depending on your microwave’s power.
Step 8: Remove the mug carefully; it will be hot. Let it sit on the countertop for a minute so the interior sets fully.
Step 9: With a clean teaspoon, scoop a bite from the center to test the texture—it should be soft, slightly springy, and creamy throughout.
Common Mistakes and How to Fix Them
If the cake rises too quickly and spills over, reduce the microwave time by 10‑15 seconds and use a larger mug. A flat top usually means the baking powder was old; replace it with a fresh container. A gritty texture indicates the sugar didn’t dissolve; stir a little longer before microwaving.
Overcooking results in a rubbery bite; watch the cake closely and stop the microwave as soon as the dome forms. A soggy bottom can be avoided by ensuring the mug is completely dry before adding ingredients. Lastly, a cracked surface often appears when the mug is too cold; warm the mug briefly in the microwave for 10 seconds before starting.
Swaps and Add‑Ins That Still Work
Replace the plain Greek yogurt with a flavored version, such as strawberry, for a fruit‑infused twist, but cut the sugar in half. Add a tablespoon of cocoa powder to the dry ingredients for a chocolate‑loving version; the batter will turn a deep brown and still rise properly. A pinch of cinnamon or nutmeg can be mixed in with the vanilla for a warm spice note. For extra protein, stir in a scoop of unflavored whey protein powder; increase the baking powder by a quarter teaspoon to maintain lift.
Keeping It Fresh
The mug cheesecake cools quickly, so enjoy it within a few minutes for the softest texture. If you need to store leftovers, cover the mug with plastic wrap and refrigerate for up to 24 hours; the cake will firm up but remain creamy. Reheat briefly in the microwave—10 seconds on low power—to soften the center before serving again. For a make‑ahead option, prepare the batter in a separate bowl, cover, and keep it chilled; microwave the batter directly in the mug when you’re ready.
Simple Toppings and Pairings
Serve the mug cheesecake as is for a quick sweet bite, or drizzle a spoonful of fruit jam for a fruity contrast. A dollop of whipped cream adds extra indulgence, while a sprinkle of toasted coconut brings a subtle crunch. Pair it with a cup of coffee or tea for a balanced snack that satisfies both sweet and savory cravings.
Quick Mug Cheesecake Questions
How do I know when the mug cheesecake is done?
The cake is done when the batter has risen into a smooth dome and the surface looks set but still slightly wobbling in the center. A gentle tap with a spoon should produce a faint spring back.
Can I use a different type of milk instead of yogurt?
Greek yogurt is key for the creamy texture, but you can substitute an equal amount of cottage cheese blended until smooth. The result will be a bit denser but still delicious.
What if I don’t have a microwave that reaches 1000 W?
Lower‑watt microwaves may need a longer cooking time—add 10‑20 seconds per 100 W less power. Watch the cake closely to avoid overcooking.
Is this recipe suitable for a low‑sugar diet?
You can halve the sugar or replace it with a granulated sweetener that measures cup‑for‑cup. The yogurt’s natural tang will keep the flavor balanced.
How can I make this recipe vegan?
Swap the egg for a tablespoon of mashed banana and use a plant‑based yogurt such as soy or almond. Use a vegan baking powder and the texture will remain light and airy.