Equipment Needed
Step-by-Step Instructions
- When I start making this cheesecake, the first thing I do is preheat the oven to 200°C (390°F) and line my cake pan with parchment paper. I let the paper go up the sides because it helps create that classic rustic look once the cheesecake rises and bakes.
- Next, I beat the cream cheese in a bowl until it becomes completely smooth and creamy. I’ve learned that taking the time here makes a big difference in the final texture. Then I add the sugar and mix until everything is well combined.
- After that, I add the eggs one at a time, mixing gently after each addition. The batter becomes silky and slightly glossy at this stage. Then I pour in the heavy cream, vanilla extract, and a pinch of salt, mixing until smooth.
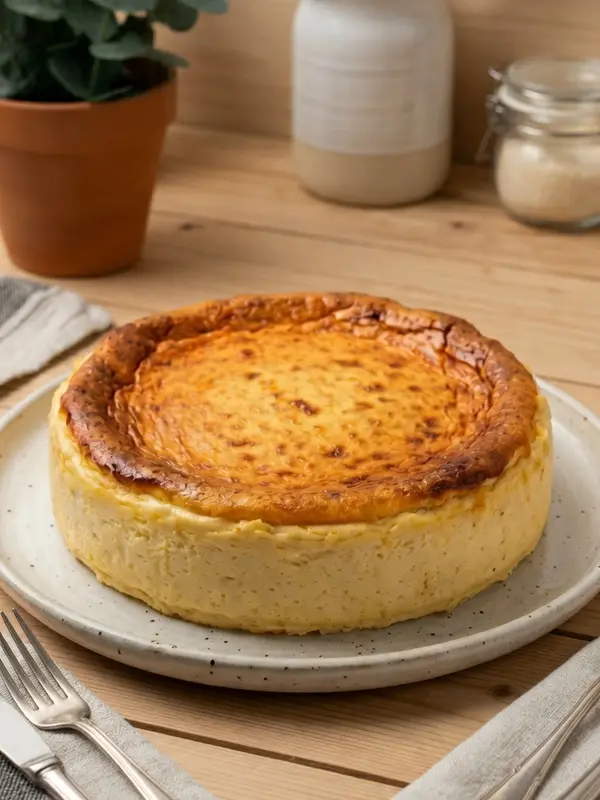
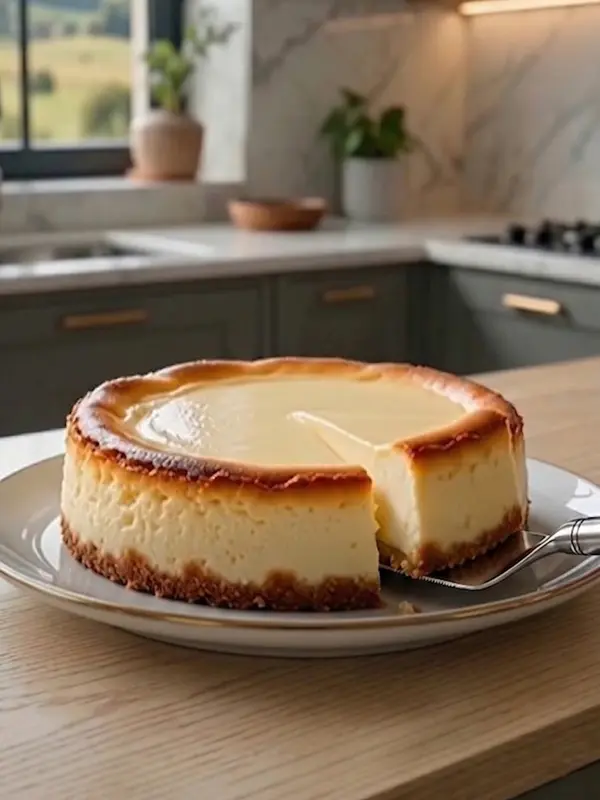
- Finally, I sift in the flour and gently fold it into the batter. Once everything is combined, I pour the mixture into the prepared pan and bake for about 40–50 minutes. The top should be deeply golden and slightly burnt, while the center remains soft and jiggly.
Pro Tips for Best Results
One thing I’ve learned after making this cheesecake several times is to use room temperature ingredients. It helps everything blend smoothly and prevents lumps in the batter.
Another tip is not to overmix the batter. Mixing just until combined keeps the texture creamy instead of dense. I also like letting the cheesecake cool completely before slicing. It sets as it cools and develops that signature creamy center.
Common Mistakes to Avoid
The first mistake I made was underbaking. The center should jiggle slightly, but the edges need to be set. Another mistake is being afraid of the dark top. The “burnt” look is what gives this cheesecake its unique flavor.
I also learned not to skip lining the pan properly. The parchment paper helps with both appearance and easy removal. Finally, avoid opening the oven door too often while baking. It can affect the structure of the cheesecake.
Serving Suggestions
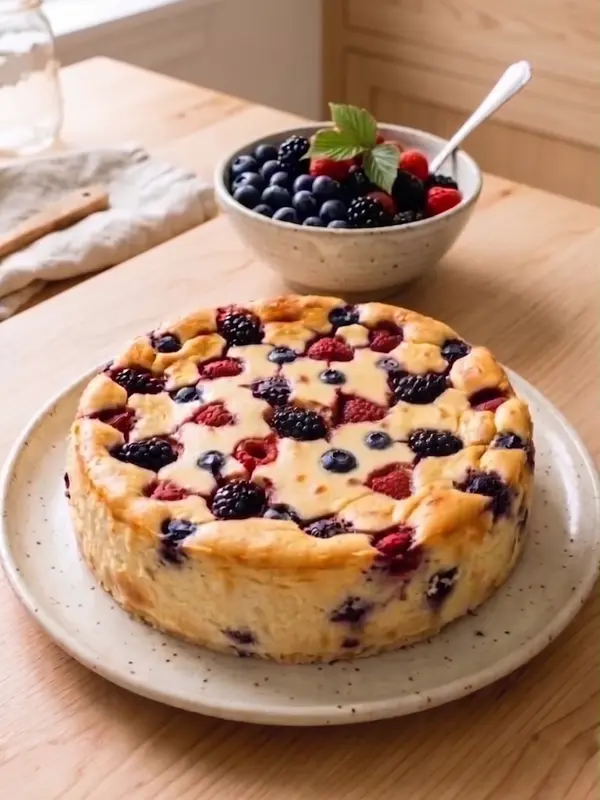
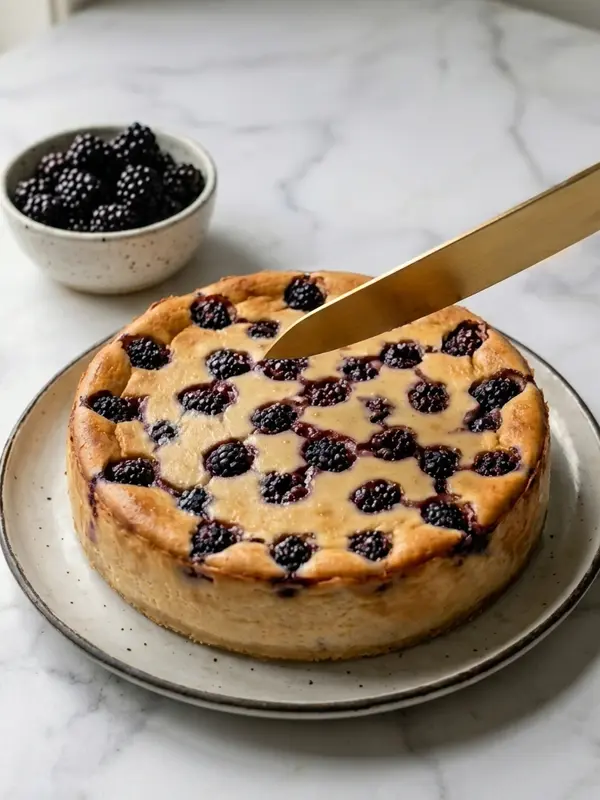
When I serve this cheesecake, I love letting it cool completely and then slicing it into thick pieces. The contrast between the caramelized top and creamy center is amazing. Sometimes I serve it plain to enjoy its full flavor. Other times, I pair it with fresh berries or a drizzle of honey for a lighter contrast.
Variations & Customizations
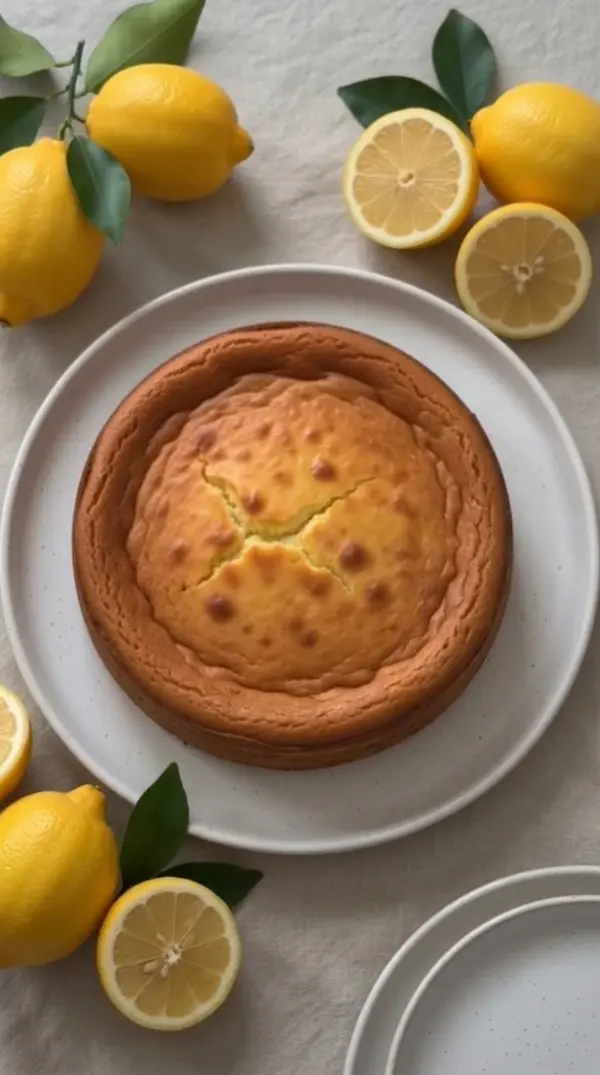
One variation I enjoy is adding a bit of lemon zest to the batter for a fresh citrus note. I’ve also tried reducing the sugar slightly for a less sweet version, which works well with the rich texture. Another option I like is adding a touch of cocoa powder for a chocolate twist.
How to Store, Freeze & Reheat
Whenever I make this cheesecake, I store it in the refrigerator in an airtight container for up to four days. I’ve also frozen slices, which works well for longer storage. To serve, I let it sit at room temperature for a few minutes to soften slightly before eating.
Conclusion
Every time I make this Protein-Rich San Sebastián Cheesecake, I’m reminded how simple ingredients can create something truly special. The creamy texture, caramelized top, and rich flavor make it a dessert that feels both comforting and impressive. I love how easy it is to prepare and how it turns out beautifully every time. Once you try it, it might become one of your favorite cheesecake recipes.